Introdução
Use this guide to replace a damaged oven seal/gasket on the GE® 30" Slide-In Electric Range with Self-Cleaning Oven (model # JSP39SN4SS)
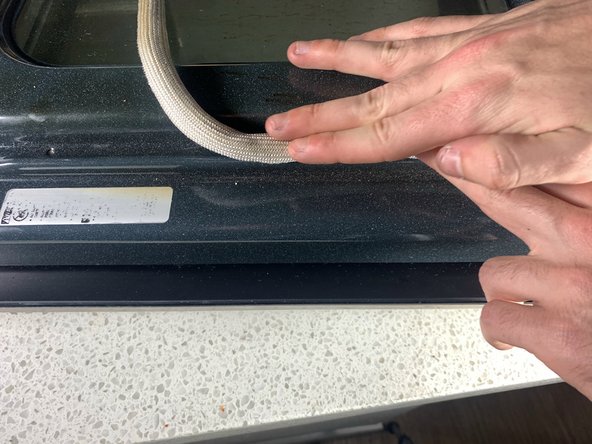
The oven door seal keeps hot air from escaping the oven into the household. A damaged seal makes the oven inefficient and waste energy. Also, it may lead to undercooked foods due to the oven losing the ability to maintain high temperatures, posing a health issue to users.
Therefore, a good repair guide is necessary to keep consumers safe from faulty equipment and themselves.
This process will involve removing the door to the oven, removing and replacing the seal, then reattaching the door.
O que você precisa
-
-
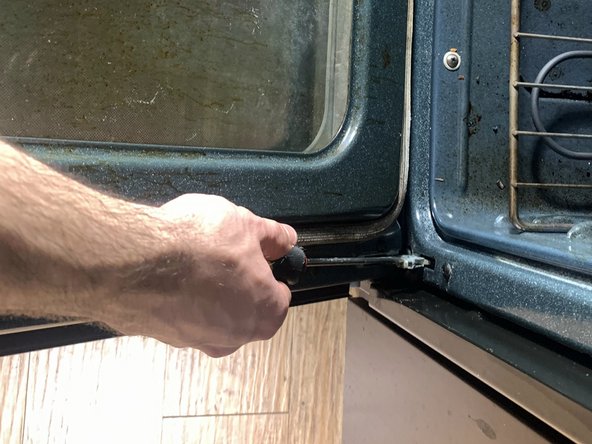
Lower the clasps on the oven door using an opening tool or heavy duty spudger.
-
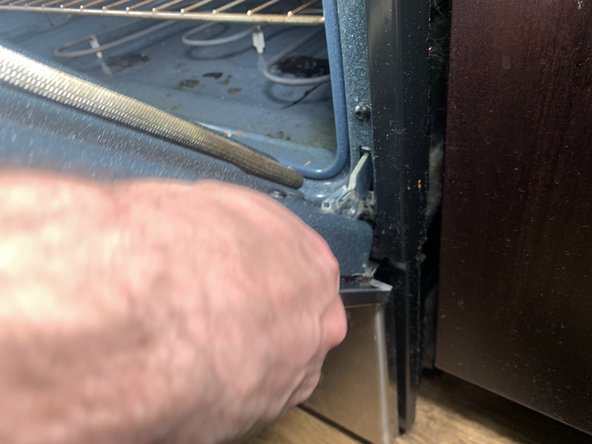
Insert the spudger into the top of the metal hinge and pull it away from the door.
-
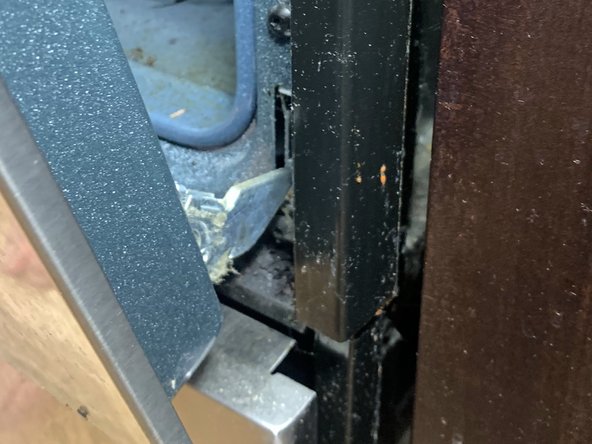
Continue to lower the clasp until met with resistance from the hinge.
-
Repeat on both sides of the oven.
-
-


To reassemble your device, follow these instructions in reverse order.
To reassemble your device, follow these instructions in reverse order.

Equipe

UC Davis, Team 2-10, Morris Winter 2023 Membro de UC Davis, Team 2-10, Morris Winter 2023
UCD-MORRIS-W23S2G10
Membros da 2
1 Guia de autoria