Esta versão pode conter edições incorretas. Mude para o último instantâneo verificado.
O que você precisa
-
Este passo não foi traduzido. Ajude a traduzi-lo
-
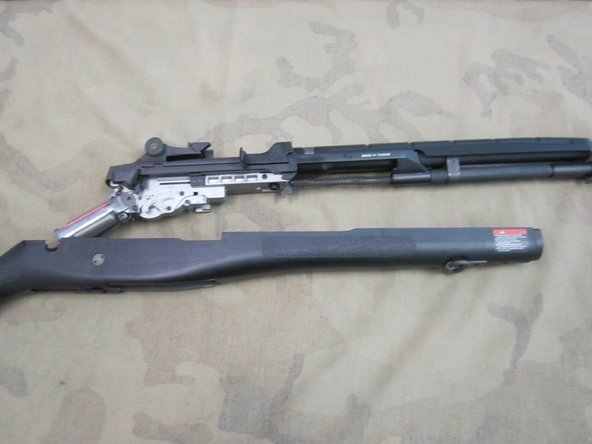
The first step as with most AEG's is cyle the AEG on semi-auto twice to set the piston in the rest position and clear the chamber of any bb's.
-
Then Remove the battery and keep the back hatch open.
-
-
Este passo não foi traduzido. Ajude a traduzi-lo
-
To begin the disassembly put the safety to the safe position.
-
This will allow you to pull on the back of the trigger guard as shown and hinge the the trigger guard out ward.
-
Next pull downward on the entire trigger mechanism as it will come straight out.
-
The cool part about this step is it's exactly like the real firearm and it serves the exact same function.
-
-
Este passo não foi traduzido. Ajude a traduzi-lo
-
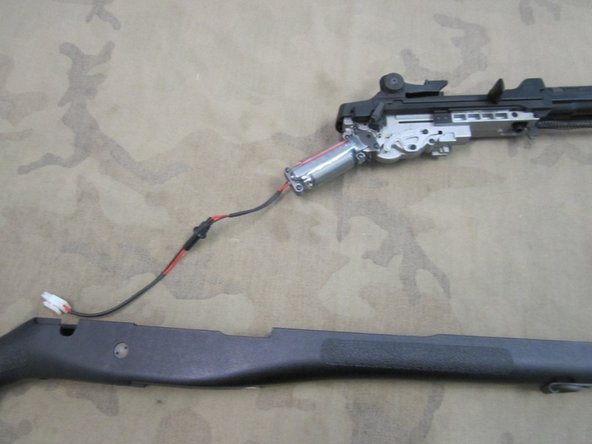
You can start removing the upper receiver from the body.
-
Just start pushing the receiver in a upward and forward direction as shown.
-
Make sure the wiring coming out does not get snagged on anything.
-
-
Este passo não foi traduzido. Ajude a traduzi-lo
-
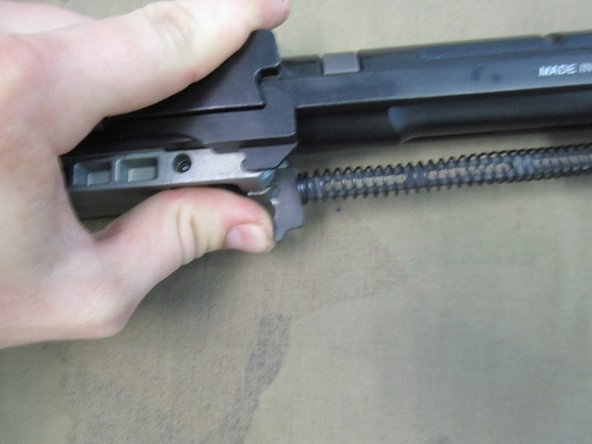
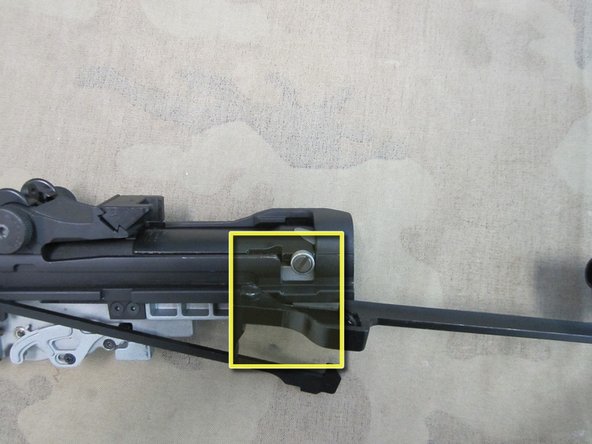
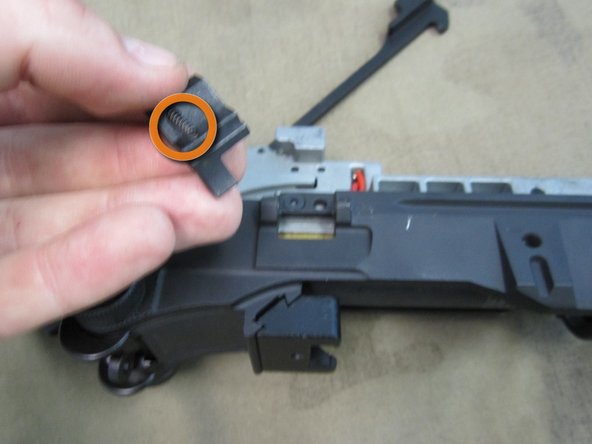
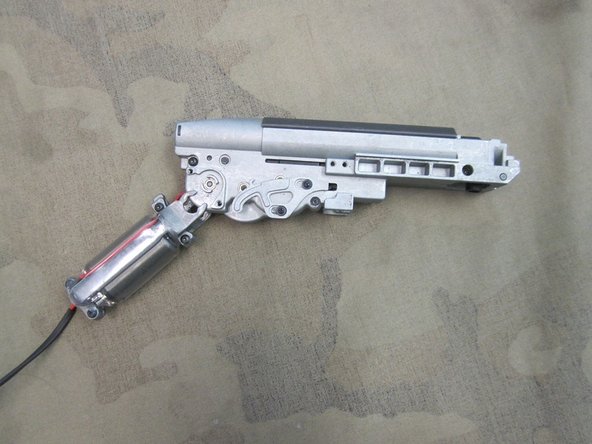
With the receiver completely out of the body you can begin separating the barrel from the rest of the receiver.
-
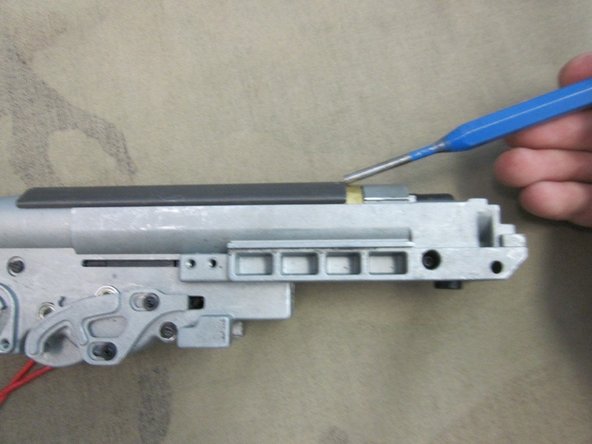
First remove the spring guide piece for the bolt pressing it forward and then pull it out.
-
-
Este passo não foi traduzido. Ajude a traduzi-lo
-
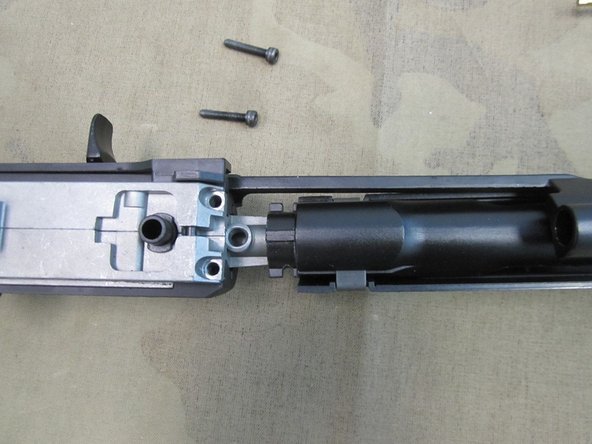
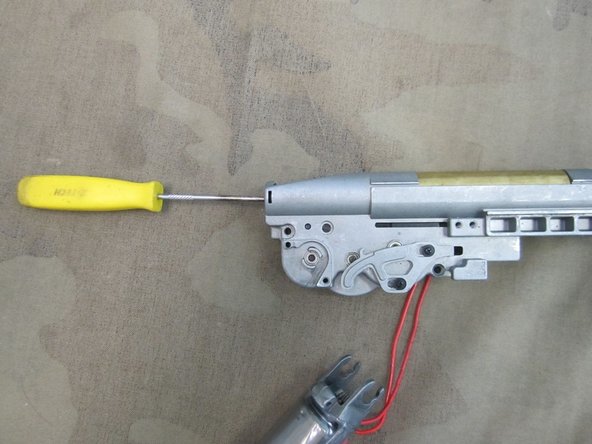
Now remove the 2 large 3mm hex bolts.
-
With the bolts removed you can now pull off the front barrel assembly.
-
-
Este passo não foi traduzido. Ajude a traduzi-lo
-
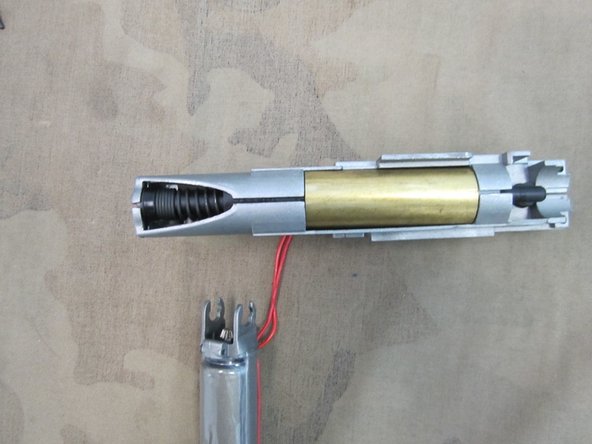
With the Barrel section removed the hop-up and the inner barrel can slide right out
-
-
Este passo não foi traduzido. Ajude a traduzi-lo
-
Now to return the focus to the main receiver section.
-
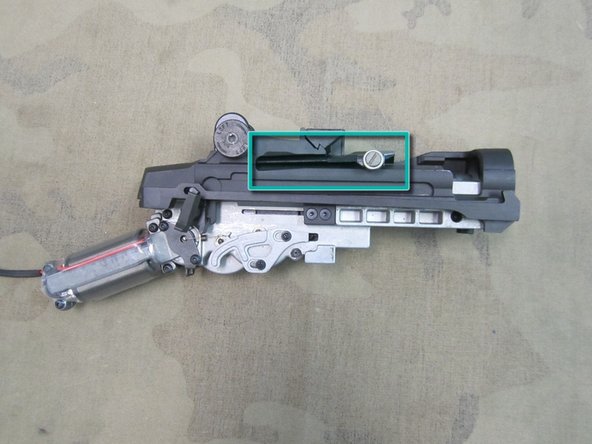
With the outer barrel off the charging handle should be easy to remove by pulling down from the top rear section as shown.
-
Now the fake bolt can be pulled forward and out of the receiver.
-
-
-
Este passo não foi traduzido. Ajude a traduzi-lo
-
The next thing to do is remove the bolt catch. This will give you access to the small screw behind it which is part of the next step.
-
Punch out the the pin with either a thin punch or other appropriate tool. Once the pin is partially sticking out you can grab it with pliers.
-
Careful not to loose track of the spring behind the catch.
-
-
Este passo não foi traduzido. Ajude a traduzi-lo
-
Now begin to remove the 3 2mm screws found on either side of the receiver.
-
-
Este passo não foi traduzido. Ajude a traduzi-lo
-
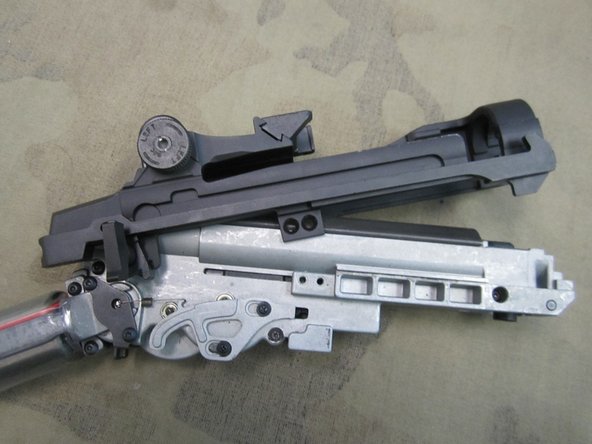
With the screws removed you can now separate the gearbox from the receiver.
-
Start by prying the front section off a little bit. Then slide the gearbox slightly forward and down.
-
You might have adjust the selector as you go if it is being stubborn.
-
-
Este passo não foi traduzido. Ajude a traduzi-lo
-
Now we break down the gearbox itself.
-
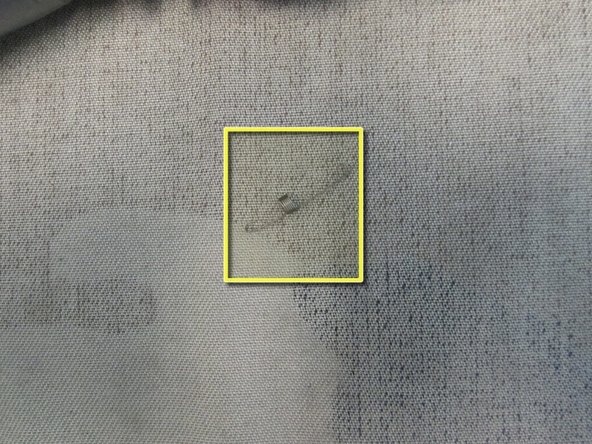
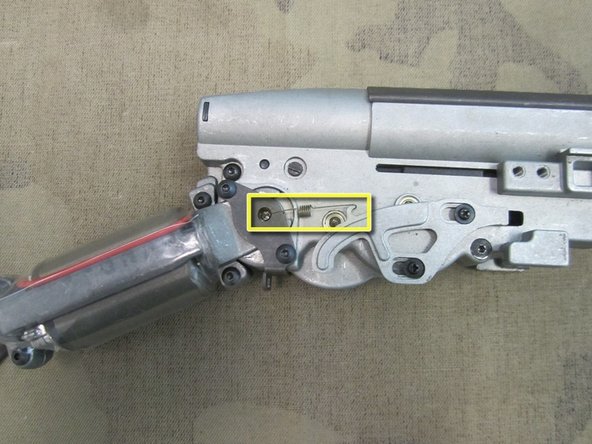
In this step all that is required is to remove the small spring with little hooks on both ends.
-
Once again this spring is also easy to loose, and as the center picture shows there also hard to see.
-
-
Este passo não foi traduzido. Ajude a traduzi-lo
-
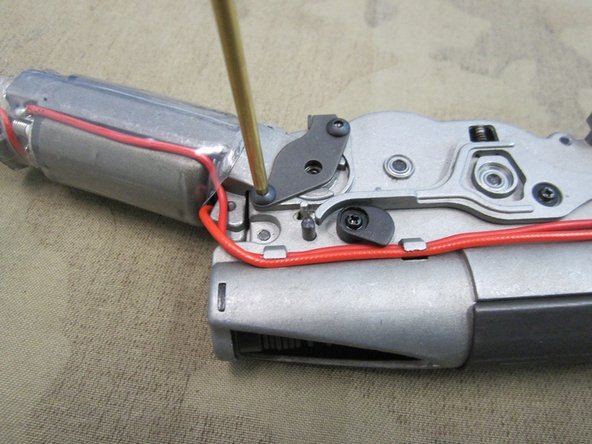
Now you can remove bracket of the gearbox motor.
-
This is held by 4 2mm screws on either side of the bracket.
-
With the screws removed the bracket will slide right off.
-
-
Este passo não foi traduzido. Ajude a traduzi-lo
-
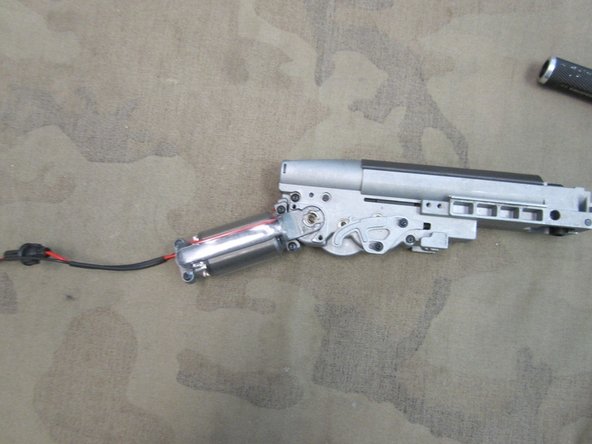
Now carefully take the wiring out of the of the brackets on the side of the gearbox.
-
Loosening the wiring allow you to put the motor in a better position to be removed.
-
-
Este passo não foi traduzido. Ajude a traduzi-lo
-
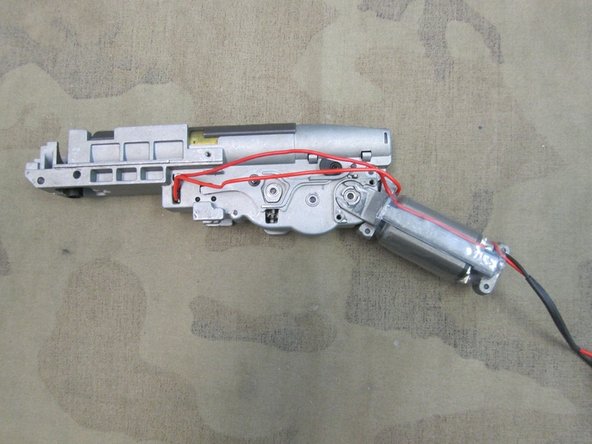
Now take the motor cage and turn it to the angle shown.
-
Then gently pull the motor cage off without damaging the wiring.
-
From this point the motor will be hanging around...
-
-
Este passo não foi traduzido. Ajude a traduzi-lo
-
Now remove the large pin that goes through the front of the gearbox.
-
Then remove the the large retainer strap at the top.
-
-
Este passo não foi traduzido. Ajude a traduzi-lo
-
Now remove the 3 2mm hex screws.
-
It is always a good idea to start with the outside screws and then the center one.
-
-
Este passo não foi traduzido. Ajude a traduzi-lo
-
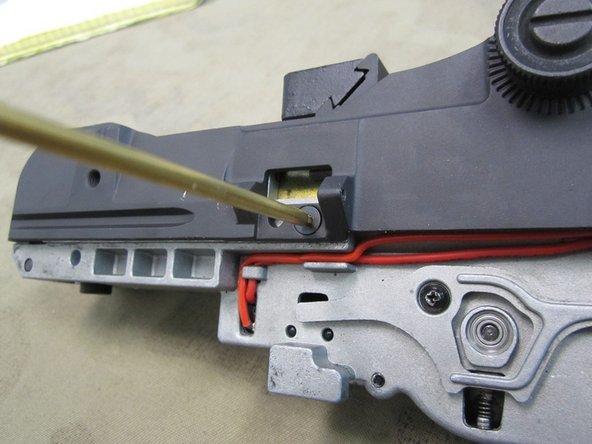
Now take a thin tool to go into the back hole to prevent the spring guide fromshooting out.
-
You can begin to the pry the two halves of the gearbox apart starting at the back .
-
-
Este passo não foi traduzido. Ajude a traduzi-lo
-
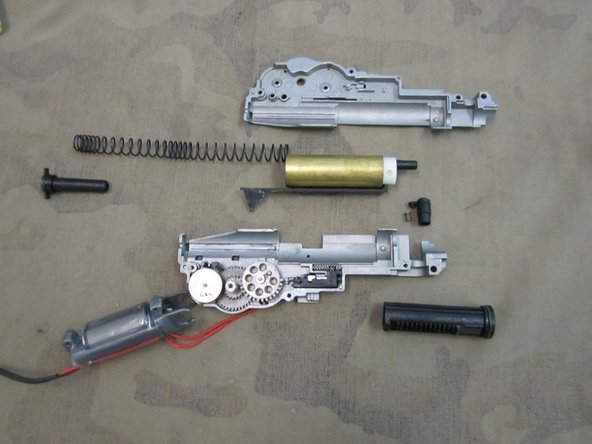
Once the gearbox is opened up quickly remove the main spring and spring guide so that nothing goes fly away.
-
After this point you can remove the gears. Just as in the other guide try not to misplace the shims unless you want to adjust the shimming yourself.
-
Check out the G&G AEG Shimming Guide Airsoft guide for more shimming info.
-
-
Este passo não foi traduzido. Ajude a traduzi-lo
-
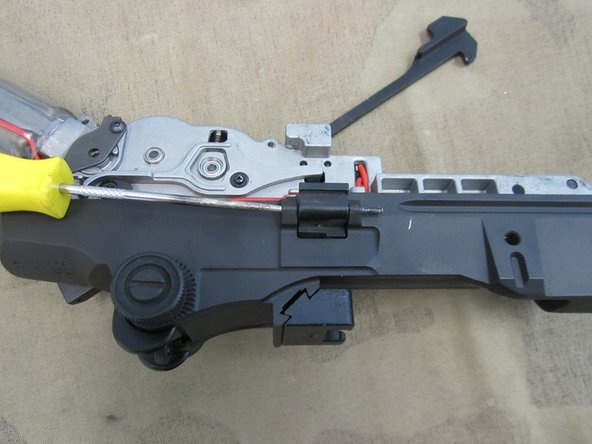
This step is going to cover some of the unique parts of the G&GM-14.
-
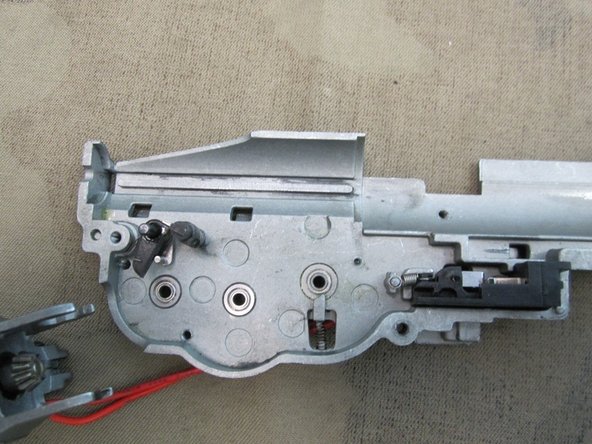
The first part people notice is the unique Anti-reversal latch. This piece can be pulled right out. The spring that is attached is almost identical to those found in version 2/3 gearboxes and functions in the same way.
-
Next part is the selector piece. This part interacts with the selector on the gun and will make your gun go full-auto or semi-auto depending on it's position. if you flip the gearbox over you can actually see how it directly interacts with the cut-off leaver.
-
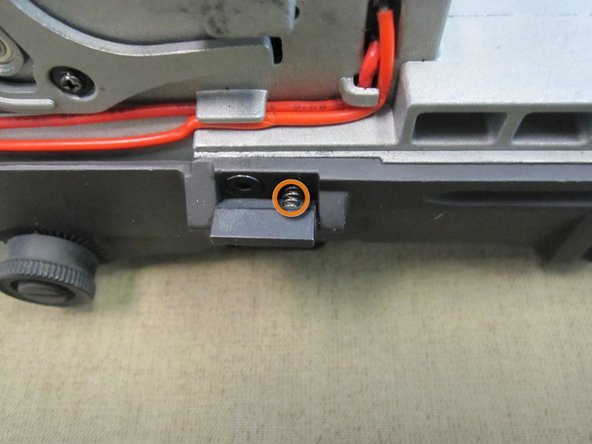
It should be left alone but just encase it does need replacement there is a screw on the out side allowing it to be removed.
-
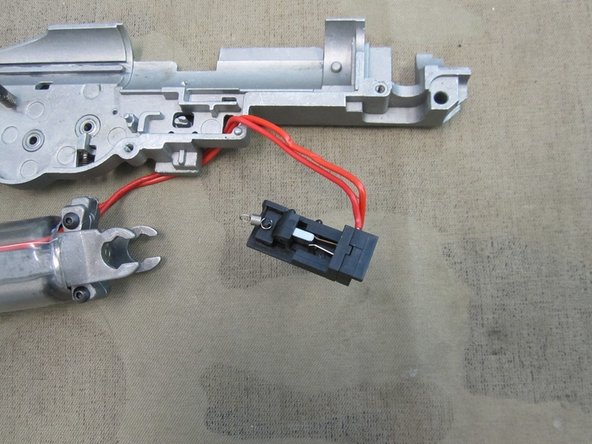
Lastly there is the trigger switch. This piece is pressed into place and once the spring is detached from the gearbox post, the switch can be pulled out as shown.
-


Cancelar: não concluí este guia.
6 outras pessoas executaram este guia.
