Ir para o conteúdo principal

Fourth Generation (2011 - 2017) Honda Odyssey Engine Air Filter Replacement

  1. Fourth Generation (2011 - 2017) Honda Odyssey Engine Air Filter Replacement, Engine Air Filter: passo 1, imagem 1 %32
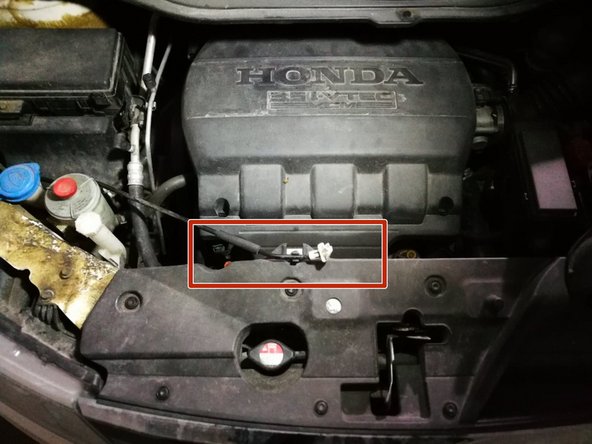
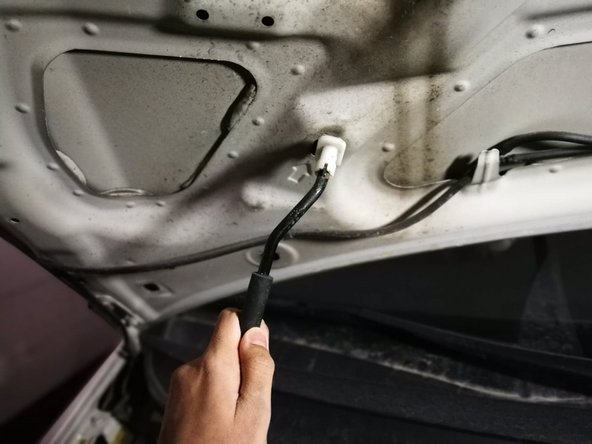
    • Pull out the hood release in the driver's footwell to pop open the hood.

  2. Fourth Generation (2011 - 2017) Honda Odyssey Engine Air Filter Replacement: passo 2, imagem 1 %32 Fourth Generation (2011 - 2017) Honda Odyssey Engine Air Filter Replacement: passo 2, imagem 2 %32
    • Release the hood latch to lift the hood.

    • To avoid difficulty finding the latch, search near the center of the hood.

  3. Fourth Generation (2011 - 2017) Honda Odyssey Engine Air Filter Replacement: passo 3, imagem 1 %32 Fourth Generation (2011 - 2017) Honda Odyssey Engine Air Filter Replacement: passo 3, imagem 2 %32
    • Position hood prop rod into the support hole.

    • Hoods are heavy and the securement of the prop rod is necessary to prevent injury.

  4. Fourth Generation (2011 - 2017) Honda Odyssey Engine Air Filter Replacement: passo 4, imagem 1 %32
    • Unlatch the three clips securing the engine air filter cover. (The third clip can't be seen in the photo but is on the other side of the cover.)

    • Be sure to allow the vehicle to cool down before working in the engine bay.

  5. Fourth Generation (2011 - 2017) Honda Odyssey Engine Air Filter Replacement: passo 5, imagem 1 %32
    • Gently remove the air filter cover.

  6. Fourth Generation (2011 - 2017) Honda Odyssey Engine Air Filter Replacement: passo 6, imagem 1 %32
    • Remove the filter by simply pulling it out of the filter compartment.

Conclusão

To reassemble your device, follow these instructions in reverse order.

Ahmad Elahi

Membro desde: 01/21/21

169 Reputação

Autoria de 1 guia

0 comentários

Adicione um comentário

Exibir estatísticas:

Últimas 24 horas: 3

Últimos 7 dias: 12

Últimos 30 dias: 31

Duração total: 701