Introdução
Dust can accumulate in all corners of a MacBook Pro, significantly affecting cooling. With some compressed air and a few screwdrivers, however, you can easily clean it out, reducing your CPU temperatures, fan noise, throttling, and power consumption.
If your fan assembly is relatively clean, you can skip the In-Place Fan Cover Removal steps. If, however,
- The fan blades are visibly caked in dust
- You need easier access to the heat sink for cleaning
- You suspect there might be clumps of dust in the fan assembly that are too large to blow out with air
Then you can remove the fan assembly cover for full access—without having to remove the heat sink and worrying about reapplying thermal paste—by following this guide.
O que você precisa
-
Ferramenta utilizada neste passo:Magnetic Project Mat$19.95
-
Remove the following ten screws securing the lower case to the upper case:
-
Two 2.3 mm P5 Pentalobe screws
-
Eight 3.0 mm P5 Pentalobe screws
-
-
-
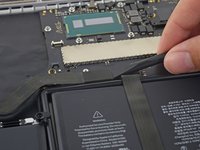
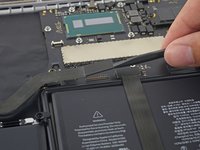
Carefully remove the rubber fan bumper from the edge of the heat sink.
-
-
-
Ferramenta utilizada neste passo:Tweezers$4.99
-
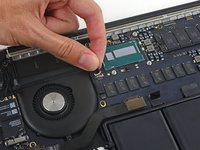
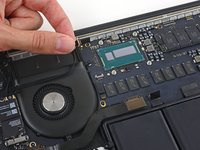
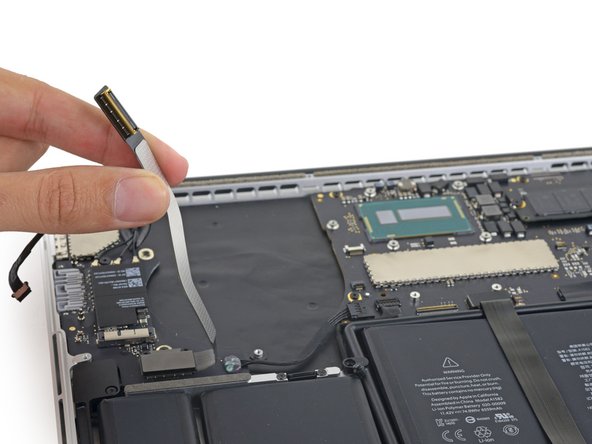
Use the tip of a spudger to push on either side of the the iSight camera cable connector to walk it out of its socket on the logic board.
-
-
-
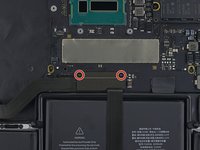
One of the screws holding the top shell of the fan assembly is hidden just behind the I/O board cable.
-
Remove the two 2.1 mm T5 Torx screws securing the I/O board cable bracket to the logic board.
-
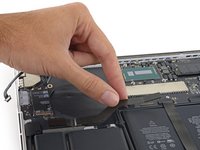
Remove the I/O board cable bracket.
-
-
-
The inside of the case plate will likely have dust caked on. Since this piece has no delicate electronics, you can simply wipe it with your Anti-static brush, or even better, a used toothbrush.
-
-
-
You should have a less obstructed view of the heat sink fins. Loosen any caked dust with an anti-static brush before blasting loose dust out the back vents of the case with compressed air.
-
Blow away any loose air from the interior of the fan assembly.
-
Inspect the rest of the interior of the computer for stray dust that may have landed, and clear that away before closing everything back up.
-


To reassemble your device, follow these instructions in reverse order.
To reassemble your device, follow these instructions in reverse order.
Cancelar: não concluí este guia.
3 outras pessoas executaram este guia.