Introdução
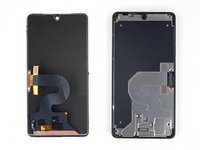
This guide explains the process behind removing and replacing the Essential PH-1 phone’s motherboard and the tools needed to do so.
The motherboard is a central component necessary to the functioning of the phone that allows the CPU, RAM, and other hardware elements to communicate with each other. If your Essential Phone overheats while making calls, charging, or won’t turn on altogether, the motherboard may be damaged. Note that replacement motherboards for the Essential Phone may be hard to find.
O que você precisa
-
-
If possible, drain the battery before disassembly. When the battery is charged, there's increased risk of a dangerous thermal event if the battery is overheated or damaged during repairs.
-
-
-
Heat the perimeter of the display to soften the adhesive securing it.
-
If available, use a hot plate or heat pad. Place the Essential Phone face-down and heat it to 85° C for at least 15 minutes.
-
Otherwise, use a heat gun to evenly heat the entire perimeter of the display until it's too hot to touch. Try to maintain a high temperature for 15-20 minutes—but beware that without exact control over the temperature, you can easily destroy the display.
-
-
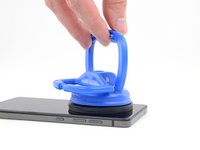
Ferramenta utilizada neste passo:Heavy-Duty Suction Cups (Pair)$14.95
-
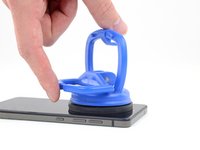
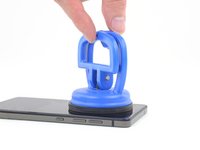
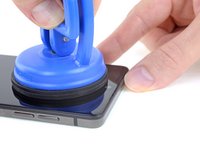
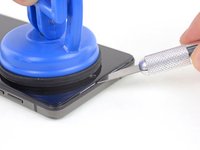
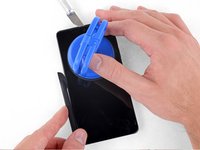
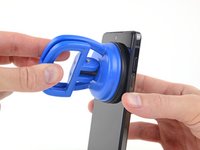
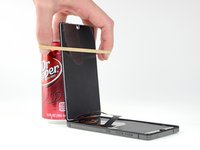
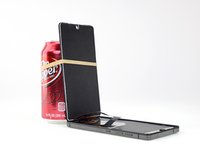
While the phone is still hot, apply a heavy-duty suction cup to the top half of the display.
-
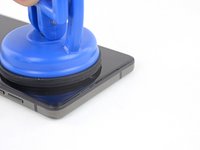
After positioning the suction cup, gently press down, and then close the handle to securely fasten the suction cup to the display surface.
-
-
Ferramenta utilizada neste passo:Halberd Spudger$2.99
-
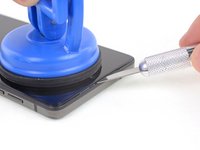
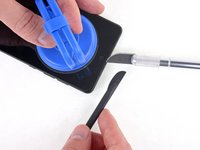
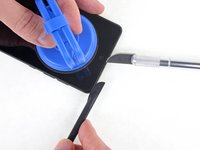
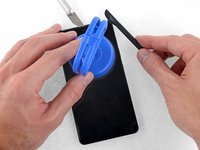
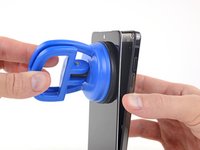
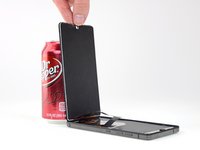
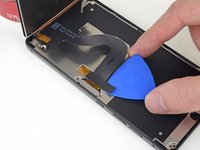
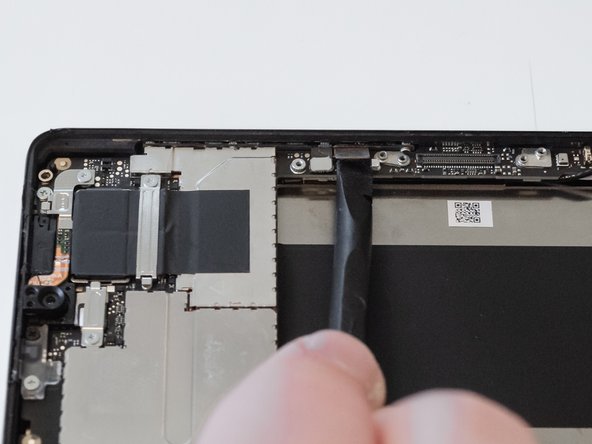
Insert a halberd spudger no more than 1 mm under the display, and cut the adhesive all along the top edge.
-
-
-
-
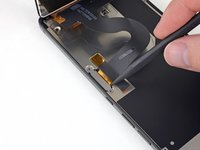
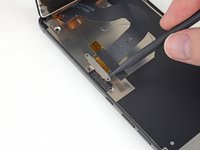
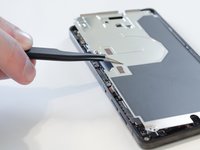
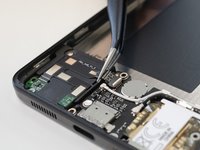
Use the point of a spudger to pry the display cable pop connector straight up from its socket.
-
-
-
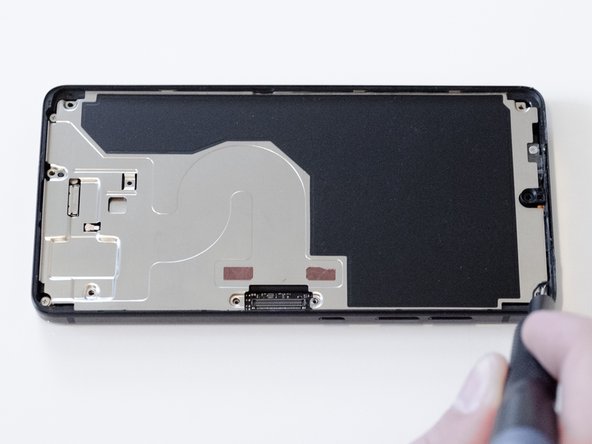
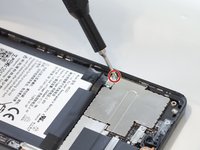
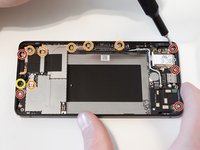
Use a Phillips #000 driver to remove the six 3.4mm screws holding on the back panel.
-
-
-
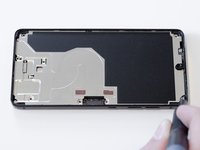
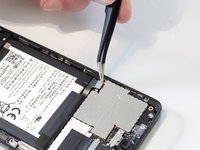
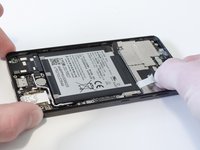
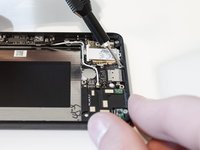
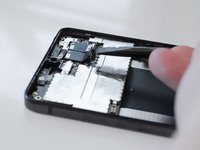
Remove the tape covering the loud speaker cable connector with a tweezer.
-
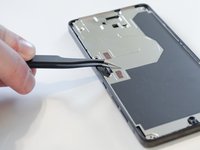
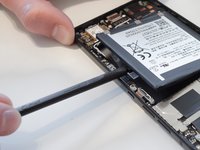
Use the flat end of a spudger to lift the tab of the loud speaker cable connector.
-
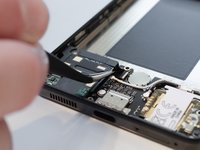
Using a tweezer, pull out the connector from the motherboard.
-
-
-
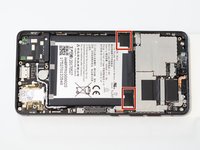
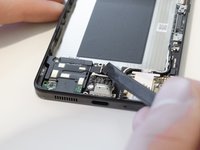
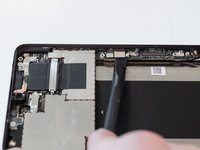
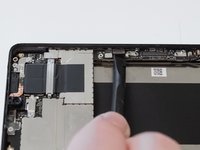
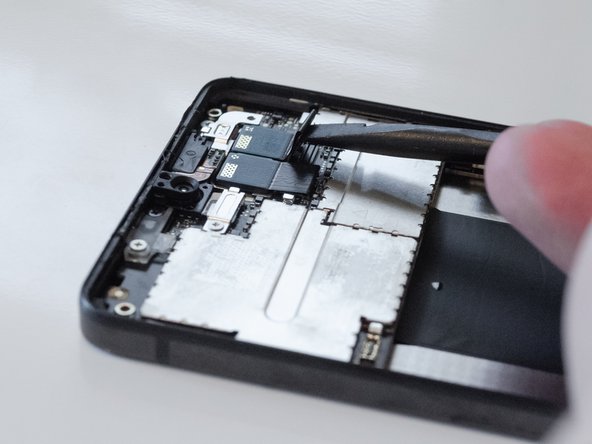
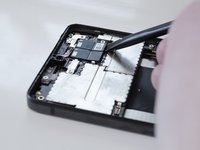
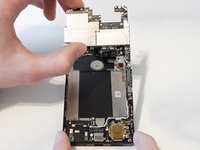
Use the Phillips #000 screwdriver to remove the five 2.4 mm screws holding down the motherboard.
-
Use the same screwdriver to remove the six 1.25 mm screws holding down connect clips onto the motherboard.
-
Remove the remaining 3.4 mm screw at the top of the motherboard with the same screwdriver.
-


To reassemble your device, follow these instructions in reverse order.
To reassemble your device, follow these instructions in reverse order.
Cancelar: não concluí este guia.
Uma outra pessoa concluiu este guia.
Equipe

Cal Poly, Team S2-G7, Maness Spring 2019 Membro de Cal Poly, Team S2-G7, Maness Spring 2019
CPSU-MANESS-S19S2G7
Membros da 3
Autoria de 4 guias