Introdução
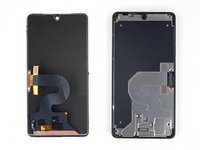
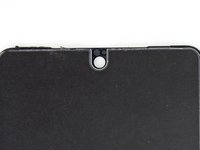
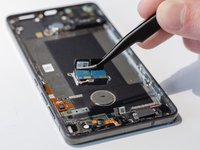
Use this guide to remove the dual-lens, rear-facing camera and/or the front-facing camera on the Essential Phone. Both cameras are located in two separated modules, but are located in the same area.
Note: As of June 2019, there are no known replacement camera modules for both the rear-facing camera and the front-facing camera.
O que você precisa
-
-
If possible, drain the battery before disassembly. When the battery is charged, there's increased risk of a dangerous thermal event if the battery is overheated or damaged during repairs.
-
-
-
Heat the perimeter of the display to soften the adhesive securing it.
-
If available, use a hot plate or heat pad. Place the Essential Phone face-down and heat it to 85° C for at least 15 minutes.
-
Otherwise, use a heat gun to evenly heat the entire perimeter of the display until it's too hot to touch. Try to maintain a high temperature for 15-20 minutes—but beware that without exact control over the temperature, you can easily destroy the display.
-
-
Ferramenta utilizada neste passo:Heavy-Duty Suction Cups (Pair)$14.95
-
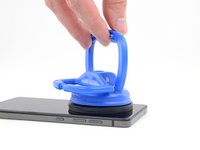
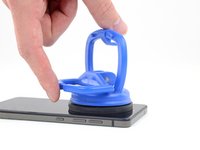
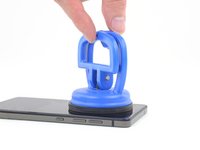
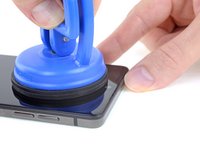
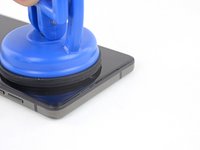
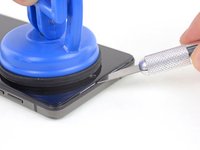
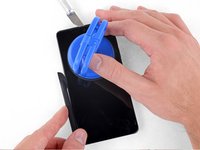
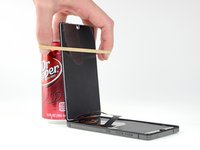
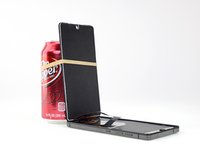
While the phone is still hot, apply a heavy-duty suction cup to the top half of the display.
-
After positioning the suction cup, gently press down, and then close the handle to securely fasten the suction cup to the display surface.
-
-
Ferramenta utilizada neste passo:Halberd Spudger$2.99
-
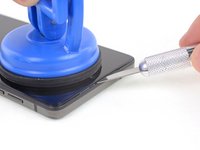
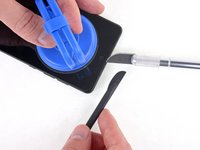
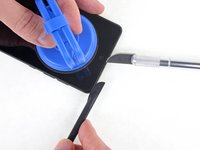
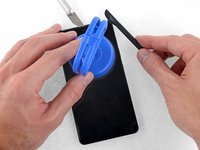
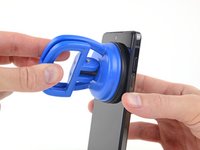
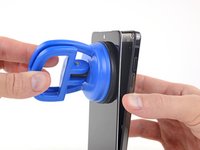
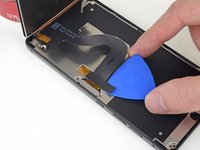
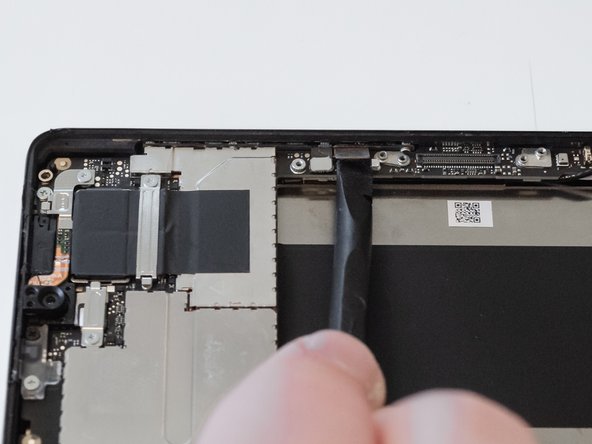
Insert a halberd spudger no more than 1 mm under the display, and cut the adhesive all along the top edge.
-
-
-
-
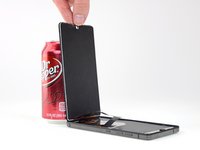
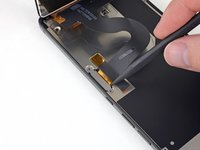
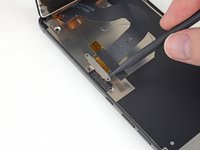
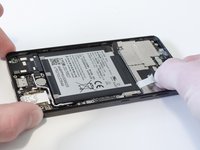
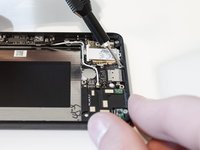
Use the point of a spudger to pry the display cable pop connector straight up from its socket.
-
-
-
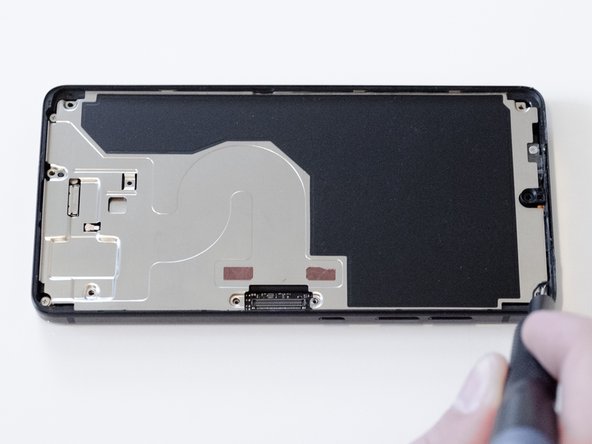
Use a Phillips #000 driver to remove the six 3.4mm screws holding on the back panel.
-
-
-
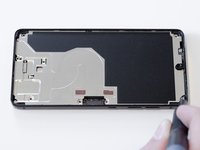
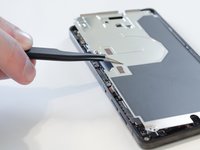
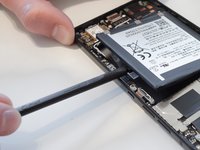
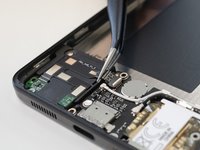
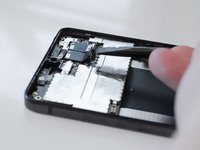
Remove the tape covering the loud speaker cable connector with a tweezer.
-
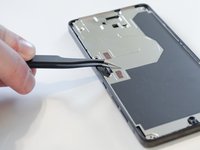
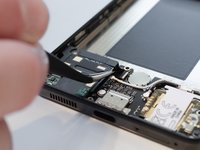
Use the flat end of a spudger to lift the tab of the loud speaker cable connector.
-
Using a tweezer, pull out the connector from the motherboard.
-
-
-
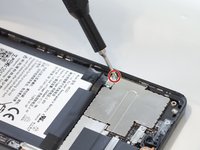
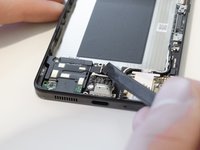
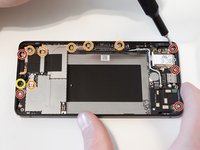
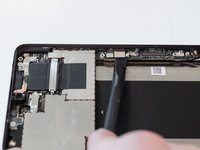
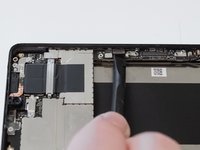
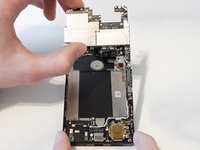
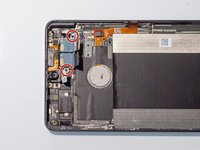
Use the Phillips #000 screwdriver to remove the five 2.4 mm screws holding down the motherboard.
-
Use the same screwdriver to remove the six 1.25 mm screws holding down connect clips onto the motherboard.
-
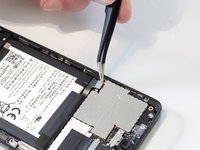
Remove the remaining 3.4 mm screw at the top of the motherboard with the same screwdriver.
-
-
-
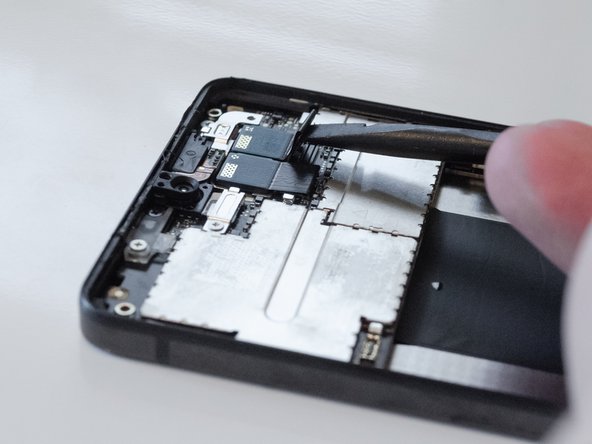
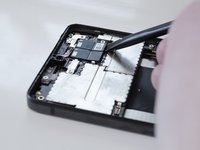
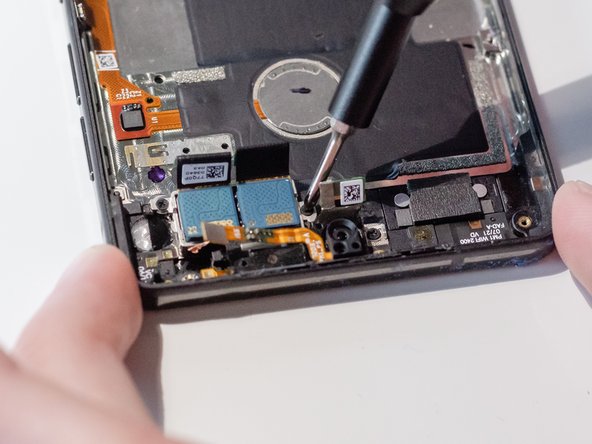
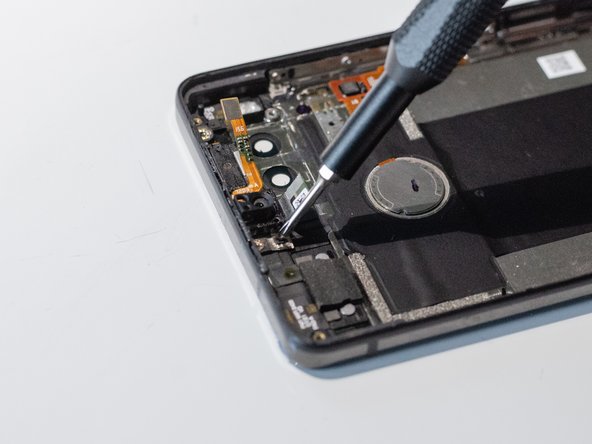
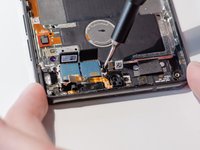
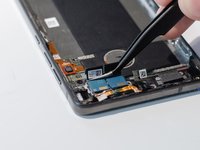
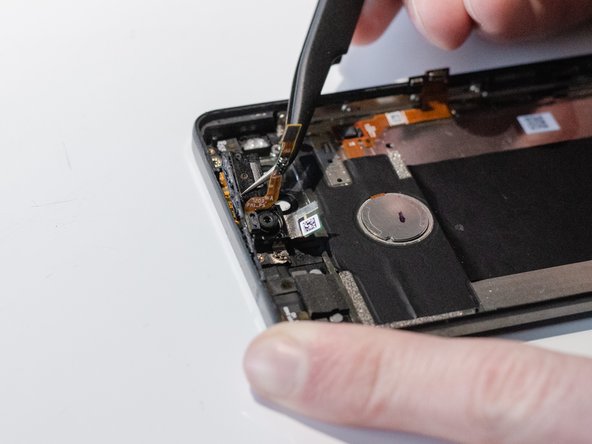
Unscrew the two 1.65mm screws holding the camera components using a Phillips #000 screwdriver.
-


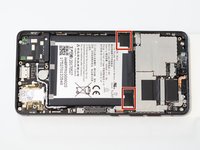


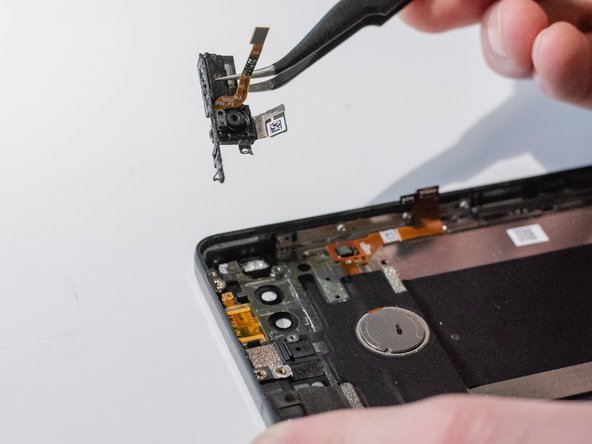


To reassemble your device, follow these instructions in reverse order.
To reassemble your device, follow these instructions in reverse order.
Equipe

Cal Poly, Team S2-G7, Maness Spring 2019 Membro de Cal Poly, Team S2-G7, Maness Spring 2019
CPSU-MANESS-S19S2G7
Membros da 3
Autoria de 4 guias
2 comentários
There is only one longer screw in the 3.4 mm black screws. The size is approximately 4.1mm. Unfortunately, I only noticed it later, so I don't know where it was. I want information.
it goes in the recessed area near the speaker.