Ir para o conteúdo principal

Escort Passport Max2 Speaker Replacement

O que você precisa

  1. Escort Passport Max2 Speaker Replacement, Exterior Case: passo 1, imagem 1 %32 Escort Passport Max2 Speaker Replacement, Exterior Case: passo 1, imagem 2 %32
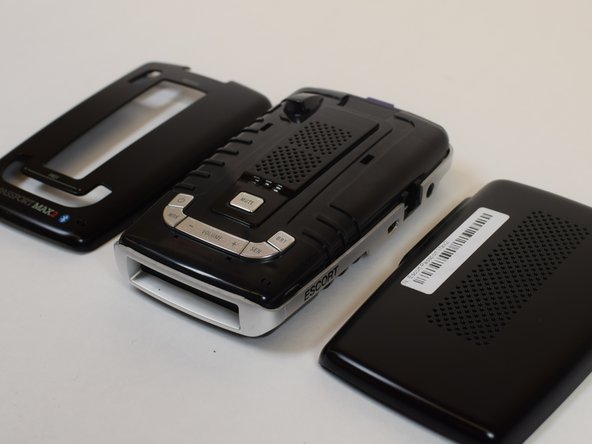
    • Inser the flat end of a spudger into one of the two notches and pry off the case.

  2. Escort Passport Max2 Speaker Replacement: passo 2, imagem 1 %32 Escort Passport Max2 Speaker Replacement: passo 2, imagem 2 %32
    • Slide the spudger around the perimeter of the radar housing until the case separates.

  3. Escort Passport Max2 Speaker Replacement: passo 3, imagem 1 %32 Escort Passport Max2 Speaker Replacement: passo 3, imagem 2 %32
    • Repeat these steps to remove the other side.

  4. Escort Passport Max2 Speaker Replacement, Lens: passo 4, imagem 1 %32 Escort Passport Max2 Speaker Replacement, Lens: passo 4, imagem 2 %32
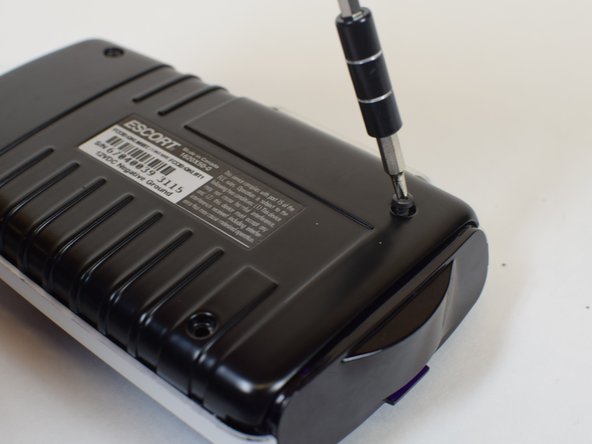
    • Remove the four 9mm Phillips #1 screws from the bottom of the radar.

    • Remove the bottom case.

  5. Escort Passport Max2 Speaker Replacement: passo 5, imagem 1 %32
    • Gently spread apart the thin silver frame that wraps around the device and remove the dark purple lens.

    • The silver frame can easily pop off of the device now that the bottom metal case has been removed. Don't worry if it comes off all the way. It can easily be put back in it's place.

  6. Escort Passport Max2 Speaker Replacement, Speaker: passo 6, imagem 1 %32 Escort Passport Max2 Speaker Replacement, Speaker: passo 6, imagem 2 %32 Escort Passport Max2 Speaker Replacement, Speaker: passo 6, imagem 3 %32
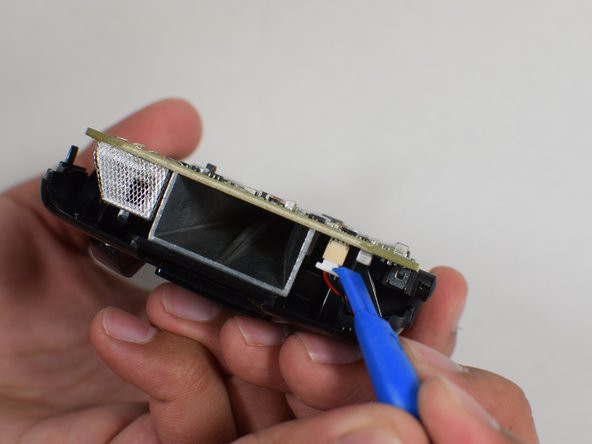
    • Use the plastic opening tool to unplug the white connector from the motherboard.

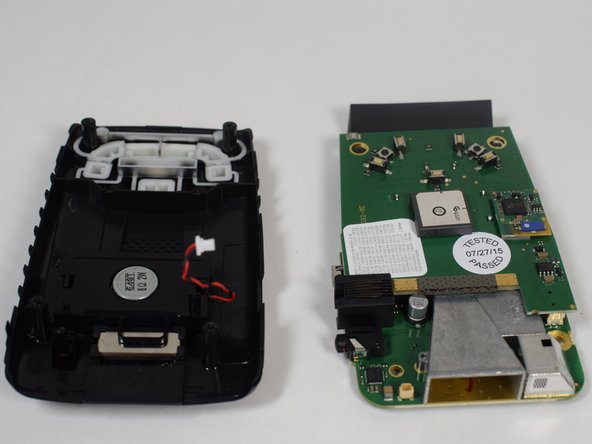
    • Remove the motherboard.

  7. Escort Passport Max2 Speaker Replacement: passo 7, imagem 1 %32
    • Simultaneously, press on the small tab with the flat end of the metal spudger and lift the lid of the box.

    • The speaker part should come up as well when you lift the lid of the box.

  8. Escort Passport Max2 Speaker Replacement: passo 8, imagem 1 %32
    • The speaker will easily separate from the lid.

    • Be careful of the red and black cord, which is threaded through one part of the lid. When replacing the speakers be sure to gently pull the cord through this hole to fully release the speaker part.

Conclusão

To reassemble your device, follow these instructions in reverse order.

Uma outra pessoa concluiu este guia.

Kelsey Ferrenberg

Membro desde: 04/12/18

731 Reputação

Autoria de 4 guias

Equipe

UW Tacoma, Team S1-G1, Liner Spring 2018 Membro de UW Tacoma, Team S1-G1, Liner Spring 2018

UWT-LINER-S18S1G1

Membros da 5

Autoria de 4 guias

2 comentários

Do you have a link to the replacement speaker part

Chris Taylor - Responder

I found the speaker on Amazon. It’s called “uxcell 2W 8 Ohm DIY Speaker Replacement Loudspeaker 20mmx40mm 2pcs”. I just put it in yesterday and it works like a charm! The only note is that you will need to remove the leads from the old, faulty speaker and solder them at the 2 contact points on the new speaker. This is MUCH easier than it sounds and takes only seconds. Either you will need a soldering gun (any cheap one will do) or have someone do it. This is the only part that was new to me. This may be of value to include in the above instructions, but they are otherwise excellent.

Sar - Responder

Adicione um comentário

Exibir estatísticas:

Últimas 24 horas: 1

Últimos 7 dias: 4

Últimos 30 dias: 14

Duração total: 1,573