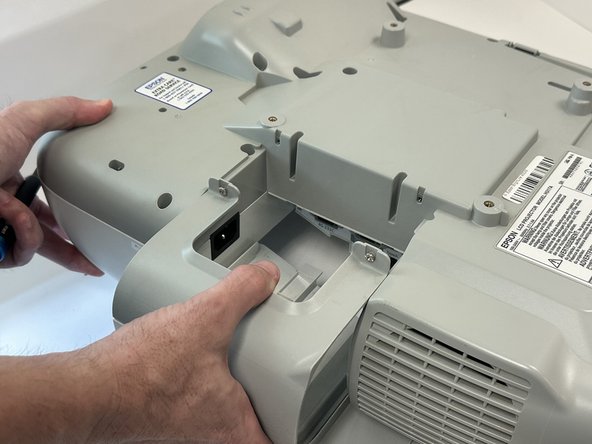
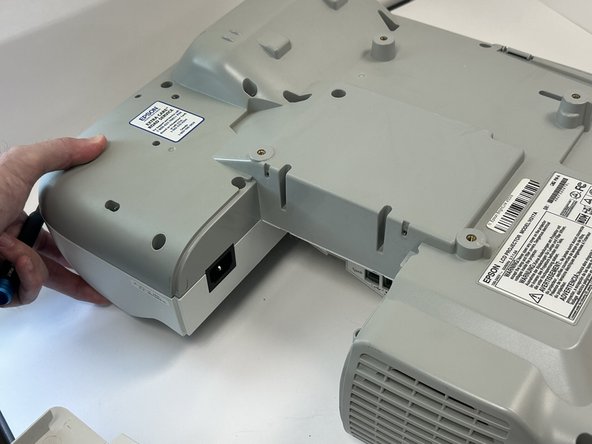
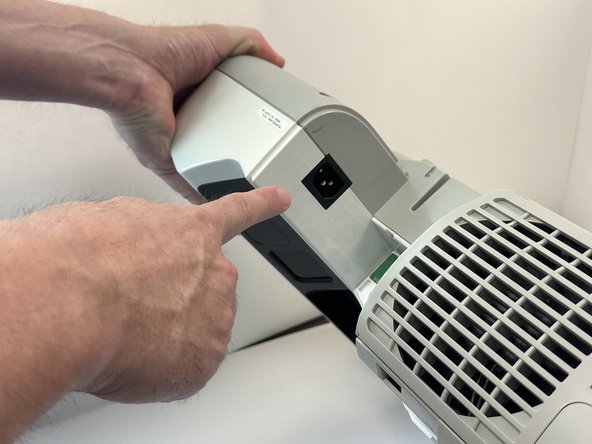
Ir para o conteúdo principal

Epson BrightLink 450wi Power Cord Replacement

O que você precisa

  1. Epson BrightLink 450wi Power Cord Replacement, Power Cord: passo 1, imagem 1 %32
    • Flip projector upside-down.

    • The panel cover for the power source is on the projector's left side when upside-down.

  2. Epson BrightLink 450wi Power Cord Replacement: passo 2, imagem 1 %32 Epson BrightLink 450wi Power Cord Replacement: passo 2, imagem 2 %32
    • Begin unscrewing the two 11 mm screws that are attached to this cover plate. These screws will come loose and can be removed and placed in a safe location.

  3. Epson BrightLink 450wi Power Cord Replacement: passo 3, imagem 1 %32 Epson BrightLink 450wi Power Cord Replacement: passo 3, imagem 2 %32 Epson BrightLink 450wi Power Cord Replacement: passo 3, imagem 3 %32
    • Once the screws are removed begin pulling the cover plate off gently.

    • It will come off in one smooth motion by pulling away towards the left of the projector.

  4. Epson BrightLink 450wi Power Cord Replacement: passo 4, imagem 1 %32 Epson BrightLink 450wi Power Cord Replacement: passo 4, imagem 2 %32 Epson BrightLink 450wi Power Cord Replacement: passo 4, imagem 3 %32
    • Once the cover plate is removed, lift up the device and you will be able to see the plug for the power source.

    • To plug in, ensure the prongs on the plug are facing the right way to slot into the device power source port.

Conclusão

To reassemble your device, follow these instructions in reverse order.

Evan Sandoval

Membro desde: 09/11/23

441 Reputação

Autoria de 3 guias

0 comentários

Adicione um comentário

Exibir estatísticas:

Últimas 24 horas: 2

Últimos 7 dias: 2

Últimos 30 dias: 3

Duração total: 55