Ir para o conteúdo principal

Ematic Genesis 2 Screen Replacement

O que você precisa

  1. Ematic Genesis 2 Screen Replacement, Screen: passo 1, imagem 1 %32 Ematic Genesis 2 Screen Replacement, Screen: passo 1, imagem 2 %32
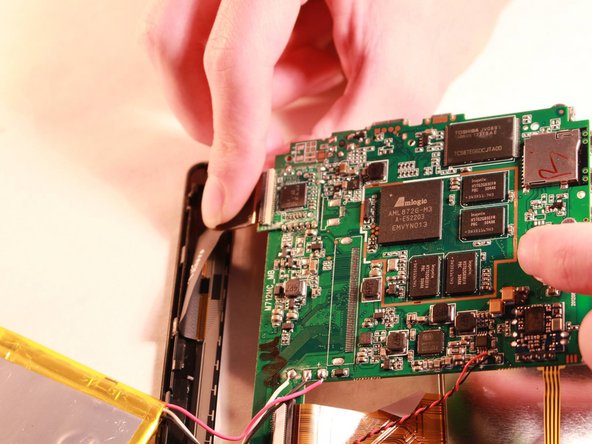
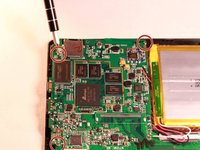
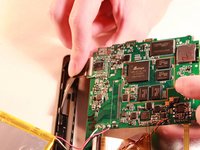
    • With your fingers, carefully pry off the back plastic casing. Starting at the corners is usually the easiest.

  2. Ematic Genesis 2 Screen Replacement: passo 2, imagem 1 %32 Ematic Genesis 2 Screen Replacement: passo 2, imagem 2 %32 Ematic Genesis 2 Screen Replacement: passo 2, imagem 3 %32
    • Remove all four screws surrounding the battery with a Phillips Head Screwdriver.

    • Carefully remove the battery from the device using the Metal Spudger tool to gently separate the battery by wedging it between the device and the battery.

  3. Ematic Genesis 2 Screen Replacement: passo 3, imagem 1 %32 Ematic Genesis 2 Screen Replacement: passo 3, imagem 2 %32
    • Remove the three screws surrounding the circuit board using the Phillips Head Screwdriver.

    • Remove the circuit board from the device by uncliping the copper flexible PCB ribbon cable from the circuit board.

  4. Ematic Genesis 2 Screen Replacement: passo 4, imagem 1 %32
    • Use the Small Pointed Metal Spudger to separate the LED screen from the front screen by gently wedging the spudger between the screen and the device.

  5. Ematic Genesis 2 Screen Replacement: passo 5, imagem 1 %32
    • Remove the glass from the front casing by using the metal spudger to break it free from the device. (It's held together by glue.)

    • Install the new screen.

Conclusão

To reassemble your device, follow these instructions in reverse order.

0 comentários

Adicione um comentário

Exibir estatísticas:

Últimas 24 horas: 0

Últimos 7 dias: 1

Últimos 30 dias: 4

Duração total: 440