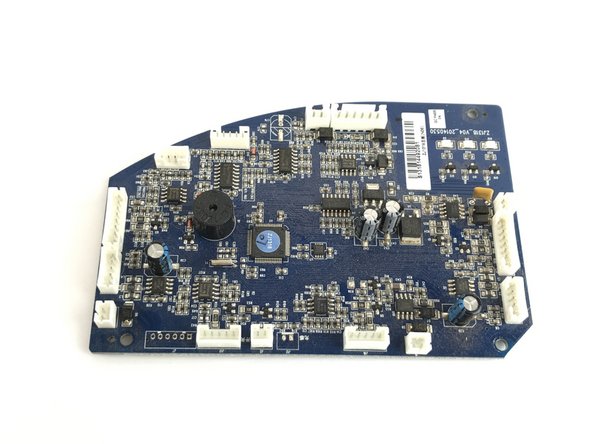
Ir para o conteúdo principal

Ecovacs DEEBOT D35 Motherboard Replacement

O que você precisa

  1. Ecovacs DEEBOT D35 Motherboard Replacement, Motherboard: passo 1, imagem 1 %32
    • Flip the D35 onto its back.

  2. Ecovacs DEEBOT D35 Motherboard Replacement: passo 2, imagem 1 %32
    • Remove the 9 screws with a PH2 Phillips screwdriver on the underside of the D35. The screws are:

    • 7 x 14mm screws

    • 2 x 10mm screws

  3. Ecovacs DEEBOT D35 Motherboard Replacement: passo 3, imagem 1 %32
    • Use spudger or plastic opening tool to separate the Deebot backside

  4. Ecovacs DEEBOT D35 Motherboard Replacement: passo 4, imagem 1 %32
    • Carefully lift the back cover from the body of the Deebot

  5. Ecovacs DEEBOT D35 Motherboard Replacement: passo 5, imagem 1 %32 Ecovacs DEEBOT D35 Motherboard Replacement: passo 5, imagem 2 %32
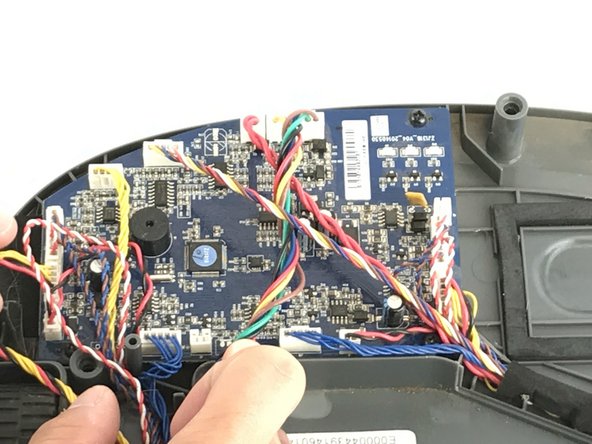
    • There are 5 cables that need to be carefully disconnected before completely disconnecting the back cover:

    • The 5 cables two blue cables on the front left and right side (located next to the sensor). Represented by the red arrows.

    • Multicolor ribbon in the front center. Represented by the blue arrow.

    • Two (black and red) two prong adapter connected to the motherboard. Represented by the green arrow.

  6. Ecovacs DEEBOT D35 Motherboard Replacement: passo 6, imagem 1 %32 Ecovacs DEEBOT D35 Motherboard Replacement: passo 6, imagem 2 %32 Ecovacs DEEBOT D35 Motherboard Replacement: passo 6, imagem 3 %32
    • Locate the 3 screws on the motherboard:

    • 2 x 14mm screws

    • 1 x 10mm screws

  7. Ecovacs DEEBOT D35 Motherboard Replacement: passo 7, imagem 1 %32
    • Remove the screws from the motherboard with a PH2 Phillips Head Screwdriver. The screws are:

    • 2 x 14mm screws

    • 1 x 10mm screws

  8. Ecovacs DEEBOT D35 Motherboard Replacement: passo 8, imagem 1 %32 Ecovacs DEEBOT D35 Motherboard Replacement: passo 8, imagem 2 %32
    • Locate and disconnect 12 cables bundles connected on the motherboard

  9. Ecovacs DEEBOT D35 Motherboard Replacement: passo 9, imagem 1 %32
    • Carefully disconnect the motherboard from the Deebot body.

Conclusão

To reassemble your device, follow these instructions in reverse order.

2 outras pessoas executaram este guia.

Kevin McKernan

Membro desde: 02/15/17

107 Reputação

Autoria de 1 guia

Equipe

USF Tampa, Team 12-2, Eyestone Spring 2017 Membro de USF Tampa, Team 12-2, Eyestone Spring 2017

USFT-EYESTONE-S17S12G2

Membros da 4

Autoria de 4 guias

0 comentários

Adicione um comentário

Exibir estatísticas:

Últimas 24 horas: 0

Últimos 7 dias: 1

Últimos 30 dias: 7

Duração total: 2,703