Introdução
This guide provides a step-by-step process of how to replace a charging port in the DualShock 4 controller.
O que você precisa
-
-
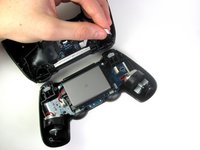
Using the Phillips #00 Screwdriver, remove the four 6.0 mm screws securing the rear cover to the controller.
-
-
-
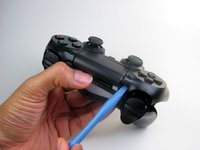
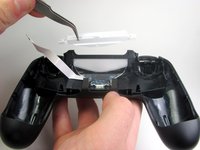
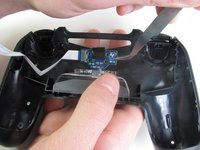
Wedge a plastic opening tool into the case-splittings and pull down to crack open the casing near the following buttons:
-
Share button
-
Options button
-
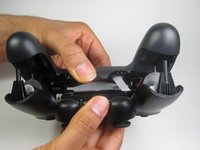
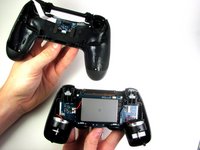
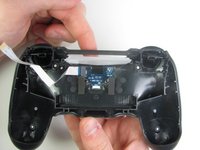
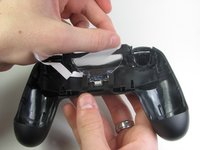
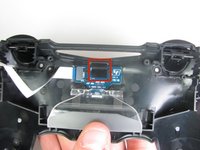
Split the plastic covers of the controller apart, taking note that they will still be attached by circuit board ribbons.
-
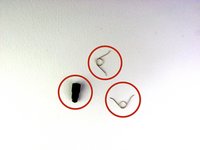
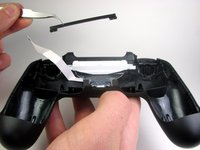
2 Trigger Springs
-
1 Grey Reset Button Extension
-
-
-
-
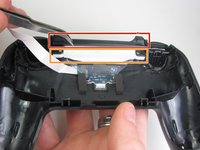
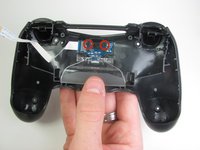
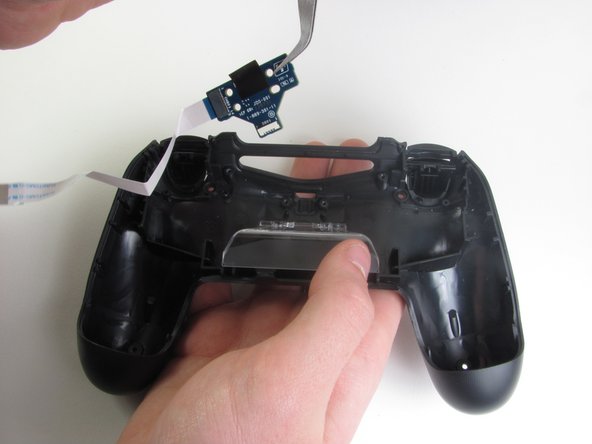
Detach the motherboard ribbon connecting the two sides of the controller by using your fingers.
-
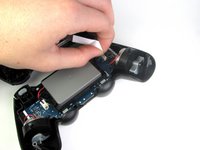
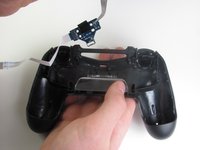
After the two halves are separated, place the top of the controller off to the side.
-


To reassemble your device, follow these instructions in reverse order.
Cancelar: não concluí este guia.
107 outras pessoas executaram este guia.
Equipe

Cal Poly, Team 6-21, Maness Winter 2014 Membro de Cal Poly, Team 6-21, Maness Winter 2014
CPSU-MANESS-W14S6G21
4 Membros
Autoria de 35 guias
33Comentários do guia
Where can i get the USB charger part from? mine is damaged so the lightbar and charger doesnt work but it will still connect to my PS4 until the battery runs out.
Did you get it repaired? I need help with mine
Where can you get a new DualShock 4 Charging Port Replacement?
Have you found them?
Looking for a new charging port .?