Introdução
Follow this guide to replace the motherboard and midframe assembly on a Sony Dualshock 4 CHU-ZCT2U PlayStation controller.
O que você precisa
-
-
Use a Phillips screwdriver to remove the four 6.4 mm-long screws from the rear panel.
-
-
-
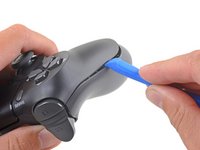
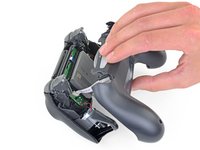
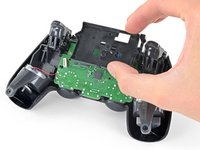
Insert an opening tool into the crease where the front and rear panel meet, starting from the outside edge of either handle.
-
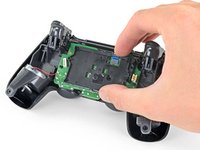
Gently pry the rear panel off of the front panel until they become partially separated.
-
-
-
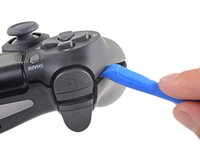
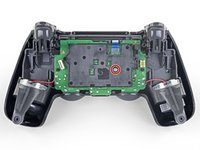
Use the opening tool to separate the panels by releasing the plastic clips around the perimeter of the controller.
-
-
-
Ferramenta utilizada neste passo:Tweezers$4.99
-
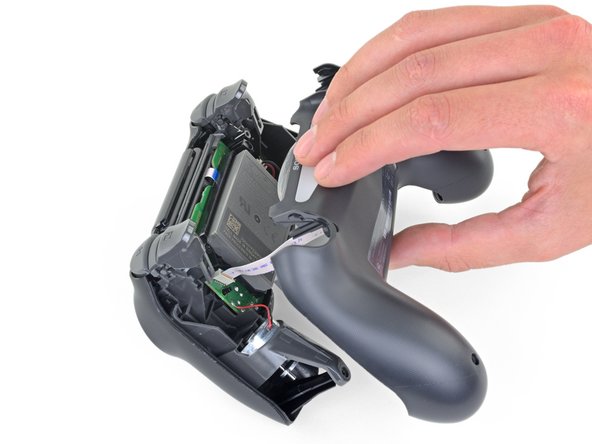
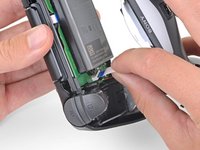
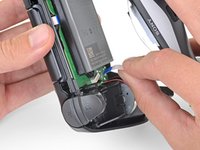
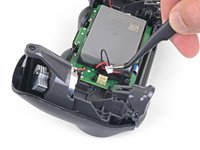
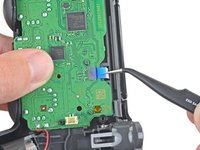
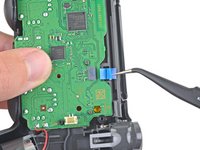
Use a pair of tweezers to pull the battery's power connector straight up from the motherboard.
-
-
-
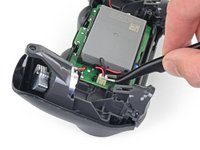
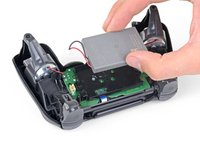
Use a Phillips screwdriver to remove the 6.4 mm-long screw securing the battery bracket.
-


To reassemble your device, follow the above steps in reverse order.
Take your e-waste to an R2 or e-Stewards certified recycler.
Repair didn’t go as planned? Check out our Answers community for troubleshooting help.
To reassemble your device, follow the above steps in reverse order.
Take your e-waste to an R2 or e-Stewards certified recycler.
Repair didn’t go as planned? Check out our Answers community for troubleshooting help.
Cancelar: não concluí este guia.
13 outras pessoas executaram este guia.

2 comentários
I have followed the steps with an ifixit replacement board, but the controller doesn't stay on after connecting via bluethoot, and the usb connection is not working either, i've checked with the damaged board and all of that is working correctly.
Is there any additional steps to make it work? Did i received a faulty board?
Update to this comment, the battery was dead, so as of now, it is just the usb port that doesn't work, but just with the replacement board, it is brand new from ifixit store, so i'm still thinking it is faulty.