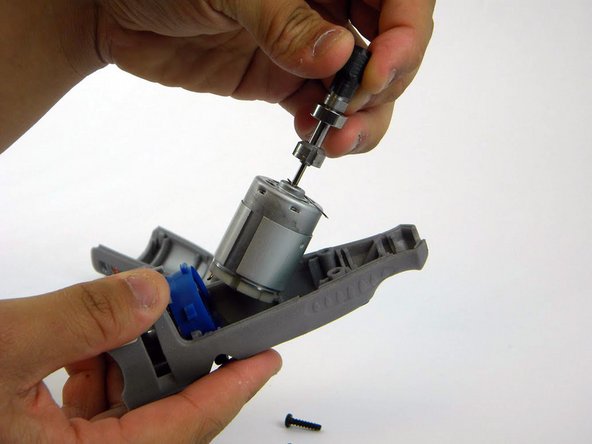
Ir para o conteúdo principal

Dremel 7300 MiniMite Cordless Motor-Shaft Assembly Replacement

O que você precisa

  1. Dremel 7300 MiniMite Cordless Motor-Shaft Assembly Replacement, Battery: passo 1, imagem 1 %32 Dremel 7300 MiniMite Cordless Motor-Shaft Assembly Replacement, Battery: passo 1, imagem 2 %32 Dremel 7300 MiniMite Cordless Motor-Shaft Assembly Replacement, Battery: passo 1, imagem 3 %32
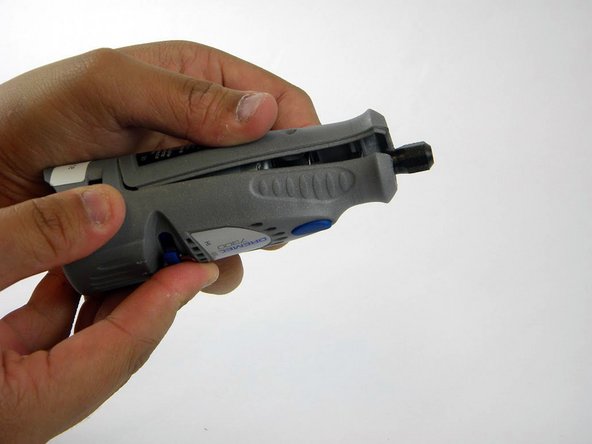
    • Pull back on the release tabs to disconnect the battery pack from the housing.

    • When installing a new battery, you may need to charge it before using it.

  2. Dremel 7300 MiniMite Cordless Motor-Shaft Assembly Replacement, Motor-Shaft Assembly: passo 2, imagem 1 %32 Dremel 7300 MiniMite Cordless Motor-Shaft Assembly Replacement, Motor-Shaft Assembly: passo 2, imagem 2 %32 Dremel 7300 MiniMite Cordless Motor-Shaft Assembly Replacement, Motor-Shaft Assembly: passo 2, imagem 3 %32
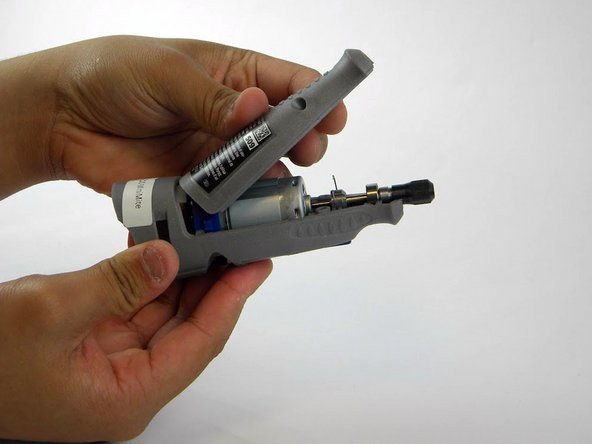
    • Remove the two screws from the back of the device with the TR10 Torx Security screwdriver.

    • Make sure you have removed the battery before proceeding as accidentally powering-on the device while disassembling is dangerous due to the high-speed components inside.

  3. Dremel 7300 MiniMite Cordless Motor-Shaft Assembly Replacement: passo 3, imagem 1 %32 Dremel 7300 MiniMite Cordless Motor-Shaft Assembly Replacement: passo 3, imagem 2 %32 Dremel 7300 MiniMite Cordless Motor-Shaft Assembly Replacement: passo 3, imagem 3 %32
    • Lift off the unscrewed plastic cover at an angle, away from the tip of the device.

    • Gently lift the cover. It won't take much force to remove it.

  4. Dremel 7300 MiniMite Cordless Motor-Shaft Assembly Replacement: passo 4, imagem 1 %32 Dremel 7300 MiniMite Cordless Motor-Shaft Assembly Replacement: passo 4, imagem 2 %32 Dremel 7300 MiniMite Cordless Motor-Shaft Assembly Replacement: passo 4, imagem 3 %32
    • Lift the tip of the motor-shaft assembly gently, then pull the assembly out.

    • The blue battery contact and the spring for the shaft lock button may pop out when you remove the motor-shaft assembly. Make sure to keep track of these pieces, as they are very small.

Conclusão

To reassemble your device, follow these instructions in reverse order.

3 outras pessoas executaram este guia.

Michael Smith

Membro desde: 02/10/16

175 Reputação

Autoria de 1 guia

Equipe

USF Tampa, Team 3-4, Sullivan Spring 2016 Membro de USF Tampa, Team 3-4, Sullivan Spring 2016

USFT-SULLIVAN-S16S3G4

Membros da 4

Autoria de 4 guias

0 comentários

Adicione um comentário

Exibir estatísticas:

Últimas 24 horas: 1

Últimos 7 dias: 6

Últimos 30 dias: 45

Duração total: 3,095