Introdução
If the domestic waterworks briefly in a row always goes on and no pressure can hold more so usually the water bubble is broken, that is leaking.
The water bubbles have they hold different life with me so 1-2 years, probably they are attacked by the corrosion of the boiler, much maybe a stainless steel boiler at this point would be better suited. I made the best experiences with the EDMP however only with the high quality membranes. The cheap are torn after 2 months or something like that.
O que você precisa
-
-
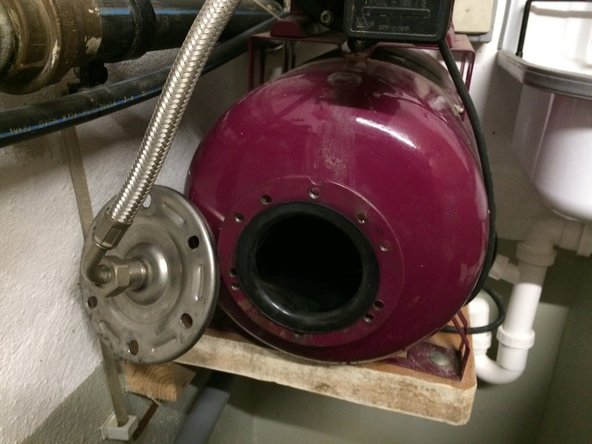
Domestic waterworks make off, then close the shut-off valve from the water inlet. Then Depressurize the waterworks by the water from a tap.
-
-
-
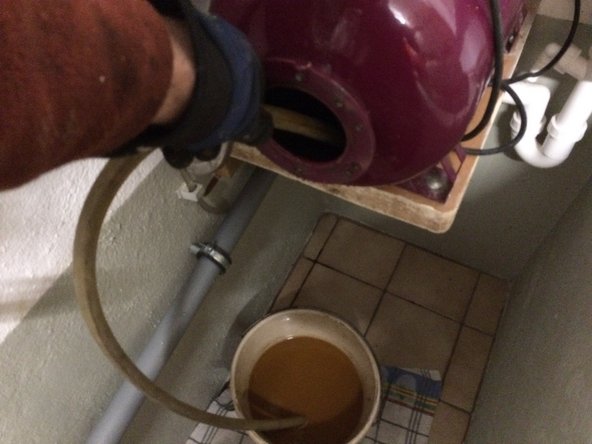
Loosen the screws with a 13 mm ring spanner, caution it runs out the water. Best to make a bucket to catch the water including. Then remove the cover. You can see the old bag. This can now be removed. The water bag is very dirty, therefore it is recommended to dress gloves
-
-
-
-
Remove the water bag. Now is still the remaining water from the leaky water bag in the boiler. With a hose through the rest of the water suction vacuum.
-
-
-
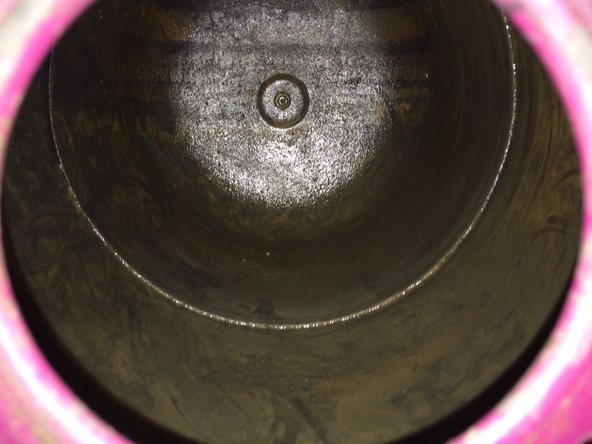
The boiler then clean with old rags, since this has quite a rust deposits.
-
-
-
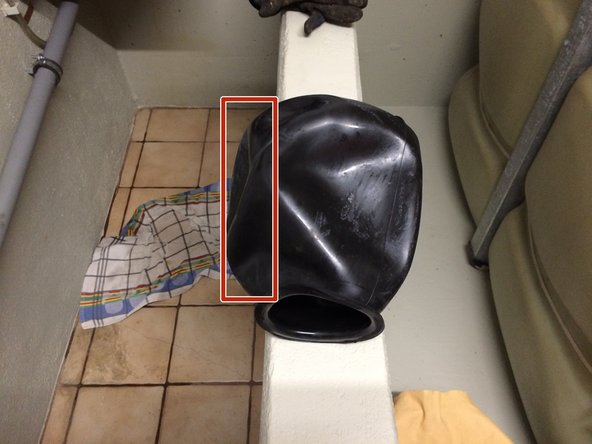
Install the new water bag and then screw the lid. The screws should be not to tight. Please make sure that the water bag is properly seated. Usually this is more curved on a page, this page comes down.
-
-
-
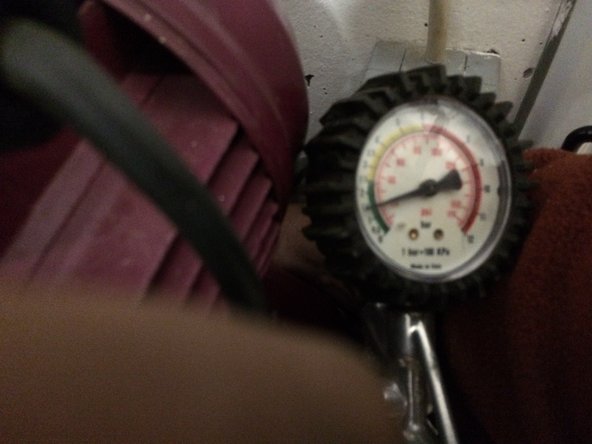
With a compressor or even foot pump produce about 1.5 bar pressure in the boiler. There should be no water in it. Then re-open the supply and take the House water system in operation. Possible must be drawn on a $!^&* to fill the pump a little water.
-


The water system should work now correctly.
The water system should work now correctly.
Cancelar: não concluí este guia.
3 outras pessoas executaram este guia.
Um agradecimento especial a esses tradutores:
100%


Estes tradutores estão nos ajudando a consertar o mundo! Quer contribuir?
Comece a traduzir ›

3 comentários
Das Wasser ist natürlich in der Blase, Der Druck von 1,5 bar ist im Kessel , Den muss man mit einem Kompressor einstellen, jedoch darf zu diesem Zeitpunkt kein Wasser in der Blase sein. Also kurz nach dem Einbau. Wenn dann die Blase gefüllt wird und das Wasserwerk angeht wird ja der Druck in der Blase gemessen. Wenn jetzt kein Vordruck im Kessel da wäre würde das Hauswasserwerk ziemlich schnell ausschalten.
Hallo zusammen, ich habe bei einem Güde Inox 100/24 genau nach deinen Angaben gearbeitet. Leider wird der Deckel vorne nicht mehr dicht und es tritt Wasser aus.
hast du einen Tip warum?