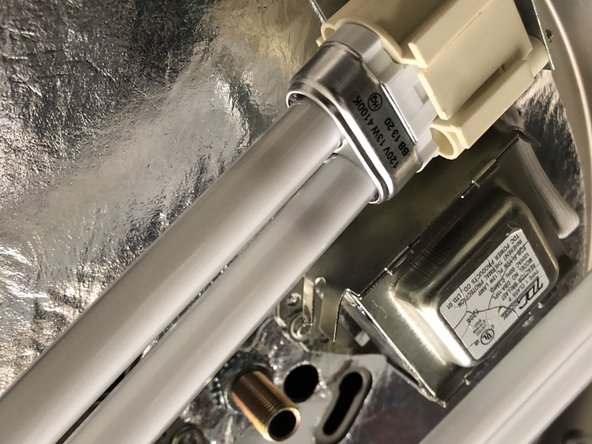
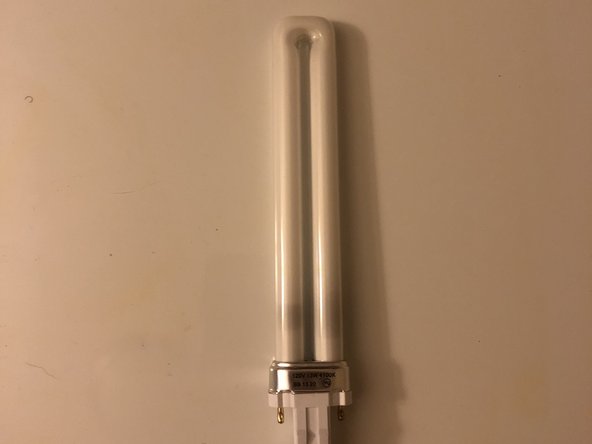
Ir para o conteúdo principal

Dome Ceiling Light Bulb Replacement

O que você precisa

  1. Dome Ceiling Light Bulb Replacement, Light Bulb: passo 1, imagem 1 %32 Dome Ceiling Light Bulb Replacement, Light Bulb: passo 1, imagem 2 %32 Dome Ceiling Light Bulb Replacement, Light Bulb: passo 1, imagem 3 %32
    • Before you start anything, make sure that the light switch has been turned off to avoid any electrical problems.

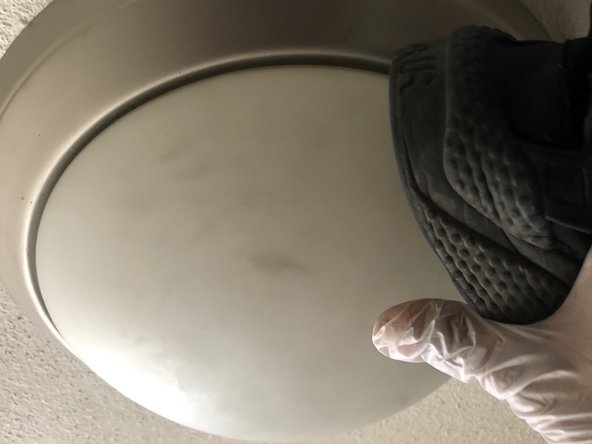
    • Gently turn the light in a counterclockwise direction with a gloved hand.

    • If the light is stuck, you can use the the grippier sole of a shoe to lightly nudge the light loose.

    • When the light starts moving enough, spin the light counterclockwise with the glove until it comes off.

  2. Dome Ceiling Light Bulb Replacement: passo 2, imagem 1 %32 Dome Ceiling Light Bulb Replacement: passo 2, imagem 2 %32 Dome Ceiling Light Bulb Replacement: passo 2, imagem 3 %32
    • Put the lid on a soft safe surface.

    • Get the rag or cloth wet in order to wipe down the lid.

    • Clean the lid inside and out.

  3. Dome Ceiling Light Bulb Replacement: passo 3, imagem 1 %32 Dome Ceiling Light Bulb Replacement: passo 3, imagem 2 %32 Dome Ceiling Light Bulb Replacement: passo 3, imagem 3 %32
    • Turn the light on without the cover to determine which bulb is blown out.

    • You can also check if the light looks black near the connection as a symbol it is going bad.

    • Turn off the power from the circuit breaker and turn off any light switches that provide power to the item you’re working on.

  4. Dome Ceiling Light Bulb Replacement: passo 5, imagem 1 %32 Dome Ceiling Light Bulb Replacement: passo 5, imagem 2 %32
    • Pull out the old burnt light, being sure not to drop it.

    • Plug the new replacement light into the plug in the light fixture.

    • In my case the bulb was a 120v 13w 4100k. This can very depending on model of light unit.

    • Watch how your light is supposed to match up with the plug when putting the new light in.

  5. Dome Ceiling Light Bulb Replacement: passo 6, imagem 1 %32
    • Turn on the light and make sure both lights turn on. If it doesn't turn on try pushing in the light more—it's a common error when installing.

  6. Dome Ceiling Light Bulb Replacement: passo 7, imagem 1 %32 Dome Ceiling Light Bulb Replacement: passo 7, imagem 2 %32
    • Spin the lid clockwise with your gloved hand until you can't turn it anymore.

    • Hit the lid clockwise with the heel of the shoe to tighten up the lid and avoid any accidents and loose ends.

  7. Dome Ceiling Light Bulb Replacement: passo 8, imagem 1 %32 Dome Ceiling Light Bulb Replacement: passo 8, imagem 2 %32
    • Using the wet rag or cloth, again clean up the light to remove any shoe marks you might have caused in the process.

    • Turn on light and watch your hard work glow!

Conclusão

To reassemble your device, follow these instructions in reverse order.

Jalen Brown

Membro desde: 01/26/21

145 Reputação

Autoria de 1 guia

Equipe

2 comentários

Thank you so much for your great instructions! I had tried twisting both clockwise and counter clockwise to get to the bulbs, but was afraid of breaking it because it is twisted on so tight. Now that I found your instructions, I will apply a bit more elbow grease.

Thanks again!

Gruneichtime - Responder

Hi any idea where I can get a replacement glass dome for these types of light?

Ray Ray - Responder

Adicione um comentário

Exibir estatísticas:

Últimas 24 horas: 7

Últimos 7 dias: 67

Últimos 30 dias: 340

Duração total: 9,742