Introdução
This guide demonstrates how to replace the joystick covers of your Diswoe Switch-01 controller. Over time, controllers have a high likelihood of experiencing stick drift which is when the joystick makes the “character” or whatever you are controlling with the joystick move on its own without any input. Follow this guide if the joystick has stopped working and cleaning the contacts does not work.
Before you begin the repair, make sure the controller is off and disconnected from the console.
O que você precisa
-
-
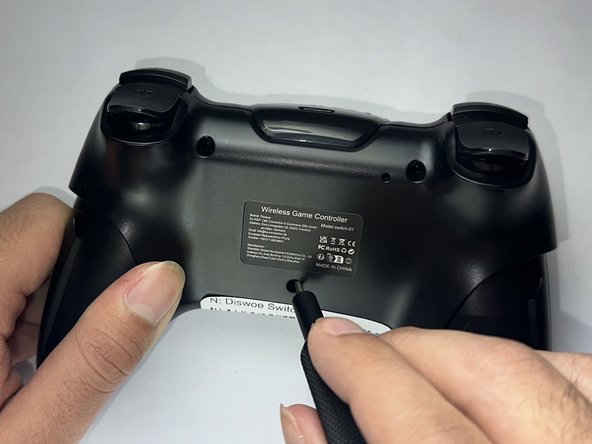
Use a Phillips screwdriver to remove the two screws at the bottom of the hand grips.
-
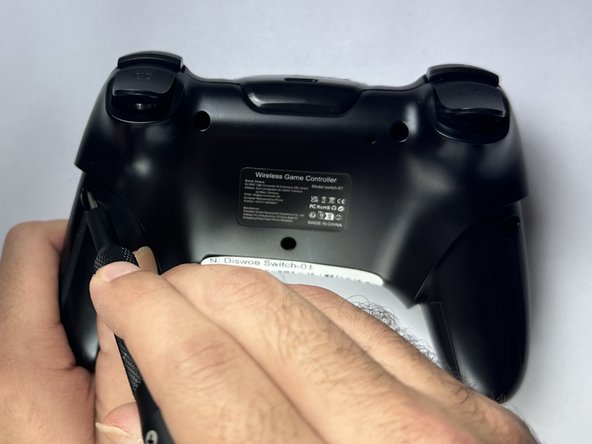
Remove the handgrips from the controller.
-
-
-
-
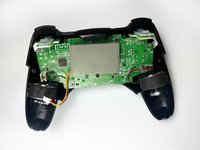
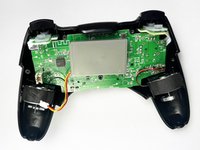
Push on alternating sides of the battery connector to "walk" it out of its socket.
-
If that doesn't work, use a pair of tweezers to firmly grip the sides of the connector and pull straight away from the socket. Hold the tweezers closer to the connector to get a better grip.
-
Additionally, if the previous step didn’t work, use the arms of a pair of sharp tweezers to gently push the connector out of its socket by inserting them into the cutouts.
-
-
-
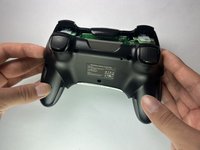
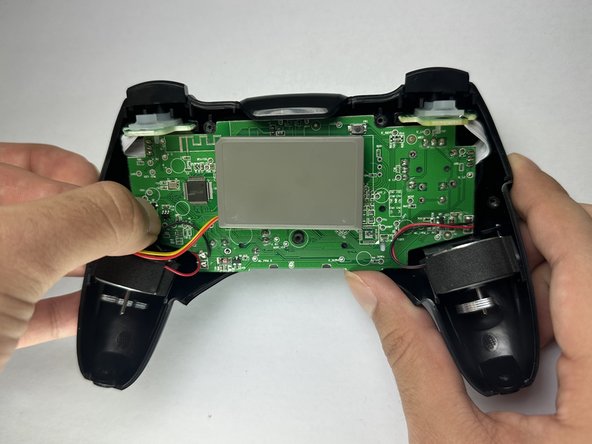
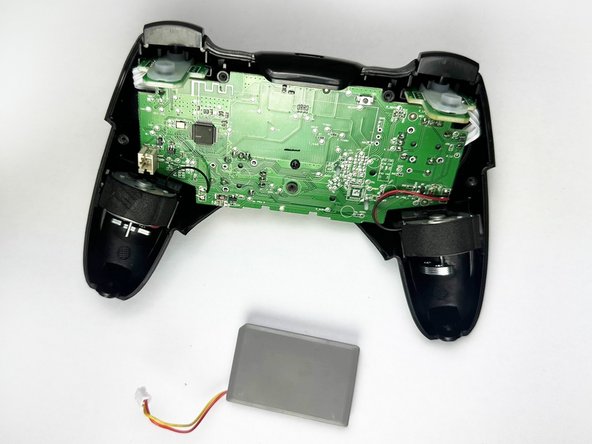
Next you will remove the PCB that is slotted in where the triggers are located and as well as the motors that are at the bottom of the controller
-
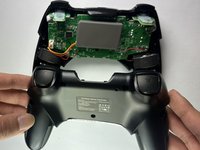
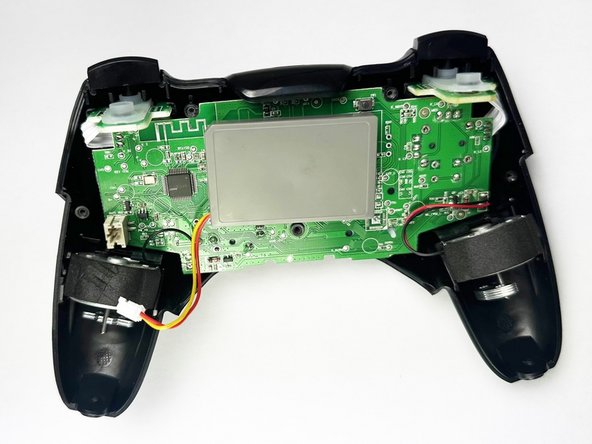
With everything disconnected we are able to remove the motherboard completely without any issues
-
-
-
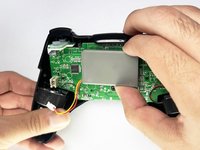
With the motherboard completely removed we can start to clean the underside of the joystick to clean out any debris that can cause stick drift by using dust cleaner or compressed air
-
It isn’t necessary but it is highly recommended in order to get the best results
-
Once the cleaning is done you’ll reassemble the controller and calibrate it on the systems software
-


To reassemble your device, follow these instructions in reverse order. Take your e-waste to an R2 or e-Stewards certified recycler.
To reassemble your device, follow these instructions in reverse order. Take your e-waste to an R2 or e-Stewards certified recycler.
Cancelar: não concluí este guia.
Uma outra pessoa concluiu este guia.

Equipe

CSU Los Angeles, Team 2-3, Kershman Fall 2024 Membro de CSU Los Angeles, Team 2-3, Kershman Fall 2024
CSULA-KERSHMAN-F24S2G3
Membros da 5
Autoria de 3 guias