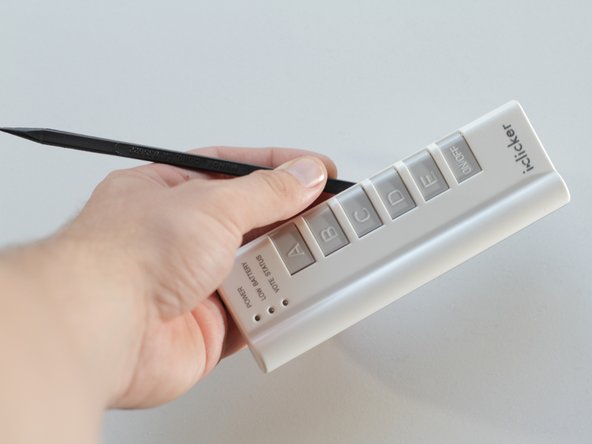
Ir para o conteúdo principal

O que você precisa

Este teardown (desmontagem analítica) não é um guia de reparo. Para reparar seu/sua iClicker, use o nosso manual de serviço.

  1. Disassembling iClicker Device, Disassembling iClicker Device: passo 1, imagem 1 %32
    • Behold the iclicker in all its interactive and educational beauty.

  2. Disassembling iClicker Device: passo 2, imagem 1 %32
    • Place the device on a flat surface, buttons facing down.

    • Remove the battery cover and the three batteries within.

  3. Disassembling iClicker Device: passo 3, imagem 1 %32 Disassembling iClicker Device: passo 3, imagem 2 %32
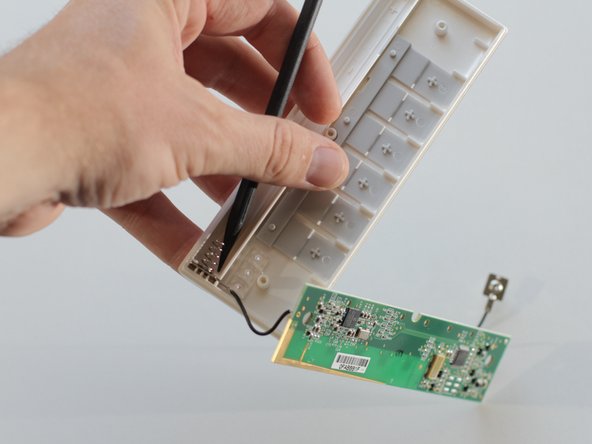
    • Remove the two visible screws using a #00 Phillips screwdriver.

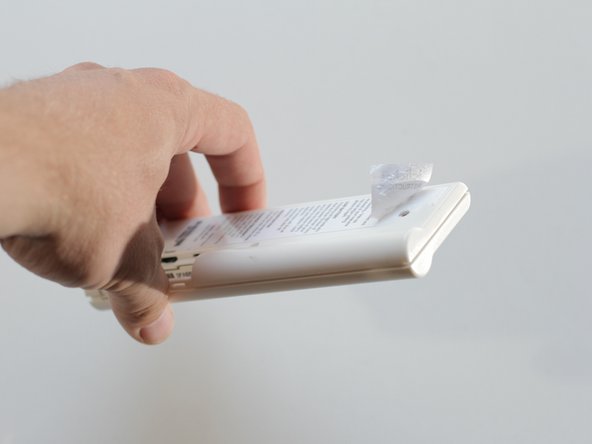
    • Oops! Don't forget a hidden third screw beneath the factory label.

    • Peel back the corner of the label to reveal the hidden screw.

    • If you wish to maintain the integrity of the label, a blowdryer may be used to soften the adhesive on the label before removal.

  4. Disassembling iClicker Device: passo 4, imagem 1 %32 Disassembling iClicker Device: passo 4, imagem 2 %32
    • Depending on how much abuse your iclicker has endured, you might be able to separate the front and rear panels of the iclicker with your fingers.

    • For the more resistent iclickers, a spudger may be employed to separate the pieces.

  5. Disassembling iClicker Device: passo 5, imagem 1 %32
    • Your iclicker is now exposed for all its worth.

    • The back panel can be set aisde, as the remaining components are housed in the front panel.

  6. Disassembling iClicker Device: passo 6, imagem 1 %32 Disassembling iClicker Device: passo 6, imagem 2 %32
    • Using a spudger, gently pry the battery connectors from the front panel.

  7. Disassembling iClicker Device: passo 7, imagem 1 %32
    • If your circuit board is stuck in the front panel, use a spudger to lift the circuit board from the front panel.

  8. Disassembling iClicker Device: passo 8, imagem 1 %32
    • The buttons can be easily removed from the front assembly sans spudger.

  9. Disassembling iClicker Device: passo 9, imagem 1 %32
    • Don't lose the small LED cover sitting precariously in the front panel.

  10. Disassembling iClicker Device: passo 10, imagem 1 %32
    • Your iclicker is now disassembled.

Um comentário

What is an iClicker ?

furbies - Responder

Adicione um comentário

Exibir estatísticas:

Últimas 24 horas: 0

Últimos 7 dias: 1

Últimos 30 dias: 6

Duração total: 7,765