Ir para o conteúdo principal

Disassembling Samsung Galaxy Ace Logic Board

O que você precisa

  1. Disassembling Samsung Galaxy Ace Logic Board, Logic Board: passo 1, imagem 1 %32 Disassembling Samsung Galaxy Ace Logic Board, Logic Board: passo 1, imagem 2 %32
    • Remove the battery cover and the battery

  2. Disassembling Samsung Galaxy Ace Logic Board: passo 2, imagem 1 %32 Disassembling Samsung Galaxy Ace Logic Board: passo 2, imagem 2 %32
    • Remove the 7 silver screws with a Phillips #000 screw driver.

    • Sometimes the green one could be a little difficult. Use a tweezer for get it out.

  3. Disassembling Samsung Galaxy Ace Logic Board: passo 3, imagem 1 %32 Disassembling Samsung Galaxy Ace Logic Board: passo 3, imagem 2 %32 Disassembling Samsung Galaxy Ace Logic Board: passo 3, imagem 3 %32
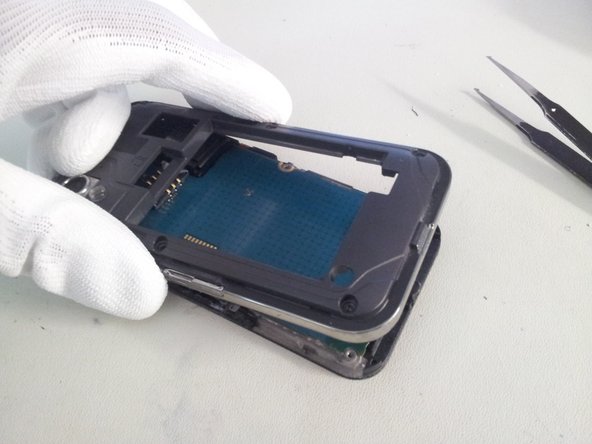
    • Lift gently the back cover from the screen assembly from the bottom.

  4. Disassembling Samsung Galaxy Ace Logic Board: passo 4, imagem 1 %32 Disassembling Samsung Galaxy Ace Logic Board: passo 4, imagem 2 %32
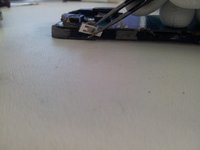
    • Use a flat tweezer for take off the flexible on/off button from the frame.

    • Be careful, the flexible is very delicate; it could be cut if you go too fast.

  5. Disassembling Samsung Galaxy Ace Logic Board: passo 5, imagem 1 %32 Disassembling Samsung Galaxy Ace Logic Board: passo 5, imagem 2 %32 Disassembling Samsung Galaxy Ace Logic Board: passo 5, imagem 3 %32
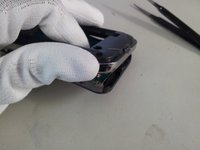
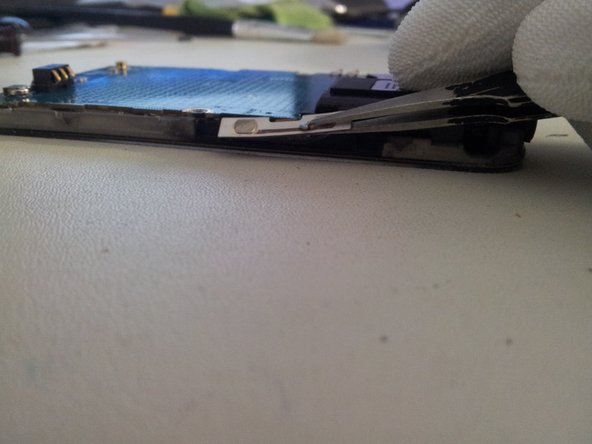
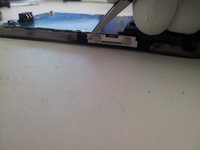
    • Use a flat tweezer and take off gently Flexible volume button from the left side.

    • Do the same for the right side.

    • Then lift the flex slowly, if you go fast you may cut the cable.

  6. Disassembling Samsung Galaxy Ace Logic Board: passo 6, imagem 1 %32
    • Lift the microphone from the logic board.

  7. Disassembling Samsung Galaxy Ace Logic Board: passo 7, imagem 1 %32 Disassembling Samsung Galaxy Ace Logic Board: passo 7, imagem 2 %32 Disassembling Samsung Galaxy Ace Logic Board: passo 7, imagem 3 %32
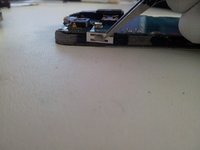
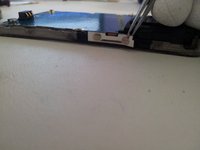
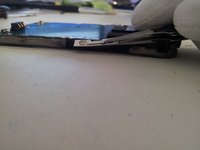
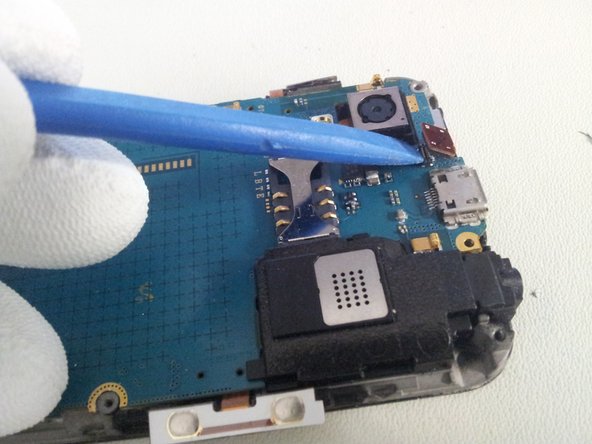
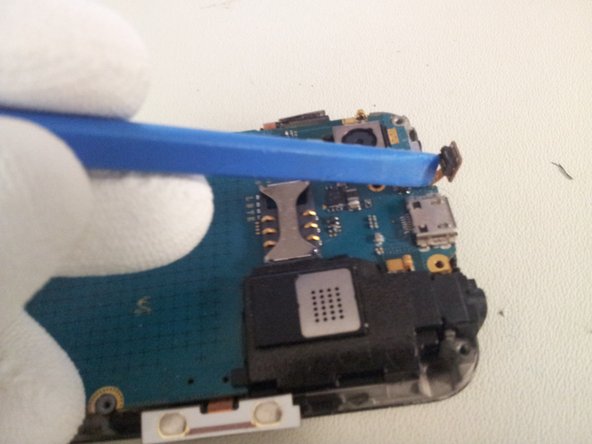
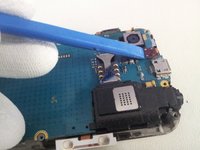
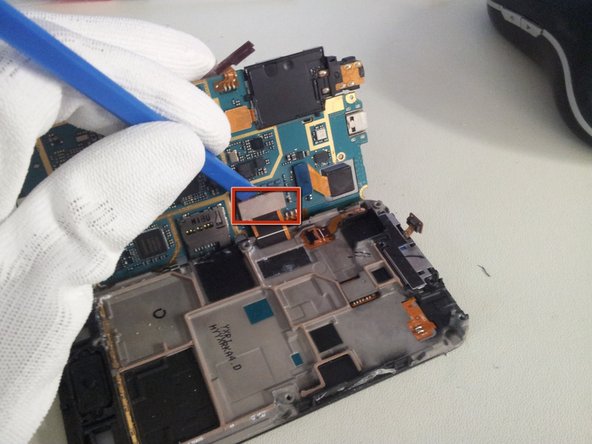
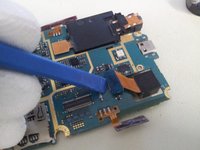
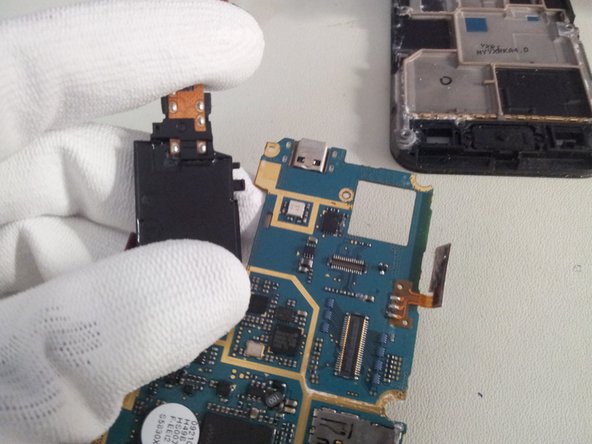
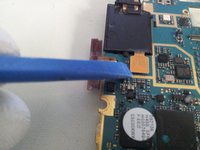
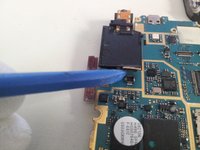
    • Lift the sensor/earpiece cable with the opening tool.

    • Don't force, you may damage the soldering.

  8. Disassembling Samsung Galaxy Ace Logic Board: passo 8, imagem 1 %32 Disassembling Samsung Galaxy Ace Logic Board: passo 8, imagem 2 %32 Disassembling Samsung Galaxy Ace Logic Board: passo 8, imagem 3 %32
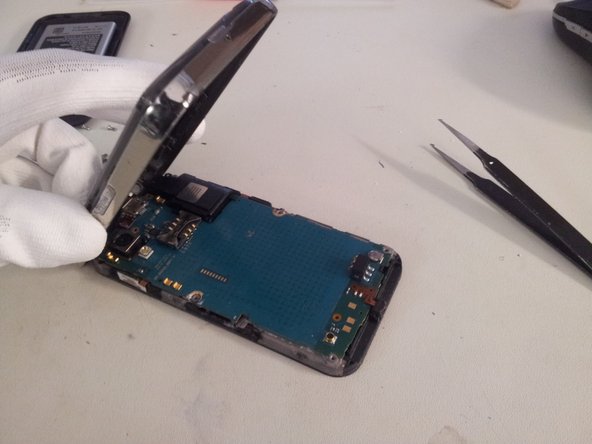
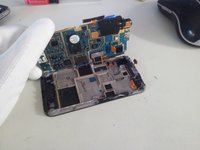
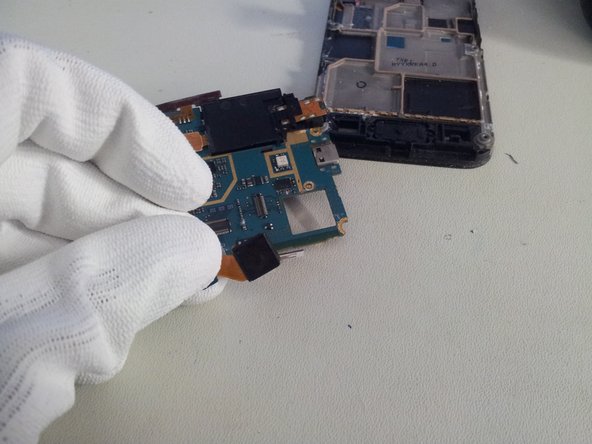
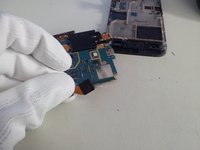
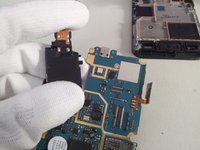
    • Lift the logic board from the right side.

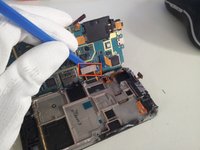
    • Use the removal tool to unplug the display cable from the logic board.

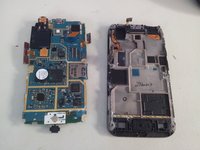
    • You can now separate the Logic board from the display assembly.

  9. Disassembling Samsung Galaxy Ace Logic Board: passo 9, imagem 1 %32 Disassembling Samsung Galaxy Ace Logic Board: passo 9, imagem 2 %32
    • Use the removal tool to unclip the camera module from the Logic board.

  10. Disassembling Samsung Galaxy Ace Logic Board: passo 10, imagem 1 %32 Disassembling Samsung Galaxy Ace Logic Board: passo 10, imagem 2 %32 Disassembling Samsung Galaxy Ace Logic Board: passo 10, imagem 3 %32
    • Use the removal tool or a spudger to unplug speaker module cable

    • And separate the speaker module from Logic board.

    • Be caution, the module is fixed by plastic teeth to the Logic board. Don't force, just make little wave-movements and the speaker comes on his own.

  11. Disassembling Samsung Galaxy Ace Logic Board: passo 11, imagem 1 %32
    • Now you can work with the Logic board.

Conclusão

To reassemble your device, follow these instructions in reverse order.

34 outras pessoas executaram este guia.

finster

Membro desde: 08/17/11

1.986 Reputação

Autoria de 1 guia

2 comentários

Thanks for the post. This is really Helpful

Dave Dayanan - Responder

im curently selling one thx to you

Kyle at work - Responder

Adicione um comentário

Exibir estatísticas:

Últimas 24 horas: 0

Últimos 7 dias: 3

Últimos 30 dias: 13

Duração total: 26,697