Introdução
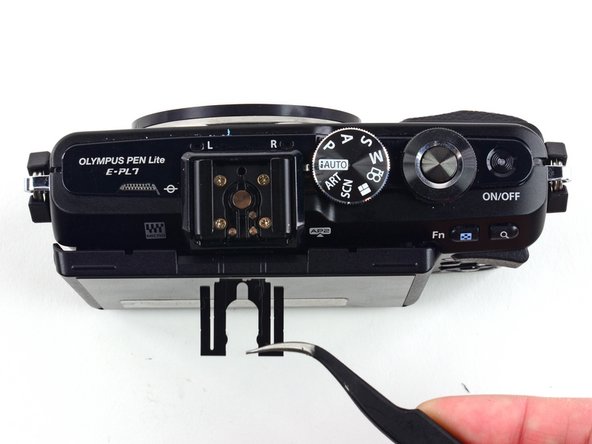
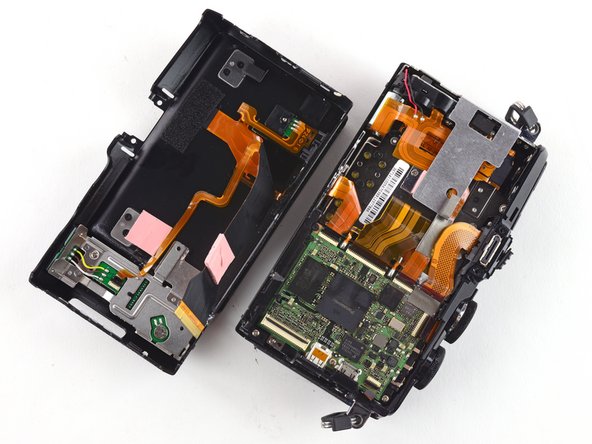
This guide gives you a look at the major components of the Olympus Pen E-PL7 and provides complete disassembly instructions.
We highly suggest you use a magnetic project mat or an organization tray. This camera has many different types of screws and keeping them organized is key to proper reassembly.
O que você precisa
-
-
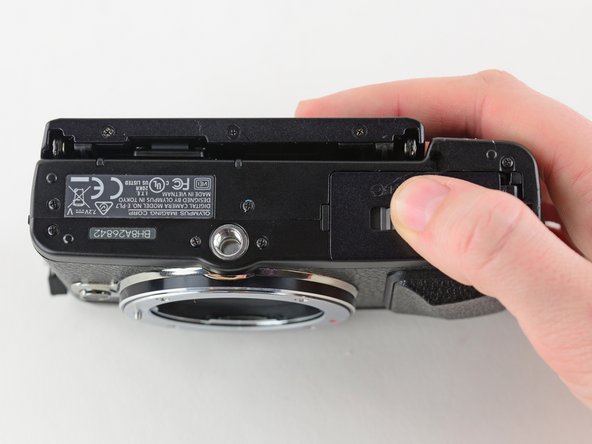
Turn the camera upside down.
-
Push the grey tab to the right to open the battery compartment.
-
Pull out the battery.
-
-
-
Use a Phillips #00 screwdriver to remove the six 2 mm screws on the bottom of the camera.
-
-
-
-
Use a Phillips #00 screwdriver to remove the two 1.6 mm screws near the left hand grip.
-
-
-
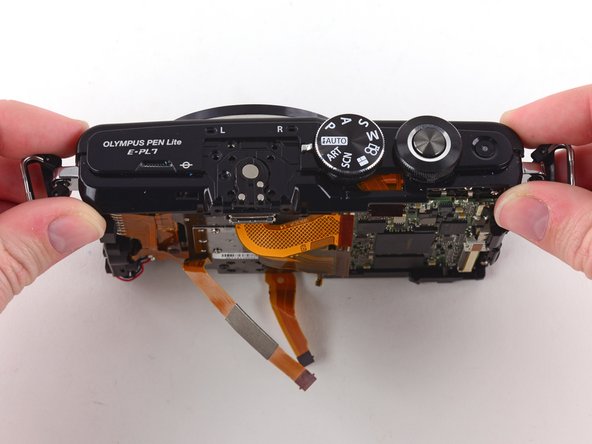
Desolder the large ribbon cable from the motherboard at the solder points on either side of its ZIF connector
-
Learn more about soldering with iFixit's Soldering Technique Guide.
-
To reassemble your device, follow these instructions in reverse order.
Cancelar: não concluí este guia.
8 outras pessoas executaram este guia.
2Comentários do guia
Step 23. You should not be using pointed tweezers here. Or on any of the ribbon cables. They put pressure on the tip only only and could damage across tracks on the ribbon cable. Small long nose pliers with smooth jaws or even small pliers again with smooth jaws. Also for assembly the tweezers would be useless in many ribbon cable reinsertion positions. BTW they are nice tweezers but not for ribbon cables.


