Ir para o conteúdo principal

Este guia tem alterações mais recentes. Mudar para a última versão não verificada.

Disassembling Numark TT1600 Circuit board

O que você precisa

  1. Disassembling Numark TT1600 Circuit board, Circuit board: passo 1, imagem 1 %32 Disassembling Numark TT1600 Circuit board, Circuit board: passo 1, imagem 2 %32
    • Flip over the turntable and remove the nine screws on the outer edges.

  2. Disassembling Numark TT1600 Circuit board: passo 2, imagem 1 %32
    • Remove the back cover by pulling it apart.

  3. Disassembling Numark TT1600 Circuit board: passo 3, imagem 1 %32
    • Locate the largest circuit board inside the device.

  4. Disassembling Numark TT1600 Circuit board: passo 4, imagem 1 %32
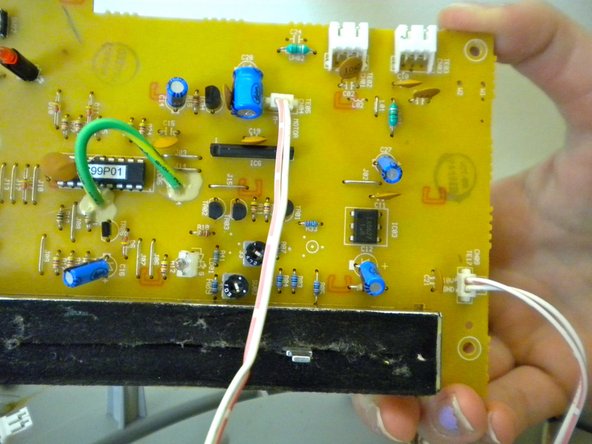
    • Locate the wires that are plugged into the side of the circuit board.

  5. Disassembling Numark TT1600 Circuit board: passo 5, imagem 1 %32 Disassembling Numark TT1600 Circuit board: passo 5, imagem 2 %32
    • Gently pull out the wires plugged into the circuit board.

  6. Disassembling Numark TT1600 Circuit board: passo 6, imagem 1 %32 Disassembling Numark TT1600 Circuit board: passo 6, imagem 2 %32
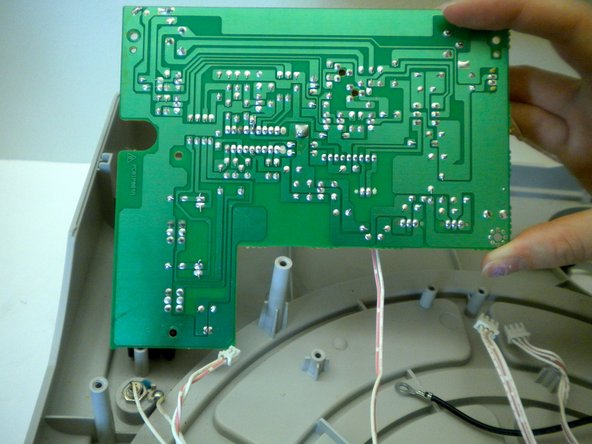
    • Once the wires are unplugged you will notice two more wires plugged into the bottom of the circuit board.

    • Note that these wires are soldered onto the circuit, indicated by the red markers.

    • To completely remove the circuit board these wires must be removed.

Conclusão

To reassemble your device, follow these instructions in reverse order.

Uma outra pessoa concluiu este guia.

Sukhjinder

Membro desde: 10/12/11

17 Reputação

Autoria de 1 guia

Equipe

Cal Poly, Team 17-14, Regan Fall 2011 Membro de Cal Poly, Team 17-14, Regan Fall 2011

CPSU-REGAN-F11S17G14

Membros da 4

Autoria de 11 guias

0 comentários

Adicione um comentário

Exibir estatísticas:

Últimas 24 horas: 0

Últimos 7 dias: 2

Últimos 30 dias: 8

Duração total: 1,517