Esta versão pode conter edições incorretas. Mude para o último instantâneo verificado.
O que você precisa
-
Este passo não foi traduzido. Ajude a traduzi-lo
-
To remove the battery from the casing, grab the front panel and back panel with opposite hands (as shown). The back panel is the same as the battery.
-
With your index finger, push in the button on the bottom of the battery to release it.
-
Pull the battery away from the phone.
-
-
Este passo não foi traduzido. Ajude a traduzi-lo
-
After removing the battery, the front phone casing becomes accessible.
-
Locate the two star-shaped T6 screws on the bottom end of the rear of the phone, underneath the battery, as indicated by the red circles.
-
Remove these two screws using the Torx T6 Screwdriver.
-
-
Este passo não foi traduzido. Ajude a traduzi-lo
-
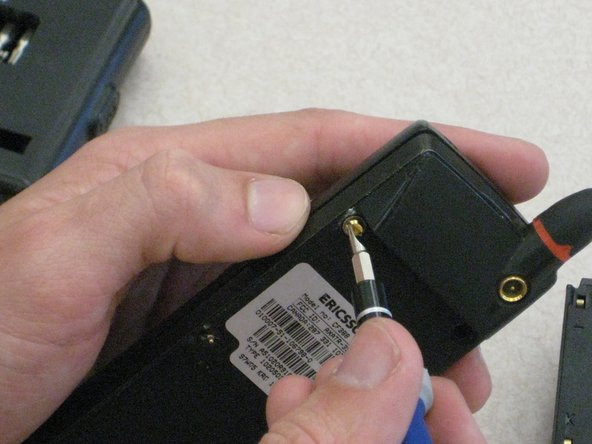
Locate the top two U-shaped screws on the back of the phone, as shown by the red circles.
-
Remove these two screws with a SP 2.6 screw driver.
-
-
-
Este passo não foi traduzido. Ajude a traduzi-lo
-
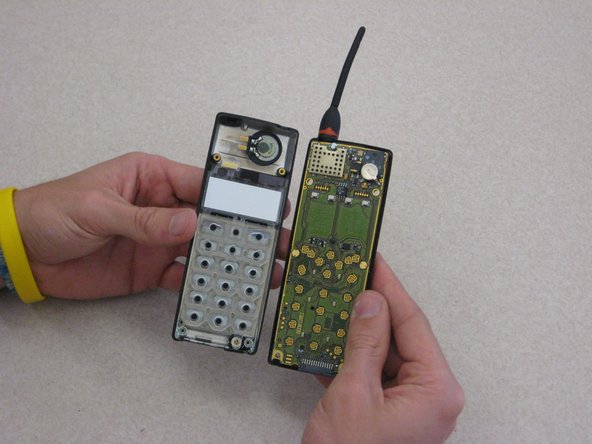
Grab opposite panels of the phone casing and carefully open and pull apart the phone, as shown in the image.
-
-
Este passo não foi traduzido. Ajude a traduzi-lo
-
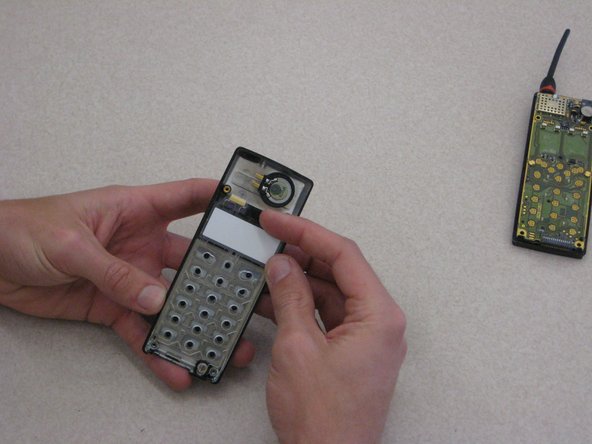
After removing the battery casing and taking apart the phone casing, the keypad is held in with a plastic skeleton structure as shown.
-
-
Este passo não foi traduzido. Ajude a traduzi-lo
-
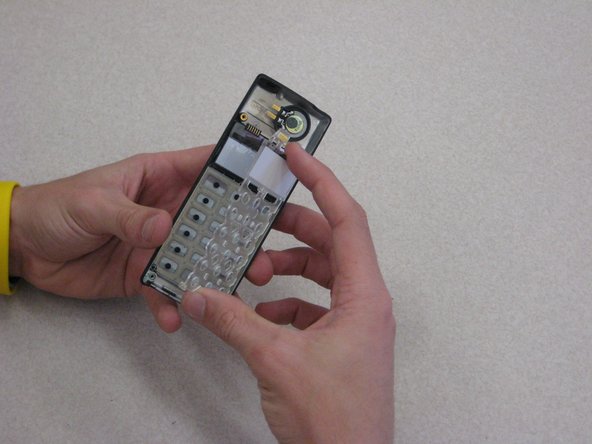
To remove the plastic skeleton structure, locate the tab at the top of the phone near the LCD display screen.
-
Carefully remove the skeleton by holding on the front phone casing with one hand and pull tab with your index finger while having your thumb at the bottom of the phone as shown.
-
-
Este passo não foi traduzido. Ajude a traduzi-lo
-
Although it is not completely necessary, removing the plastic keypad skeleton structure helps with the ease of removing the speaker.
-
Locate the speaker at the top of the phone, above the LCD display screen, as shown by the red circle.
-
-
Este passo não foi traduzido. Ajude a traduzi-lo
-
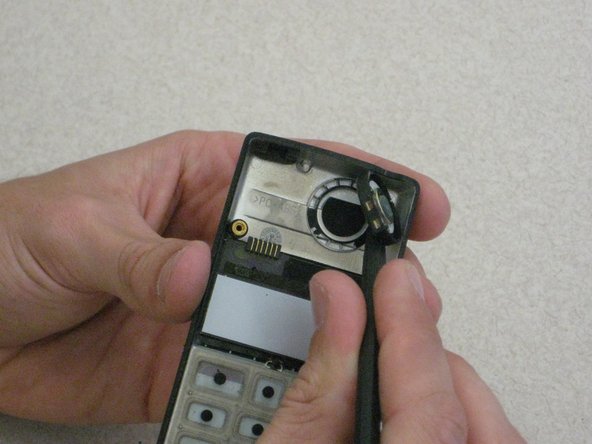
To remove the speaker, gently place a plastic pryer tool underneath the speaker.
-
Carefully, lift up the pryer tool to remove the speaker from the adhesive glue connecting to the phone casing.
-


Equipe

Clemson, Team 1-1, Benson Spring 2012 Membro de Clemson, Team 1-1, Benson Spring 2012
CLEM-BENSON-S12S1G1
Membros da 3
Autoria de 21 guias