O que você precisa
-
-
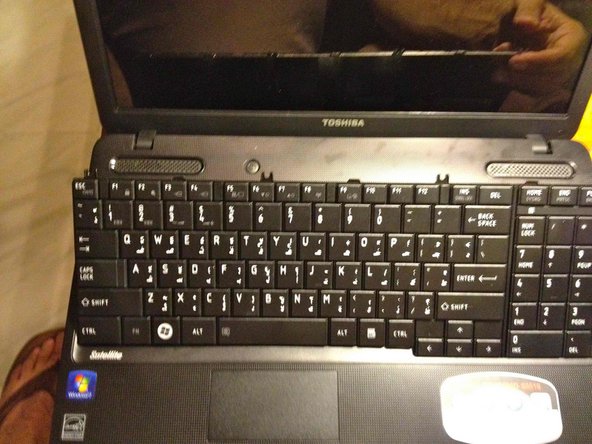
Make sure the laptop is powered off before starting. Remove the battery.
-
Use a plastic opening tool to pry out the narrow plastic lid.
-
Exercise caution when re-assembling: carefully and gently snap the lid back on. The plastic lid may easily break since it is made of a thin and soft plastic material.
-
-
-
-
Use the tip or the flat end of a nylon spudger to unlock the connector securing the flat cable of the keyboard to the logic board.
-
Pull the flat cable out not up.
-
When re-assembling, insert and hold the flat cable in place with one hand; use the other hand to lock the connecter using the tip or flat end of a nylon spudger. If you release the flat cable before locking the connector, it will most probably slip out.
-


To reassemble your device, follow these instructions in reverse order.
To reassemble your device, follow these instructions in reverse order.
Cancelar: não concluí este guia.
32 outras pessoas executaram este guia.

Equipe

7 comentários
I had to take my laptop apart to fix broken hinges which had been put in at factory was to stiff and it had cut the power connector inside. I replaced the power connector woth a new one and made a few little repairs, put everything back together but the keyboard did not work. After watching this video I redid the ribbon connection under the keyboard more carefully and and it works great. Thanks for posting this video. It was very helpful. This was my first time to work on a Laptop. Feeling great about my first laptop home repair.
What did you do about the hinges ? This one on my machine is to tight and broke ?
TIPS
There is a gold Torx male part located at F6.
You will have a hard time prying up there.
That's the worst issue.
There are tabs you will break off at F1, INS & HOME.
I broke two being careful.
You could hot glue in place if necessary.
DON'T BREAK the tabs on the ends of the lid.
Those keep it in place.
I thought the ribbon might be a stupid design like GE digital phones, not so.
Pop the connector using your fingernail.
The ribbon slides into place.
great design ...
Test & good to go ...
This was helpful thank you now my keyboard works