Introdução
Replacing the circuit board can also be used as a way to fix broken ports.
O que você precisa
-
-
With a J00 Philips head screwdriver, unscrew the two 4mm black screws located at the bottom of the device.
-
-
-
-
Using a plastic opening tool, gently pry up the three Zero Insertion Force Connectors (ZIF)
-
-
-
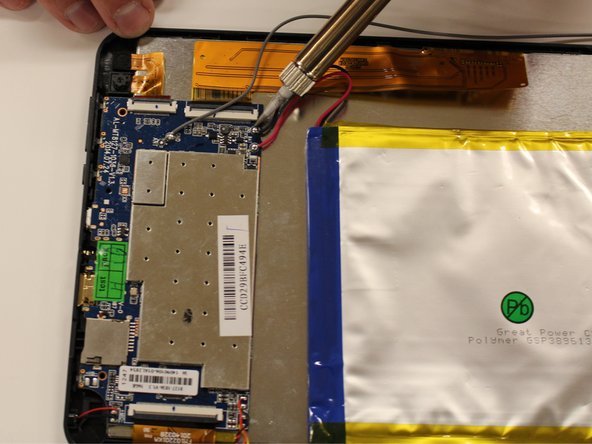
Using a Soldering station, desolder all 9 wires connected to the motherboard.
-
Start with the red and black positive and negative wires connected to the battery (2 wires).
-
Then move to the yellow and red twisted wires and black and red twisted wires connected to the speakers (4 wires).
-
Now desolder the single grey wire connected to the antenna (1 wire).
-
Lastly remove the black and red wires connected to the microphone (2 wires).
-


To reassemble your device, follow these instructions in reverse order.
To reassemble your device, follow these instructions in reverse order.
Cancelar: não concluí este guia.
2 outras pessoas executaram este guia.
Equipe

Eastern Washington University, Team 1-5, Matresse Fall 2015 Membro de Eastern Washington University, Team 1-5, Matresse Fall 2015
EWU-MATRESSE-F15S1G5
Membros da 4
Autoria de 10 guias
2 comentários
How can I remove the CMOS battery?
I NEED dl1010q MOTHER BOARD