Introdução
This guide will show you how to successfully replace your switch.
O que você precisa


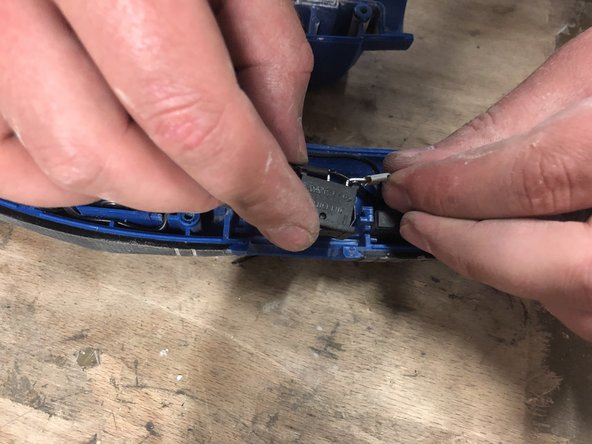


Quase terminado!
To reassemble perform steps in reverse.
Conclusão
To reassemble perform steps in reverse.
Um agradecimento especial a esses tradutores:
fr en
100%

HelloMacOS está nos ajudando a consertar o mundo! Quer contribuir?
Comece a traduzir ›
Equipe
