Introdução
Is the CD drive on your desktop computer not working? Use this guide to replace the malfunctioning CD drive in eight easy steps.
O que você precisa
-
-
Find a large table or flat non-carpeted space to work.
-
Unplug all external cables, including the power cable, from your computer.
 Pergunte ao FixBot
-
-
-
Find the screws that are holding together the side of your computer case and unscrew them.
-
Slide the side panel of the computer case toward the back of the case and remove it.
-
Repeat for second panel.
-
-
-
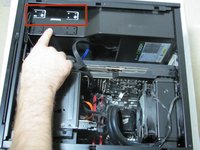
Depending on the case, It may be necessary to remove the top panel in order to get to the CD drive. If you can access the drive without removing the top, skip this step.
-
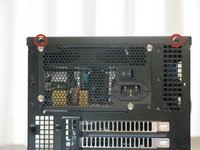
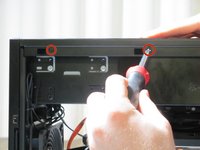
On the back of the computer, unscrew the screws connecting the top panel to the case.
-
Inside the computer, Unscrew the screws connecting the top panel to the case.
-
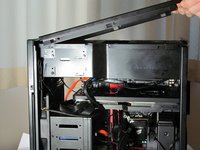
Slide the top panel backward and lift it off the case.
-
-
-
-
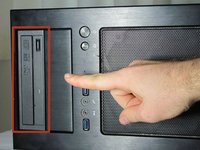
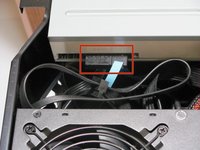
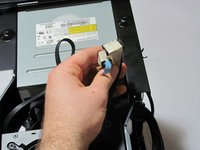
Locate the cables attached to the back of the CD drive.
-
Remove the cables. In order to do this gently but firmly grasp the cables and pull backwards.
-
-
-
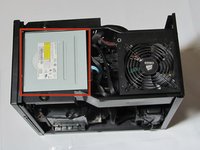
Get your new CD drive.
-
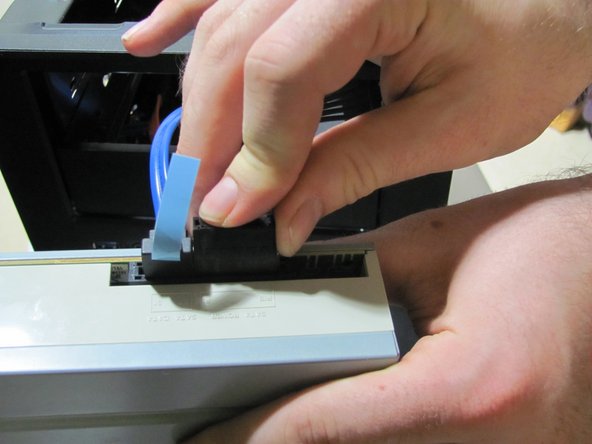
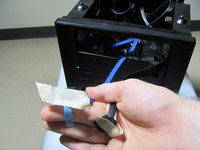
Pull the taped cables through the opening for the CD drive.
-
Remove the tape from the cables.
-
Plug the cables into the new CD drive.
-
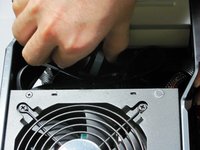
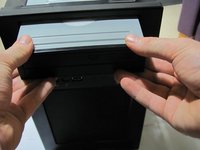
Slide the new CD drive back into the front of the case.
-


To reassemble your device, follow these instructions in reverse order.
Cancelar: não concluí este guia.
29 outras pessoas executaram este guia.
Equipe

Cal Poly, Team 23-2, Green Winter 2015 Membro de Cal Poly, Team 23-2, Green Winter 2015
CPSU-GREEN-W15S23G2
4 Membros
Autoria de 18 guias
2Comentários do guia
موقع سي جدا جدا لا يمكن الاعتماد علية
موقع سي لا يعتمد علية