Ir para o conteúdo principal

Dell VRP100 Lens Replacement

O que você precisa

  1. Dell VRP100 Lens Replacement, Cover Panel: passo 1, imagem 1 %32 Dell VRP100 Lens Replacement, Cover Panel: passo 1, imagem 2 %32 Dell VRP100 Lens Replacement, Cover Panel: passo 1, imagem 3 %32
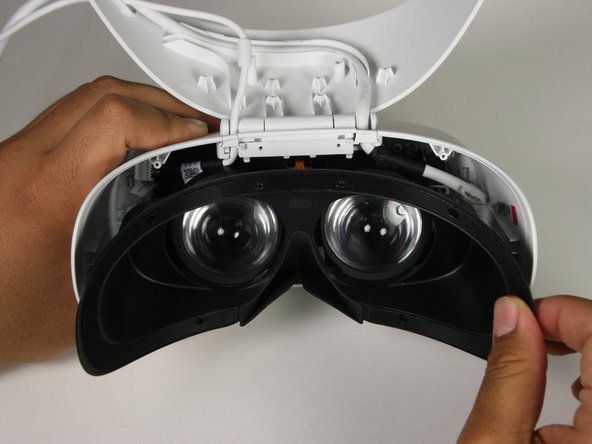
    • Remove the black foam padding by peeling away slowly.

    • Remove the front and back padding from the headset by peeling away slowly.

  2. Dell VRP100 Lens Replacement: passo 2, imagem 1 %32
    • Remove the six 5.5mm PH000 screws from the cover by rotating counter-clockwise.

    • Cover panel may need to be pushed in before inserting screws.

  3. Dell VRP100 Lens Replacement: passo 3, imagem 1 %32 Dell VRP100 Lens Replacement: passo 3, imagem 2 %32 Dell VRP100 Lens Replacement: passo 3, imagem 3 %32
    • Remove the cover using one of the plastic opening tools, and then carefully pull it from the casing.

  4. Dell VRP100 Lens Replacement: passo 4, imagem 1 %32 Dell VRP100 Lens Replacement: passo 4, imagem 2 %32 Dell VRP100 Lens Replacement: passo 4, imagem 3 %32
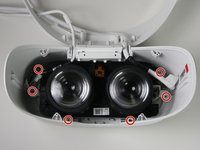
    • Remove the six 5.5mm PH000 screws from the cover by rotating counter-clockwise.

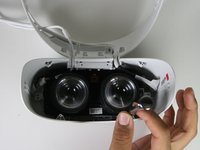
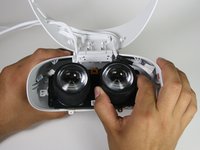
    • Carefully remove the lens and motherboard assembly from the white casing.

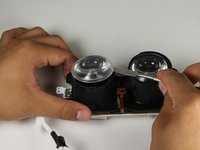
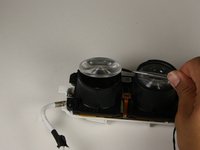
  5. Dell VRP100 Lens Replacement, Lens: passo 5, imagem 1 %32 Dell VRP100 Lens Replacement, Lens: passo 5, imagem 2 %32
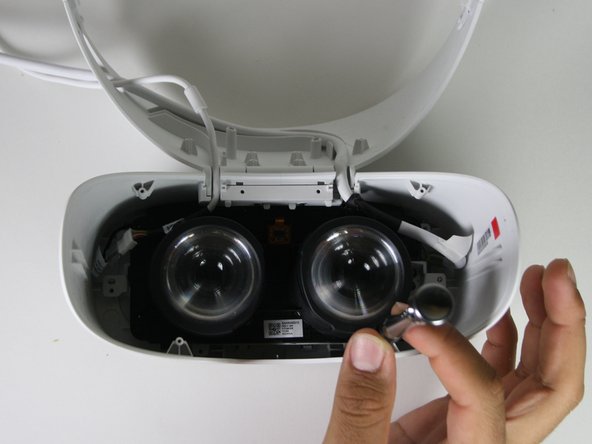
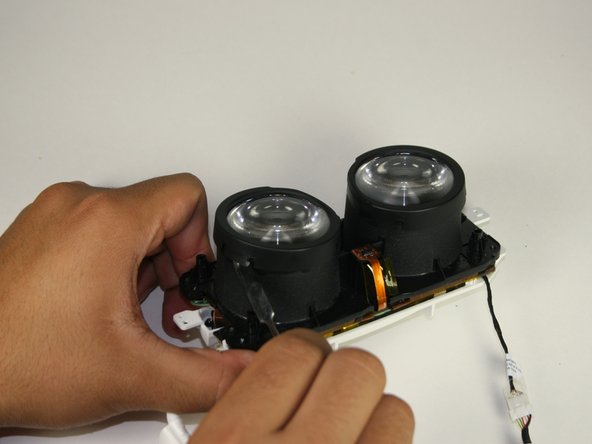
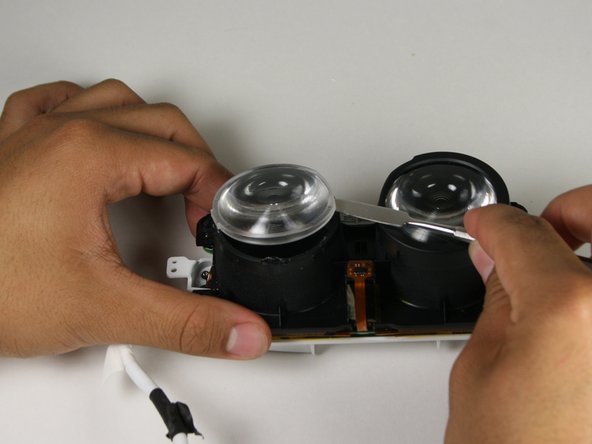
    • Deattach the black cover from the lens with a metal spudger.

    • This will “click” back into place during replacement.

  6. Dell VRP100 Lens Replacement: passo 6, imagem 1 %32 Dell VRP100 Lens Replacement: passo 6, imagem 2 %32 Dell VRP100 Lens Replacement: passo 6, imagem 3 %32
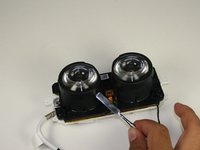
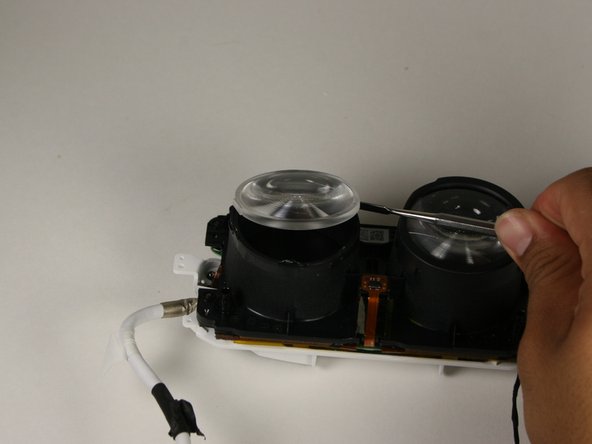
    • Gently insert the metal spudger between the lens and the lens casing.

    • Rotate the spudger around the exterior of the lens and lens housing, separating them.

    • The lens is held in place with an adhesive that will have to be applied during reassembly.

  7. Dell VRP100 Lens Replacement: passo 7, imagem 1 %32
    • Holding the lens around the outside, gently lift it out of its housing.

Conclusão

To reassemble your device, follow these instructions in reverse order.

Uma outra pessoa concluiu este guia.

Chris Grabow

Membro desde: 10/08/18

285 Reputação

Autoria de 2 guias

Equipe

Cal Poly, Team S17-G1, White Fall 2018 Membro de Cal Poly, Team S17-G1, White Fall 2018

CPSU-WHITE-F18S17G1

Membros da 4

Autoria de 12 guias

0 comentários

Adicione um comentário

Exibir estatísticas:

Últimas 24 horas: 1

Últimos 7 dias: 2

Últimos 30 dias: 2

Duração total: 776