Esta versão pode conter edições incorretas. Mude para o último instantâneo verificado.
O que você precisa
-
Este passo não foi traduzido. Ajude a traduzi-lo
-
Power down your PC and remove the power cord from the back.
-
-
Este passo não foi traduzido. Ajude a traduzi-lo
-
Press and hold the power button for about 10 seconds, then release.
-
-
Este passo não foi traduzido. Ajude a traduzi-lo
-
With the computer standing upright, firmly pull on the tab at the back of the computer.
-
When the side panel pops free, gently pull the panel away from the computer.
-
-
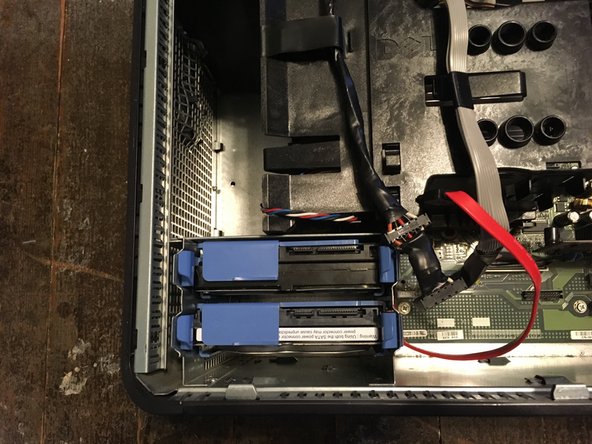
Este passo não foi traduzido. Ajude a traduzi-lo
-
Remove the SATA power and data cables.
-
SATA Power
-
SATA Data
-
-
-
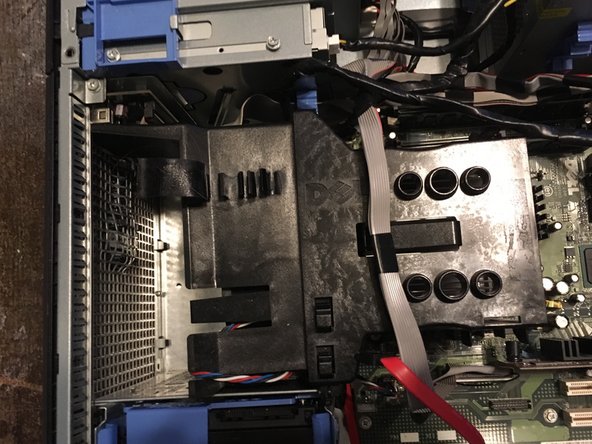
Este passo não foi traduzido. Ajude a traduzi-lo
-
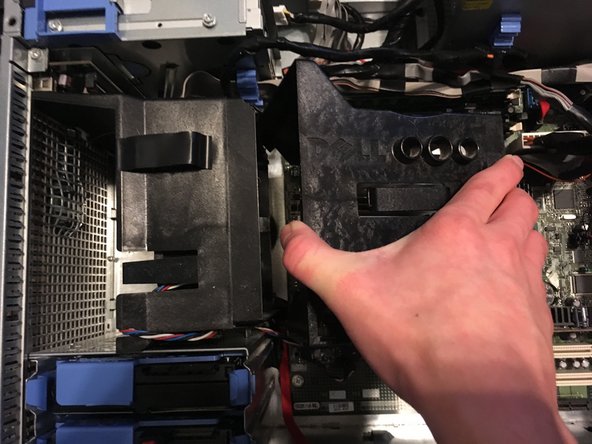
Pull the two tabs and pull it out.
-
This needs a lot of force to take it off.
-
-
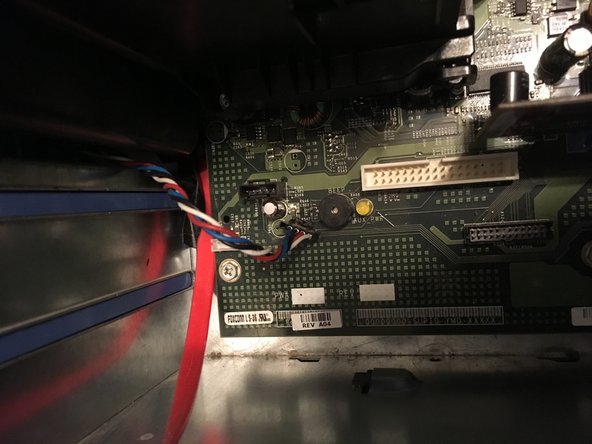
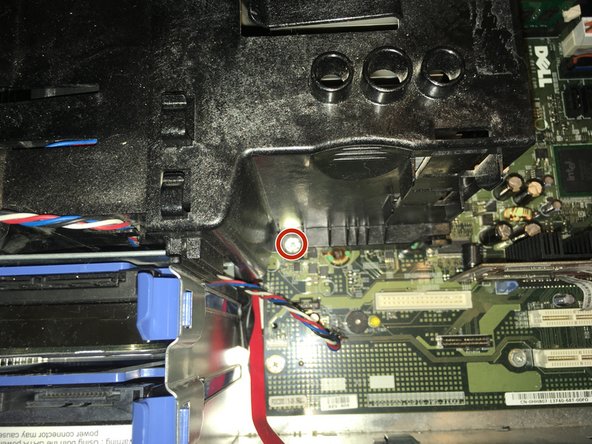
Este passo não foi traduzido. Ajude a traduzi-lo
-
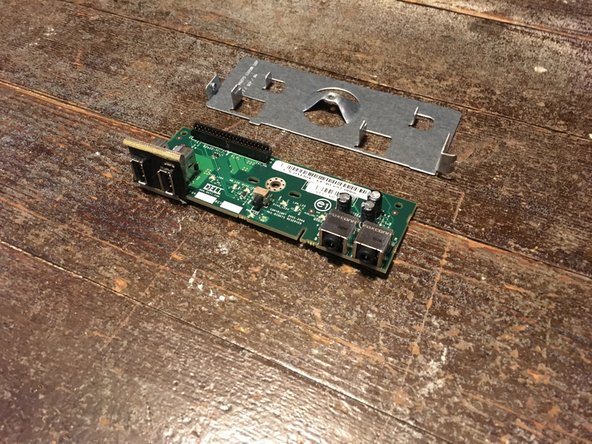
Remove the one Phillips #2 screw.
-
Now you can replace it with a new one.
-


Cancelar: não concluí este guia.
Uma outra pessoa concluiu este guia.

Equipe
