Introdução
This guide walks through the steps of locating and removing the WLAN card on your Dell Latitude E4310 Latptop.
O que você precisa
-
-
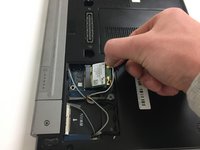
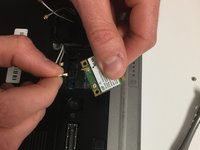
Remove the single Phillips #1 screw.
-
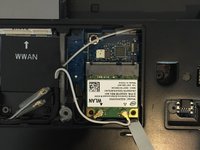
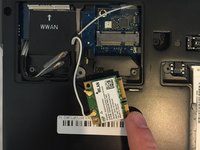
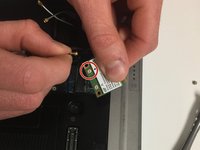
Lift up and remove with your fingernail, or a spudger, from the side of the door with the screw.
-
-


To reassemble your device, follow these instructions in reverse order.
To reassemble your device, follow these instructions in reverse order.
Cancelar: não concluí este guia.
Uma outra pessoa concluiu este guia.
Equipe

University of North Texas, Team S1-G5, Thompson Spring 2018 Membro de University of North Texas, Team S1-G5, Thompson Spring 2018
UNT-THOMPSON-S18S1G5
4 Membros
Autoria de 8 guias