Este guia tem alterações mais recentes. Mudar para a última versão não verificada.
Introdução
Backup all important data files on the system.
Remember opening your laptop may void the warranty, so perform this at your own risk and our help.
O que você precisa
-
-
Perform a complete system backup and shutdown the computer.
-
Unplug the charger and remove the battery.
-
Remove the battery by sliding the lock tab (outlined in red) and use the other hand to remove the battery.
-
-
-
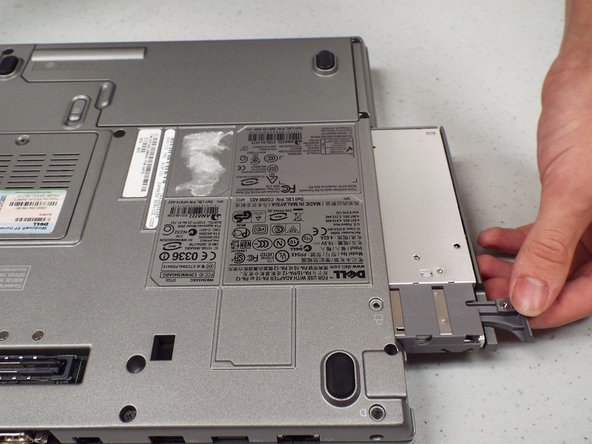
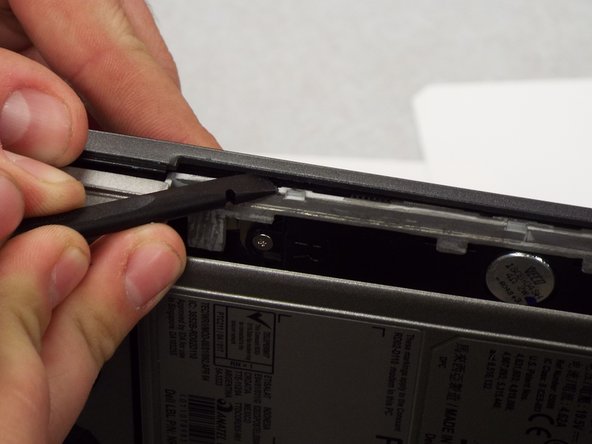
Remove the hard drive
-
Locate and remove three phillips head screws. These screws measure 3.55mm in length and 2.93mm in width with a fine thread.
-
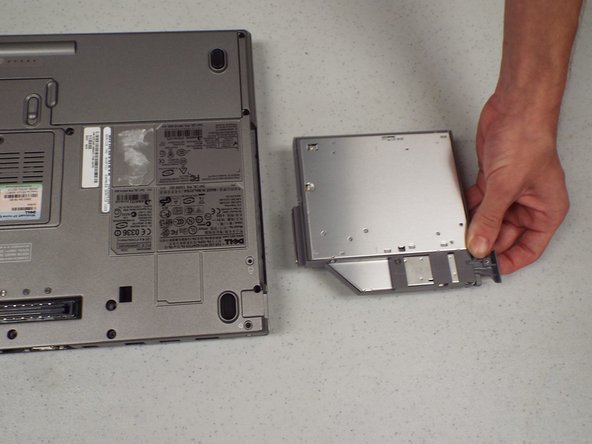
Remove the hard drive and set it aside trying not to touch anything but the grey plastic grip pad. Doing so may cause damage to your hard drive.
-
-
-
-
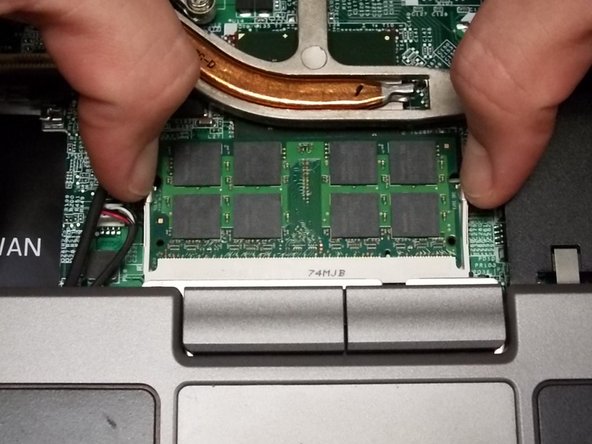
Remove the cable that connects the speaker (small rectangle) to the frame by pulling straight out. The cable is located to the left of DDR2 DIMM A.
-
Remove the cable that connects the track pad (large rectangle) to frame by pulling straight out. The cable is also located to the left of DDR2 DIMM A.
-
-
-
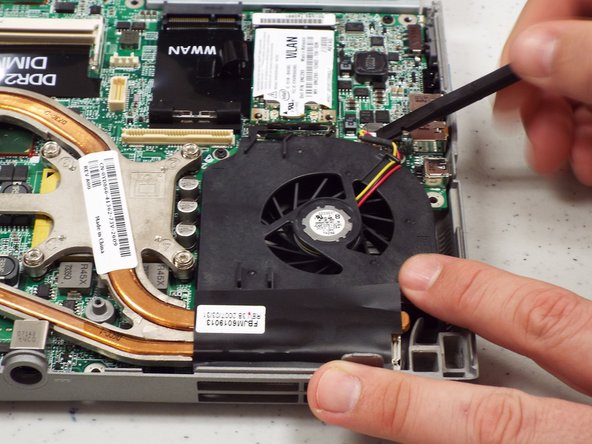
There are 7 screws that need to be removed around edge of Motherboard. 4 of the screws are 3.73mm length x 1.90mm width
-
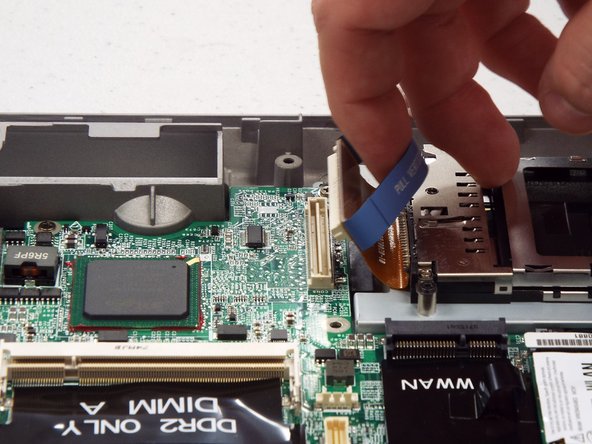
Remove the PCMCIA connector from the motherboard.
-
Turn the laptop on the side and remove 2 female hex screws from video card and 2 posts from serial port using socket driver (3/16 socket) All hex screws are 10.23mm x 2.66mm size
-


To reassemble your device, follow these instructions in reverse order.
To reassemble your device, follow these instructions in reverse order.
Cancelar: não concluí este guia.
14 outras pessoas executaram este guia.

Equipe

Pasco Hernando, Team 1-2, Prince Fall 2014 Membro de Pasco Hernando, Team 1-2, Prince Fall 2014
PHSC-PRINCE-F14S1G2
Membros da 10
Autoria de 7 guias
2 comentários
i used this to replace the thermal paste its really easy to follow simple steps