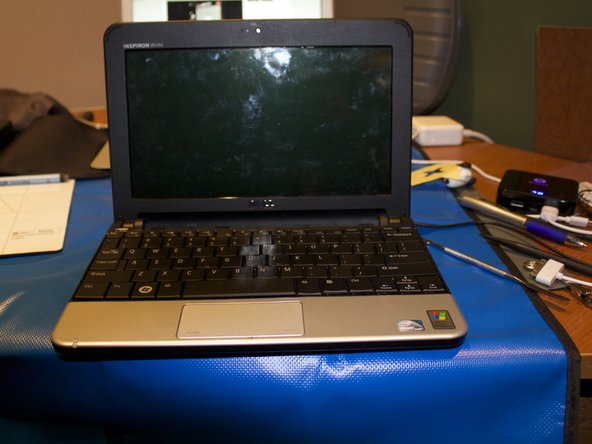
Ir para o conteúdo principal

Dell Inspiron 6400 keyboard Replacement

O que você precisa

  1. Dell Inspiron 6400 keyboard Replacement, replacing Keyboard: passo 1, imagem 1 %32 Dell Inspiron 6400 keyboard Replacement, replacing Keyboard: passo 1, imagem 2 %32 Dell Inspiron 6400 keyboard Replacement, replacing Keyboard: passo 1, imagem 3 %32
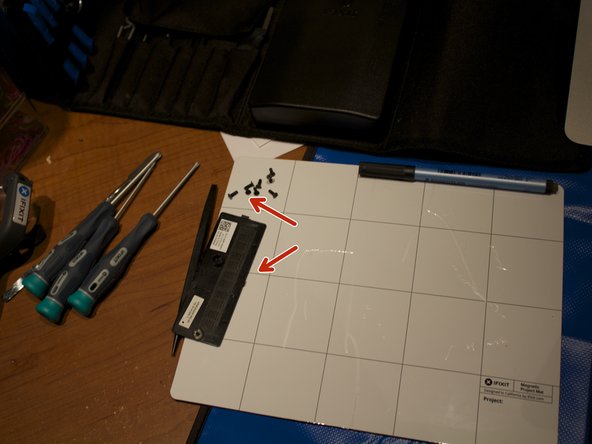
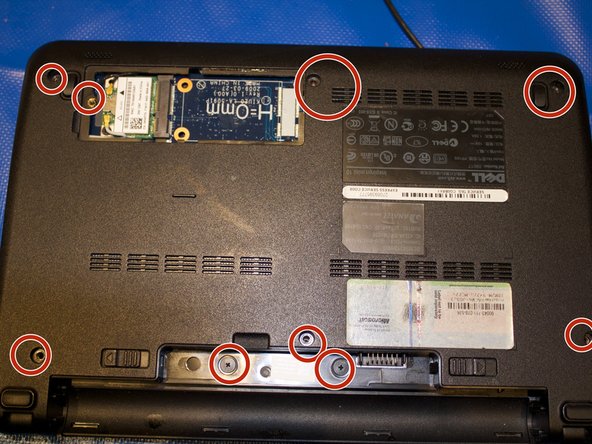
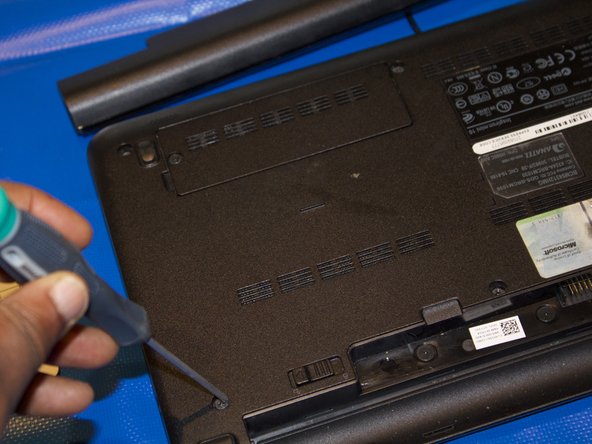
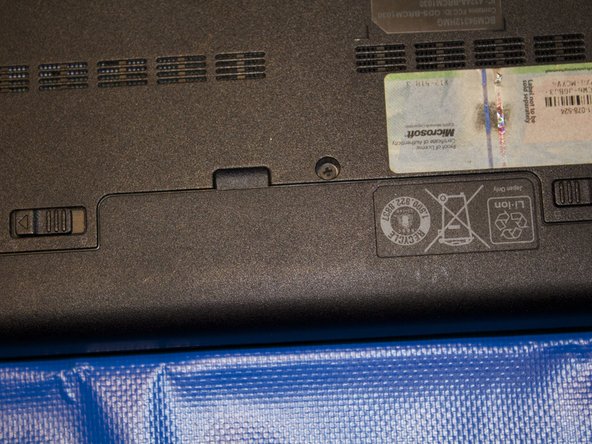
    • Turn over laptop .Remove battery from laptop by pushing the two tabs are highlighted in blue. Place the battery off to the side.

  2. Dell Inspiron 6400 keyboard Replacement: passo 2, imagem 1 %32 Dell Inspiron 6400 keyboard Replacement: passo 2, imagem 2 %32 Dell Inspiron 6400 keyboard Replacement: passo 2, imagem 3 %32
    • Remove the 3 screws highlighted in red that secure the keyboard to the case using the screwdriver with largest phillips head in the box. Make

  3. Dell Inspiron 6400 keyboard Replacement: passo 3, imagem 1 %32 Dell Inspiron 6400 keyboard Replacement: passo 3, imagem 2 %32 Dell Inspiron 6400 keyboard Replacement: passo 3, imagem 3 %32
    • Turn the device right side up and open the device to view the keyboard.

    • Remove the keyboard away from the case ,using a plastic spudger if necessary.

    • The keyboard will still be attached to the motherboard by a ribbon cable.

  4. Dell Inspiron 6400 keyboard Replacement: passo 4, imagem 1 %32 Dell Inspiron 6400 keyboard Replacement: passo 4, imagem 2 %32 Dell Inspiron 6400 keyboard Replacement: passo 4, imagem 3 %32
    • Replace the new keyboard with plastic spudger.

    • The keyboard will have to be attached to the motherboard by a ribbon cable.

    • Snapped the keyboard back in place.

  5. Dell Inspiron 6400 keyboard Replacement: passo 5, imagem 1 %32 Dell Inspiron 6400 keyboard Replacement: passo 5, imagem 2 %32 Dell Inspiron 6400 keyboard Replacement: passo 5, imagem 3 %32
    • Flip over the laptop

    • Put the screws back in laptop

  6. Dell Inspiron 6400 keyboard Replacement: passo 6, imagem 1 %32 Dell Inspiron 6400 keyboard Replacement: passo 6, imagem 2 %32
    • Place the battery and lock it into place

Conclusão

To reassemble your device, follow these instructions in reverse order.

kempc8

Membro desde: 11/22/13

899 Reputação

Autoria de 7 guias

Equipe

K and K Fixit Membro de K and K Fixit

Business

1 Membro

Autoria de 11 guias

0 comentários

Adicione um comentário

Exibir estatísticas:

Últimas 24 horas: 0

Últimos 7 dias: 1

Últimos 30 dias: 5

Duração total: 898