Introdução
This guide explains how to remove and replace the Liquid Crystal Display (LCD), which is also called the monitor or screen.
O que você precisa
-
-
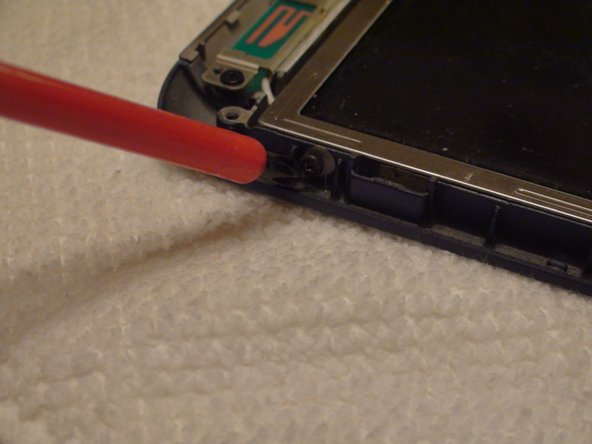
Find the two small indentations of the sides of the panel covering the power button.
-
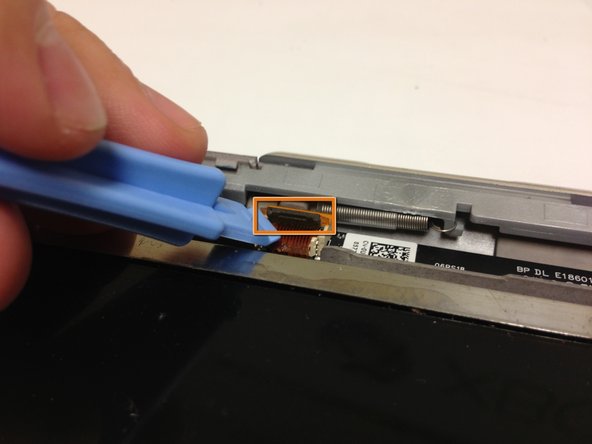
Pry up both sides of the panel by sticking the plastic opener tool in each indentation and prying up.
-
-
-
-
Locate the two Phillips #1 screws holding the Wireless Local Area Network (WLAN) panel in place.
-
Remove these two screws with a Phillips #1 screwdriver.
-
Remove the WLAN panel by pulling it up with your hand.
-
-
-
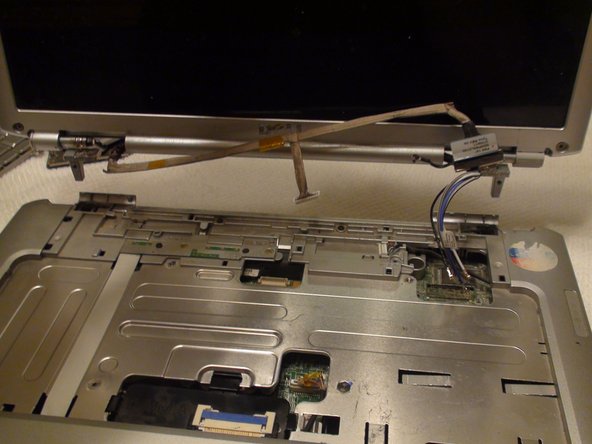
Remove the two 10 mm Phillips #1 screws from the bottom of the laptop that attach the lid assembly to the laptop with a Phillips #1 screwdriver.
-
Remove the two 10 mm Phillips #1 screws from the back of the laptop that also attach the lid assembly to the laptop with a Phillips #1 screwdriver.
-
-
-
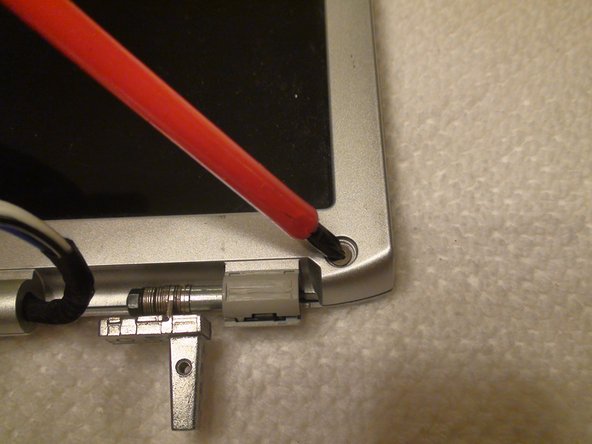
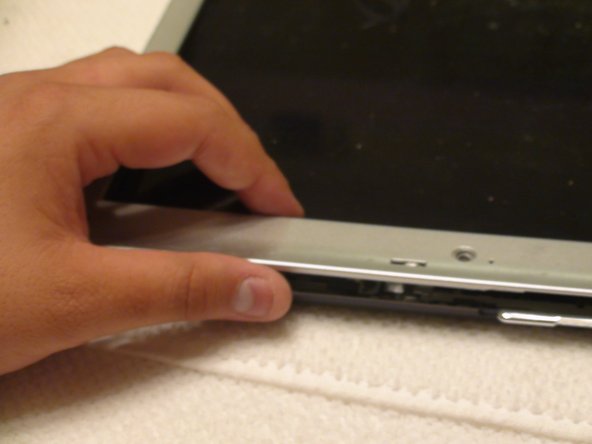
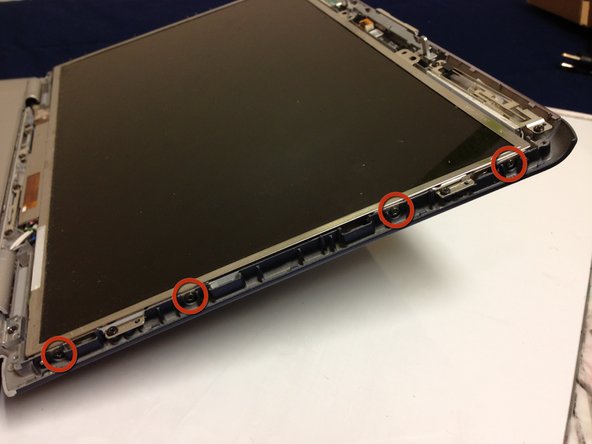
Locate the six 5 mm Phillips #1 screws connecting the display bezel to the back cover.
-
Remove the six screws with a Phillips #1 screwdriver.
-


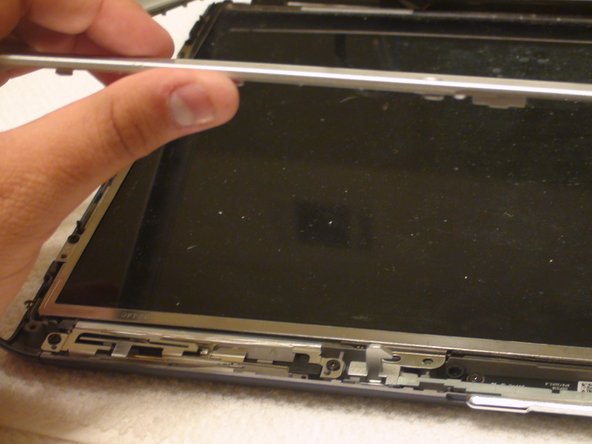


To reassemble your device, follow these instructions in reverse order.
To reassemble your device, follow these instructions in reverse order.
Cancelar: não concluí este guia.
2 outras pessoas executaram este guia.
Equipe

Cal Poly, Team 15-47, Forte Fall 2012 Membro de Cal Poly, Team 15-47, Forte Fall 2012
CPSU-FORTE-F12S15G47
Membros da 5
Autoria de 9 guias