Ir para o conteúdo principal

Dell Inspiron 13z 5323 Battery Replacement

O que você precisa

  1. Dell Inspiron 13z 5323 Battery Replacement, Battery: passo 1, imagem 1 %32 Dell Inspiron 13z 5323 Battery Replacement, Battery: passo 1, imagem 2 %32 Dell Inspiron 13z 5323 Battery Replacement, Battery: passo 1, imagem 3 %32
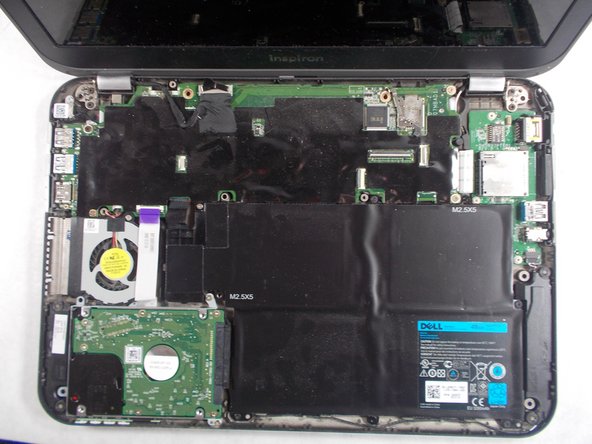
    • Remove nine screws from the bottom case.

    • The highlighted captive screw on the base cover is held in place with a washer, so when it is loosened and the cover is removed, the screw will stay in the plate.

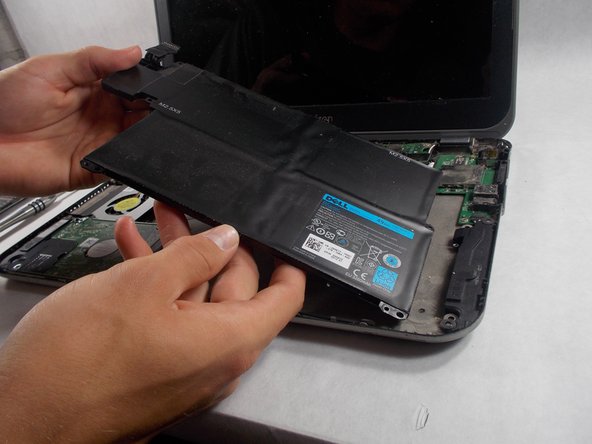
    • Once the captive screw is loosened, remove the small base cover on the bottom of the device.

  2. Dell Inspiron 13z 5323 Battery Replacement: passo 2, imagem 1 %32 Dell Inspiron 13z 5323 Battery Replacement: passo 2, imagem 2 %32 Dell Inspiron 13z 5323 Battery Replacement: passo 2, imagem 3 %32
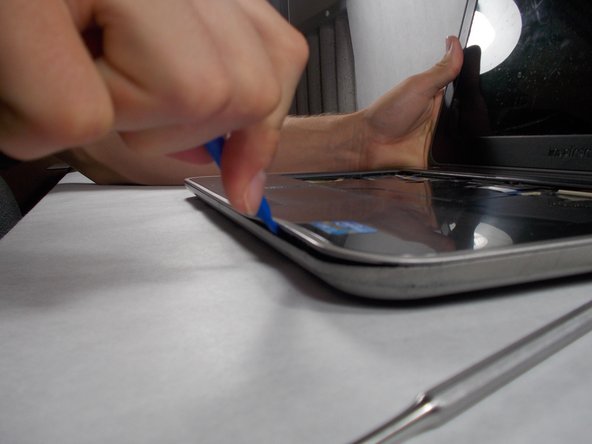
    • There are 3 slots on the top of the keyboard where you will have to use a thin tool, such as a flathead screwdriver to push the tabs so the keyboard will pop out.

    • Be careful when pushing in the keyboard tabs, as they may break if they if too much pressure is applied to them.

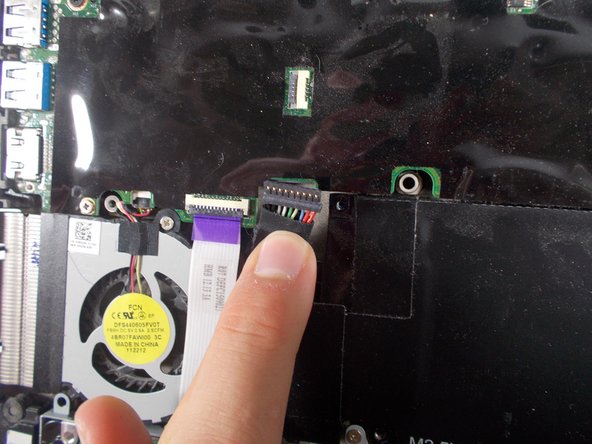
    • You will have to flip a small tab up where the ribbon connector goes into the insert, so the connector can be released and the keyboard can be removed.

  3. Dell Inspiron 13z 5323 Battery Replacement: passo 3, imagem 1 %32 Dell Inspiron 13z 5323 Battery Replacement: passo 3, imagem 2 %32 Dell Inspiron 13z 5323 Battery Replacement: passo 3, imagem 3 %32
    • Remove the highlighted 4 screws and then use the plastic separator to remove the palm rest.

    • Be careful when separating the palm rest from the laptop, because being too aggressive with it can cause the small clips that hold the palm rest in place to break .

  4. Dell Inspiron 13z 5323 Battery Replacement: passo 4, imagem 1 %32 Dell Inspiron 13z 5323 Battery Replacement: passo 4, imagem 2 %32 Dell Inspiron 13z 5323 Battery Replacement: passo 4, imagem 3 %32
    • Remove the screws surrounding the battery and unplug the cable in the top left corner to then remove the battery.

Conclusão

To reassemble your device, follow these instructions in reverse order.

Chase Hussey

Membro desde: 03/08/17

201 Reputação

Autoria de 2 guias

Equipe

0 comentários

Adicione um comentário

Exibir estatísticas:

Últimas 24 horas: 0

Últimos 7 dias: 0

Últimos 30 dias: 9

Duração total: 837