Introdução
If your Dell Alienware M15 R4 needs a solid state drive (SSD) replacement, follow this guide to switch your old SSD with a new one.
SSDs are essentially data storage devices that do not need moving parts to operate. They replace traditional hard disk drives (HDDs) by performing the same functions as a hard drive, but faster. Throughout use though, SSDs may degrade and require replacement, either due to memory cells within the device becoming unusable, or from power outage or power surge damage. Replacing SSDs before complete failure is important to not lose any important data. Not only that, but upgrading your laptop by replacing old SSDs with newer ones or adding more can improve performance of your M15 R4.
Although, be sure to confirm that this process is necessary. SSDs can take a long time before needing to be switched or upgraded.
Before you begin, completely shut down the laptop to avoid any potential issues during or after replacement. Additionally, it is good practice to ground yourself by touching a metallic surface before handling the internal electronics to dissipate any static electricity on you.
O que você precisa
-
-
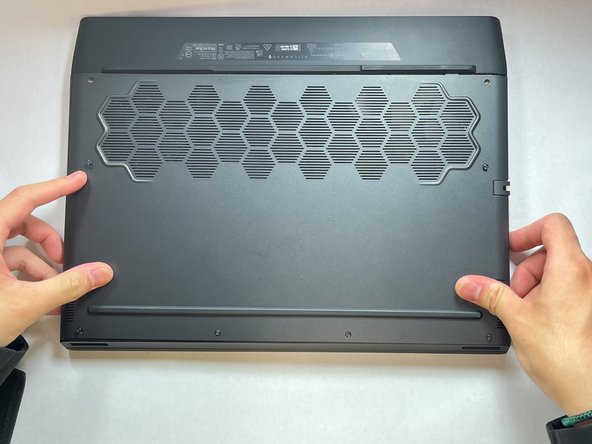
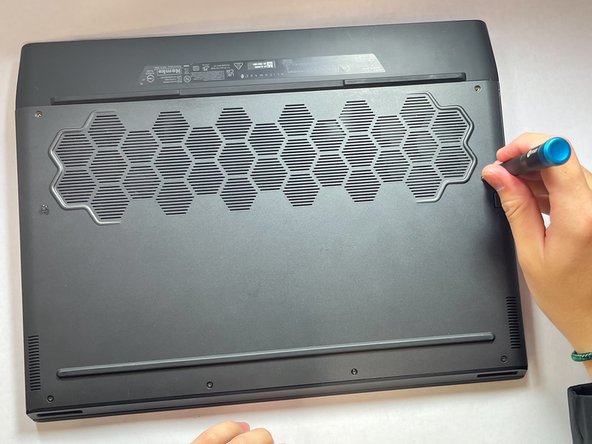
Remove the top two screws and save them in any safe storage place.
-
Unscrew the rest of the captive screws. These screws are attached to the back plate so do not attempt to remove them.
-
-
-
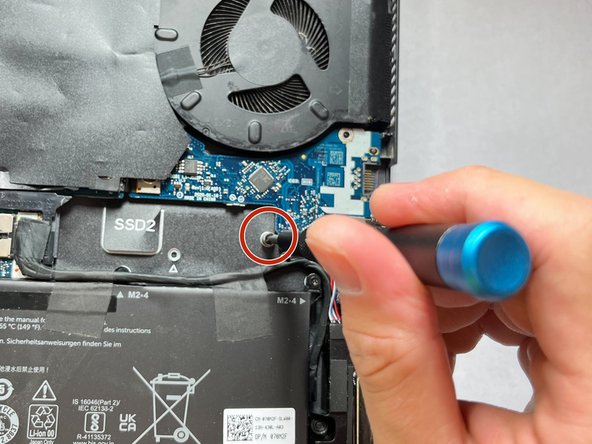
Two slots in the red rectangles are for m.2 2280 NVMe SSD. The left one in the picture contains a original factory setup SSD, and this guide will be focus on adding a new SSD to the right slot. There is one screw at the right edge of the slot, use the same screwdriver to remove it and save it.
-
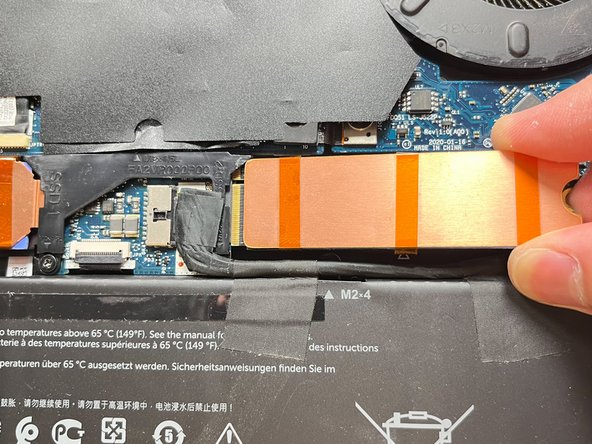
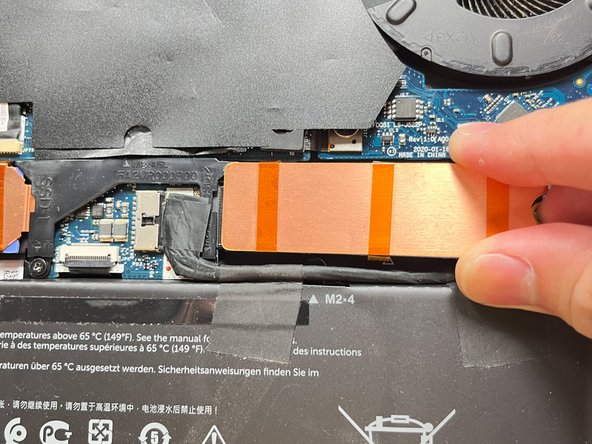
The slot in the orange rectangle is for m.2 2230 NVMe SSD.
-
-


To add, replace, or upgrade the SSD in M15 R4, follow these instructions from the beginning once again.
To add, replace, or upgrade the SSD in M15 R4, follow these instructions from the beginning once again.

Equipe

UC Davis, Team 1-2, Morris Spring 2024 Membro de UC Davis, Team 1-2, Morris Spring 2024
UCD-MORRIS-S24S1G2
Membros da 3
1 Guia de autoria