Introdução
This guide for the Dell Alienware M11xR3 (model number 15VFDELP0139) gaming laptop will assist the user with replacing the hard drive. The hard drive stores all of your digital content, including files, music, photos, etc. Some symptoms of a faulty hard drive are corrupted files/data, overheating, or strange clicking or noises. It is important to note that you should back up your data somewhere before replacing your hard drive to ensure you don't lose your data!
O que você precisa
-
-
Loosen the eight retaining screws on the base of the computer with a small Phillips screwdriver.
-
Remove the bottom cover from the laptop.
 Pergunte ao FixBot
-
-
-
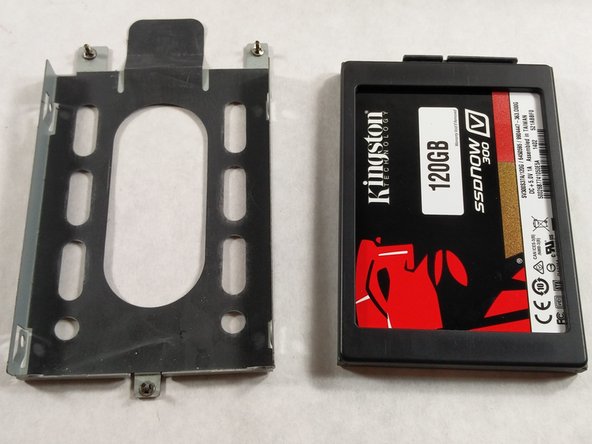
Remove the three screws attaching the hard drive tray to the laptop.
-
-
-
-
Grasp the plastic tab provided, and gently pull up. This will unplug the drive from the laptop.
-
-
-
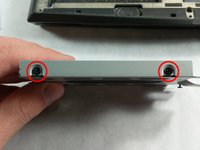
On both sides of the cage, there are two screws you have to unscrew to be able to remove the SSD.
-
-
-
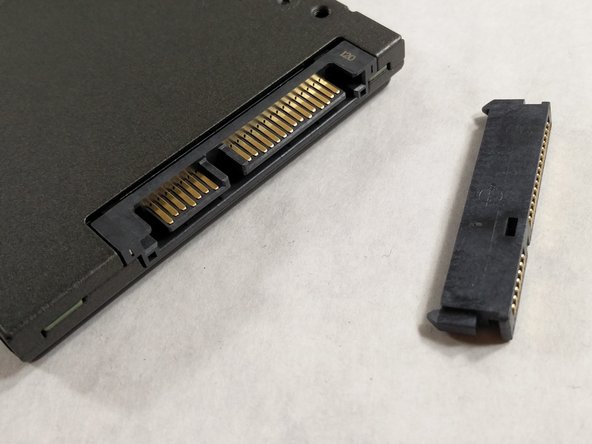
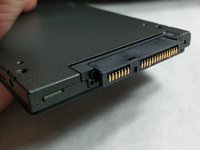
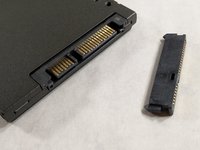
Finally, remove the L connector for the hard drive. You will need to put this on your new hard drive.
-


To reassemble your device, follow these instructions in reverse order.
Cancelar: não concluí este guia.
Uma outra pessoa concluiu este guia.
Equipe

UMass Dartmouth, Team S3-G7, Botvin Spring 2017 Membro de UMass Dartmouth, Team S3-G7, Botvin Spring 2017
UMASSD-BOTVIN-S17S3G7
3 Membros
Autoria de 7 guias