Ir para o conteúdo principal

DBPOWER RD-810 Power Supply Circuit Replacement

O que você precisa

  1. DBPOWER RD-810 Power Supply Circuit Replacement, Top Cover: passo 1, imagem 1 %32 DBPOWER RD-810 Power Supply Circuit Replacement, Top Cover: passo 1, imagem 2 %32
    • Make sure the projector is unplugged before starting

    • Place the projector upside down to access the screws on the bottom.

    • Remove the five 7mm long screws using a #3 Phillips screwdriver at least 2 inches long.

  2. DBPOWER RD-810 Power Supply Circuit Replacement: passo 2, imagem 1 %32
    • Flip the projector over and then remove the cover by lifting it up.

  3. DBPOWER RD-810 Power Supply Circuit Replacement, Motherboard and LED Bulb: passo 3, imagem 1 %32 DBPOWER RD-810 Power Supply Circuit Replacement, Motherboard and LED Bulb: passo 3, imagem 2 %32 DBPOWER RD-810 Power Supply Circuit Replacement, Motherboard and LED Bulb: passo 3, imagem 3 %32
    • Remove the three 6mm PH2 phillips head screws.

    • Disconnect the ribbon cable by flipping up the latch on the connector and then pull the ribbon out.

  4. DBPOWER RD-810 Power Supply Circuit Replacement: passo 4, imagem 1 %32 DBPOWER RD-810 Power Supply Circuit Replacement: passo 4, imagem 2 %32 DBPOWER RD-810 Power Supply Circuit Replacement: passo 4, imagem 3 %32
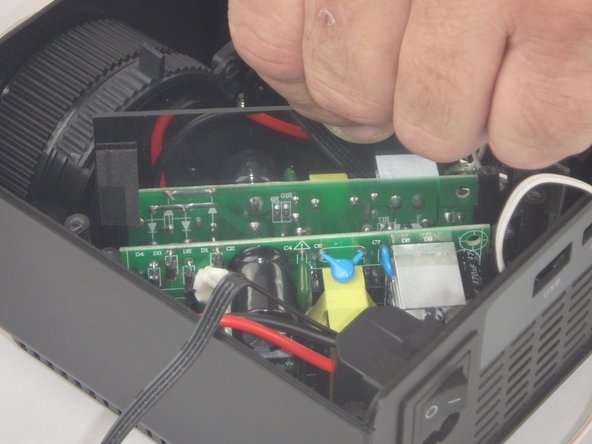
    • Disconnect the three wire connectors. Grasp both sides of the connector and pull apart.

    • Keep the connector parallel to the mother board to avoid breaking the solder connection.

    • Lift the motherboard up and place it out of the way.

  5. DBPOWER RD-810 Power Supply Circuit Replacement: passo 5, imagem 1 %32 DBPOWER RD-810 Power Supply Circuit Replacement: passo 5, imagem 2 %32 DBPOWER RD-810 Power Supply Circuit Replacement: passo 5, imagem 3 %32
    • Remove the five 7mm PH2 phillips head screws on the black plate and lift the plate out.

    • Lift the aluminum heat sink up to remove it from the projector.

    • The motherboard is already removed in this step.

  6. DBPOWER RD-810 Power Supply Circuit Replacement, Power Supply Circuit: passo 6, imagem 1 %32 DBPOWER RD-810 Power Supply Circuit Replacement, Power Supply Circuit: passo 6, imagem 2 %32 DBPOWER RD-810 Power Supply Circuit Replacement, Power Supply Circuit: passo 6, imagem 3 %32
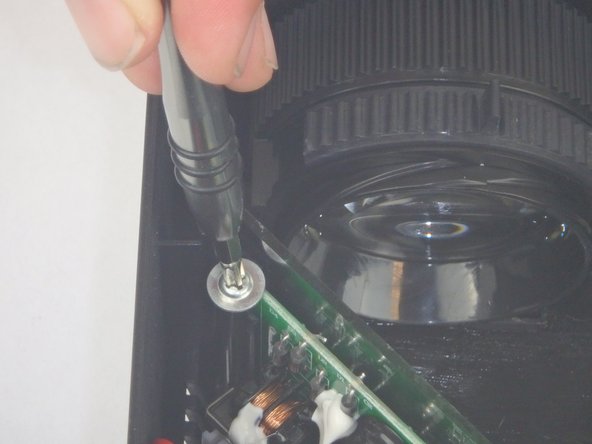
    • Remove the two 9mm PH2 phillips head screws.

    • Lift the mirror behind the power supply circuit out to gain access to the circuit board.

  7. DBPOWER RD-810 Power Supply Circuit Replacement: passo 7, imagem 1 %32 DBPOWER RD-810 Power Supply Circuit Replacement: passo 7, imagem 2 %32
    • Lift the power supply circuit board out of the projector.

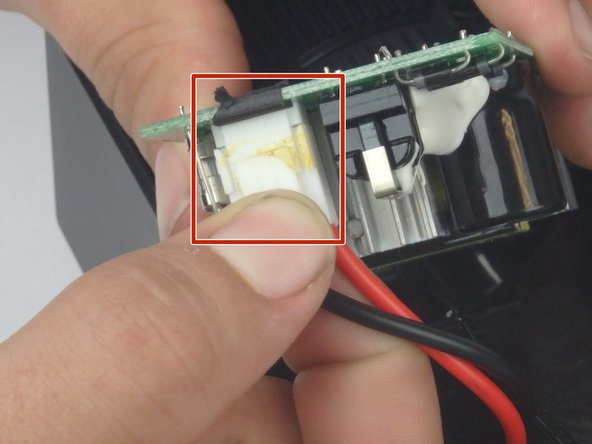
    • Disconnect the cable connector by pulling the two sides of the connector apart.

    • Keep the connector parallel to the circuit board to avoid breaking the solder connection.

Conclusão

To reassemble your device, follow these instructions in reverse order.

Uma outra pessoa concluiu este guia.

John Russell

Membro desde: 02/14/18

914 Reputação

Autoria de 9 guias

Equipe

USF Tampa, Team S5-G3, Eyestone Spring 2018 Membro de USF Tampa, Team S5-G3, Eyestone Spring 2018

USFT-EYESTONE-S18S5G3

Membros da 3

Autoria de 9 guias

0 comentários

Adicione um comentário

Exibir estatísticas:

Últimas 24 horas: 0

Últimos 7 dias: 1

Últimos 30 dias: 4

Duração total: 380