Introdução
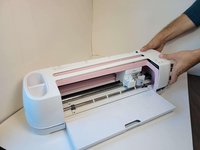
The Circut Maker it is powered by two motors. If your device isn't moving at all, and it's still receiving power, then the motors might need to be replaced. The motors are not identical, so be sure to identify which one is faulty before beginning.
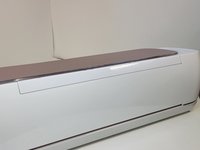
Before beginning the repair, be sure to turn off the device and unplug it from the outlet.
O que você precisa
-
-
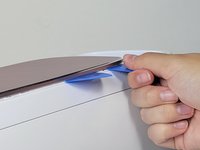
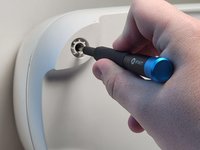
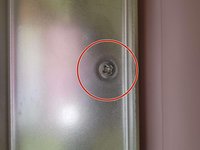
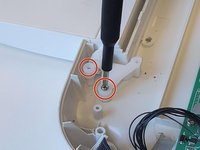
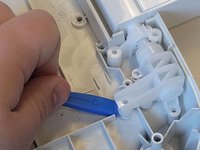
To remove the cover from the connecting joint, use an iFixit opening tool, and pry around the perimeter of the cover to release it.
-
Remove the cover from the connecting joint and set it aside.
-
-
-
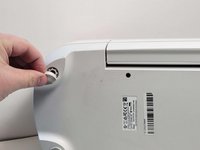
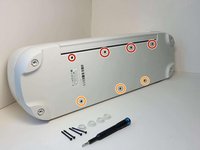
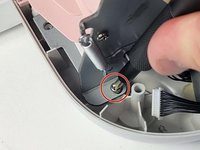
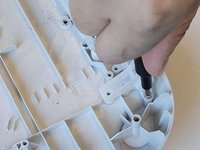
Using your hands or an opening tool, remove the four foot pads covering four screws.
-
Use a Phillips #1 screwdriver to remove four 41 mm screws from the feet.
-
-
-
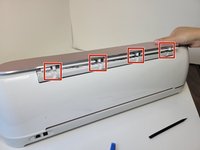
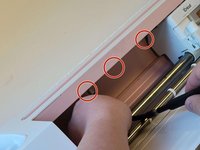
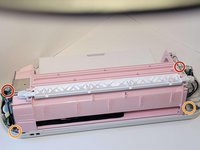
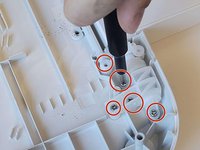
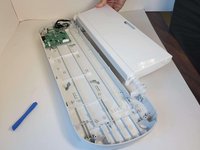
Remove the seven screws (Four 8.5 mm screws, and three 12.5 mm screws) on the bottom of the device, this will allow you to remove the cover later on.
-
Use a Phillips #1 screwdriver to remove the four 8.5 mm screws from the bottom of the device.
-
Use a Phillips #0 screwdriver to remove the three 12.5 mm screws.
-
-
-
-
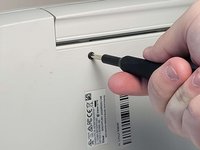
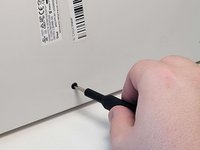
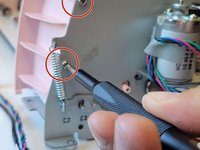
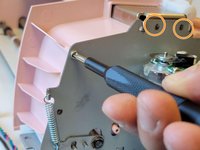
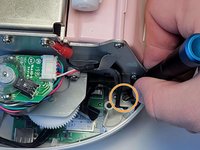
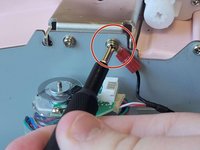
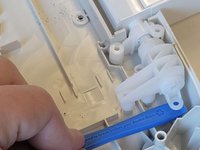
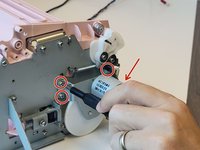
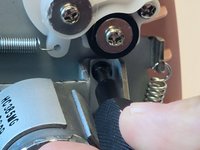
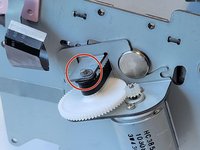
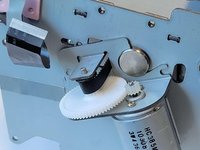
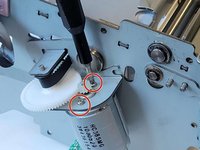
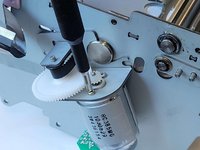
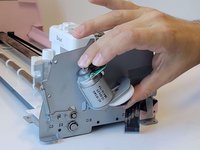
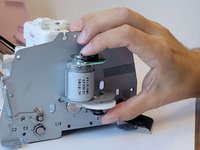
Use a Phillips #1 screwdriver to remove the four 5 mm screws that attach the motor on the left side of the machine.
-


To reassemble your device, follow these instructions in reverse order.
To reassemble your device, follow these instructions in reverse order.
Cancelar: não concluí este guia.
2 outras pessoas executaram este guia.

Equipe

Austin Community College, Team 9-1, Watkins Fall 2022 Membro de Austin Community College, Team 9-1, Watkins Fall 2022
AUSTINCC-WATKINS-F22S9G1
Membros da 3
Autoria de 23 guias
2 comentários
Bonjour,
Merci pour vos précisions c’est parfait comme tuto mais quels sont les signaux de la cricut nous alarmant que c’est une panne de moteur ? Car ma machine en l’occurrence fait un drôle de bruit au démarrage mais je ne sais pas d’où vient la panne ni le centre d’assistance de cricut d’ailleurs à part me conseiller d’en acheter une autre. Pouvez-vous peut-être me conseiller ?
Merci d’avance
Fanny