Ir para o conteúdo principal
Participe da comunidade de reparos - Criar conta

Creative Zen Microphoto Screen Replacement

O que você precisa

  1. Creative Zen Microphoto Screen Replacement, Sliding Off the Back Cover: passo 1, imagem 1 %32
    • Slide off the back cover to reveal the battery.

    Pergunte ao FixBot
  2. Creative Zen Microphoto Screen Replacement, Removing the Battery: passo 2, imagem 1 %32
    • Removal of the battery may require some force.

    • Beginning with the notch directly beneath the battery, use the plastic opening tool to loosen the battery.

    • Once the battery is free, remove it from the device.

    Pergunte ao FixBot
  3. Creative Zen Microphoto Screen Replacement, Separating the Front Cover: passo 3, imagem 1 %32
    • Turn over the device.

    • Use the plastic opening tool to separate the front and back covers.

    • Move the opening tool around the perimeter of the device until the front cover detaches.

    Pergunte ao FixBot
  4. Creative Zen Microphoto Screen Replacement, Removing the Front Cover/Keypad: passo 4, imagem 1 %32
    • Slowly detach the front cover from the rest of the device to reveal the interior.

    Pergunte ao FixBot
  5. Creative Zen Microphoto Screen Replacement, Disassembling the Internal Device: passo 5, imagem 1 %32
    • Insert the flat-head screwdriver into the notch on the bottom of the device. Pry the main board and screen from the outer shell of the device.

    Pergunte ao FixBot
  6. Creative Zen Microphoto Screen Replacement, Removing the Main Board and Screen from the Device: passo 6, imagem 1 %32
    • The power button will come loose upon removal of outer shell. When reassembling, align power button properly.

    • Remove the main board and screen from the outer shell.

    Pergunte ao FixBot
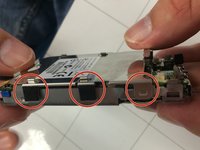
  7. Creative Zen Microphoto Screen Replacement, Taking off the Back Cover of the Main Board: passo 7, imagem 1 %32 Creative Zen Microphoto Screen Replacement, Taking off the Back Cover of the Main Board: passo 7, imagem 2 %32
    • No tools are needed. The prongs (pictured) will release easily to remove the back cover.

    • Carefully remove the back cover.

    Pergunte ao FixBot
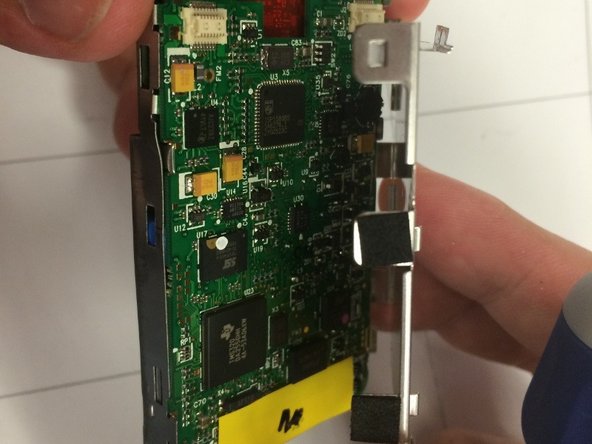
  8. Creative Zen Microphoto Screen Replacement, Removing the Main Board from the Screen: passo 8, imagem 1 %32
    • Be gentle when removing the main board. The main board is attached to the front panel of the device by wires.

    • Using the flat-head screwdriver, carefully pry open the prongs on the sides of the device, and remove the main board from the screen.

    Pergunte ao FixBot
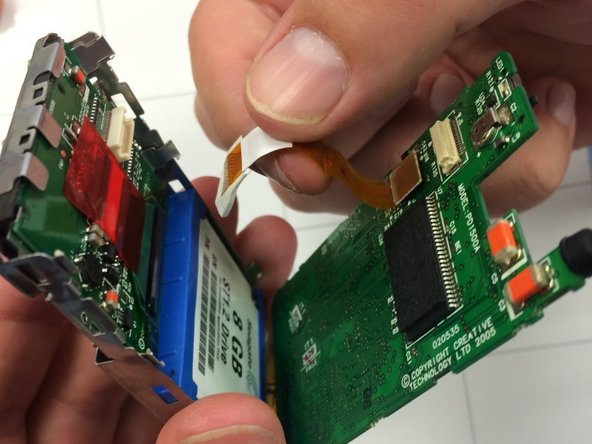
  9. Creative Zen Microphoto Screen Replacement, Removing the Main Board from the Device: passo 9, imagem 1 %32 Creative Zen Microphoto Screen Replacement, Removing the Main Board from the Device: passo 9, imagem 2 %32 Creative Zen Microphoto Screen Replacement, Removing the Main Board from the Device: passo 9, imagem 3 %32
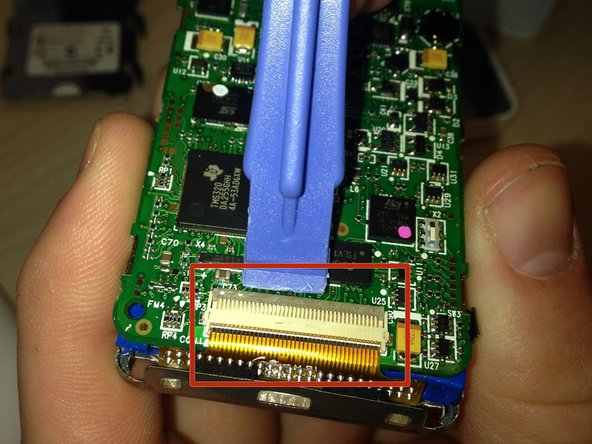
    • Do not damage the ribbon tab (pictured). It is vital to the device.

    • Push the ribbon tab (sticking out below the main screen) backward through the square hole to remove the main board of the device.

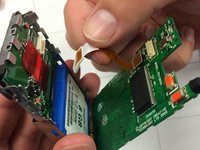
    • Once the wiring is removed from the front panel, release the hinge at the bottom of the device. To do so, gently pry underneath the clip (pictured) with a plastic opening tool. The clip will pop up, and the motherboard can be completely removed.

    Pergunte ao FixBot
  10. Creative Zen Microphoto Screen Replacement, Removing the Bottom Blue Rubber Cover: passo 10, imagem 1 %32
    Ferramenta utilizada neste passo:
    Tweezers
    $4.99
    • With a set of tweezers, Carefully pull off the the bottom blue cover and remove it from the 8 GB hard drive.

    • DO NOT REMOVE THE TOP BLUE RUBBER COVER.

    Pergunte ao FixBot
  11. Creative Zen Microphoto Screen Replacement, Removing the Screws from the Screen: passo 11, imagem 1 %32
    • Using a screwdriver, remove four Philip screws from the back of the screen.

    • Place the four screws in a small baggy for later reassembly.

    Pergunte ao FixBot
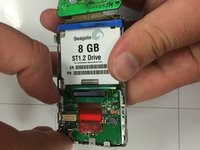
  12. Creative Zen Microphoto Screen Replacement, Detaching the Hard Drive from the Main Board: passo 12, imagem 1 %32
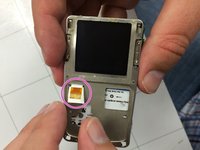
    • Carefully pull out the gold piece from the top of the hard drive.

    Pergunte ao FixBot
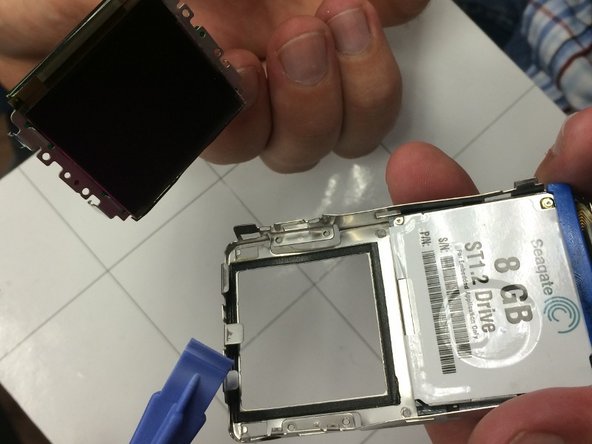
  13. Creative Zen Microphoto Screen Replacement, Removing the Screen from the Device: passo 13, imagem 1 %32 Creative Zen Microphoto Screen Replacement, Removing the Screen from the Device: passo 13, imagem 2 %32
    • Carefully use your thumbs to pull out the screen (that is below the hard drive).

    Pergunte ao FixBot
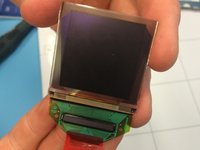
  14. Creative Zen Microphoto Screen Replacement, Removing Black Adhesive Strip from the Screen: passo 14, imagem 1 %32
    • Look for a black strip on the side of the screen.

    • Remove the strip from the screen using your fingers or tweezers if needed.

    Pergunte ao FixBot
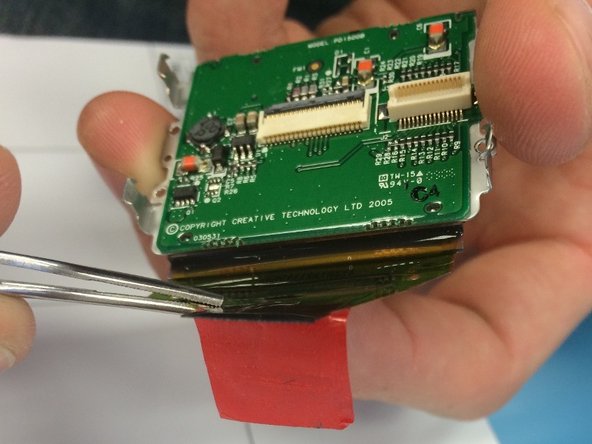
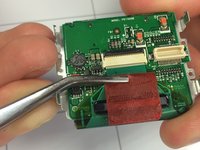
  15. Creative Zen Microphoto Screen Replacement, Pulling Down the Red Strip of the Screen: passo 15, imagem 1 %32
    • With tweezers, lightly pull down on red strip in the middle of the back of the screen.

    Pergunte ao FixBot
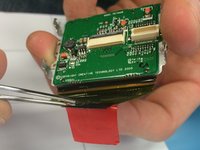
  16. Creative Zen Microphoto Screen Replacement, Detaching the Red Strip from the Back of the Screen: passo 16, imagem 1 %32 Creative Zen Microphoto Screen Replacement, Detaching the Red Strip from the Back of the Screen: passo 16, imagem 2 %32
    • With the tweezers, carefully pull the red strip off of the back of the screen.

    • DO NOT FULLY DETACH THE TAB FROM THE DEVICE.

    Pergunte ao FixBot
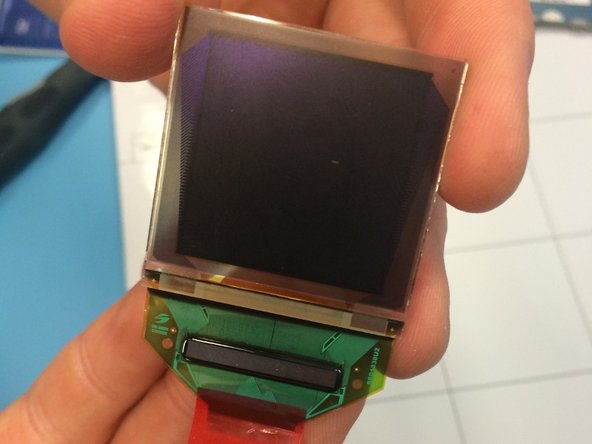
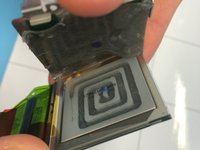
  17. Creative Zen Microphoto Screen Replacement, Removing the Screen from the Device: passo 17, imagem 1 %32 Creative Zen Microphoto Screen Replacement, Removing the Screen from the Device: passo 17, imagem 2 %32
    • Carefully lift up the two pieces of the screen to reveal the actual back of the screen.

    • Pull out the screen from the device.

    Pergunte ao FixBot
Conclusão

To reassemble your device, follow these instructions in reverse order.

3 outras pessoas executaram este guia.

Emily Hill

Membro desde: 09/30/14

146 Reputação

Autoria de 1 guia

Equipe

Ohio State, Team 1-3, Buehl Fall 2014 Membro de Ohio State, Team 1-3, Buehl Fall 2014

OSU-BUEHL-F14S1G3

4 Membros

Autoria de 2 guias

7Comentários do guia

Great way to destroy a Zen. Don’t pry the front off. Slide the metal cover under the battery down away from the contacts so that the tabs beside the battery contacts disengage, then press on the lower part of the battery compartment while holding the front. This keeps you from ripping the touch pad connector off and you can access everything with the front panel still glued on. Just proceed to remove the rear cover, then remove the motherboard, and you have access to the screen.

Nick Burtinsky - Responder Compartilhar

Thank u very much.

Barbie Calzado - Responder Compartilhar

I was just coming to comment this, I wish I had read the comments first. Along with not destroying the player, it's also so much easier. This seriously needs to be corrected.

ocddev - Responder Compartilhar

Where can i buy a new screen for my zen microphoto?

Pedro Neves - Responder Compartilhar

Seconded. Looking for a new screen. Anyone have any tips?

Cory Roberts - Responder Compartilhar

Comentar

Visualizações:

Últimas 24 horas: 0

Últimos 7 dias: 17

Últimos 30 dias: 111

Ao todo: 4,792