Introdução
I've bought the device in 2017 and it has served me well for quite some time. I really liked the connectivity (USB, Line-In, Bluetooth) and the possibility to simply pop in a micro-SD card and play music anywhere without the need for a second device. All while being sturdy and quite water resistant.
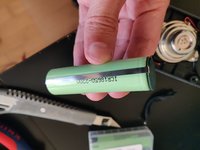
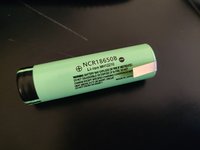
However, after 3 years, the battery barely lasts for 15 minutes, so I had to replace it.
Luckily This turned out to be rather simple
O que você precisa
-
-
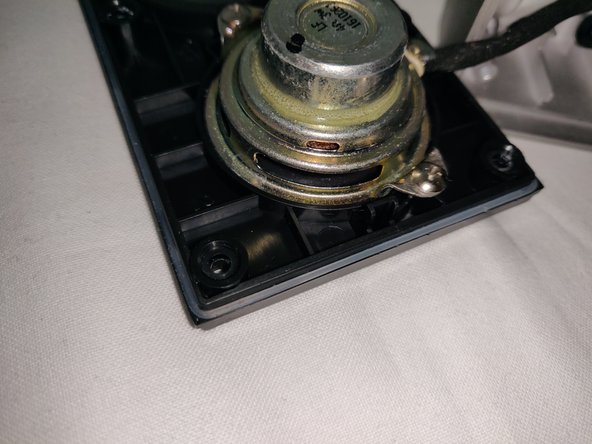
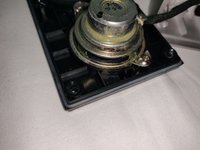
Use a flat screwdriver to carefully pry the protective mesh from the plastic case.
-
-
-
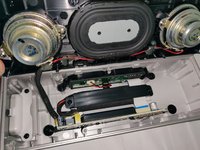
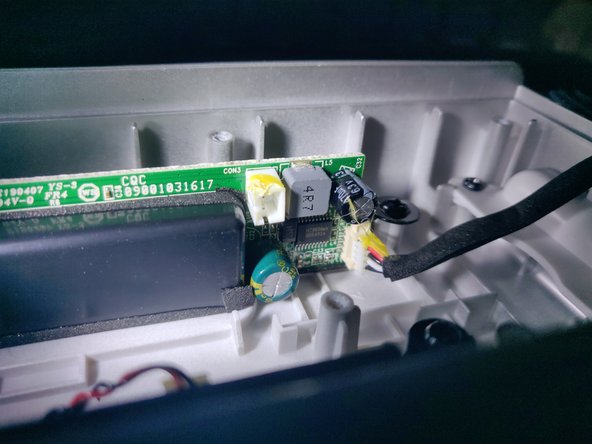
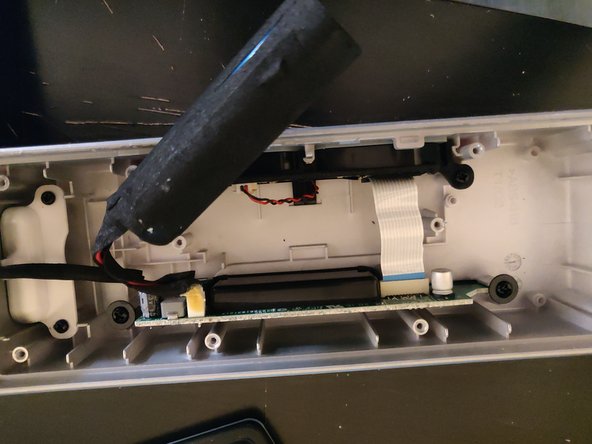
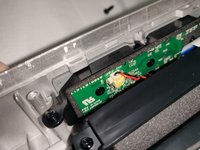
Carefully unplug the cable that connects the speakers to the circuit board.
-
-
-
-
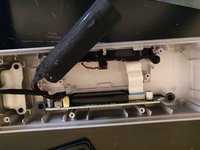
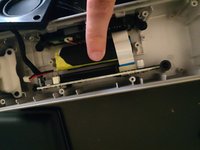
Unscrew and remove the black plastic part that attaches the battery to the back of the case.
-
-
-
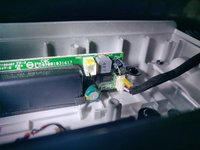
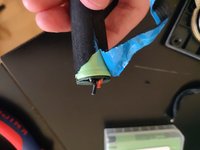
Unplug the battery from the circuit board. You might have to use a knife or some other tool to remove the glue that is on the connector.
-
-
-
Also very carefully remove the protective outer foam-wrapping. we will reuse it later.
-
-
-
Finally, take the blue cushion-wrapping and somehow try to wrap it around the battery. Then try to attach the battery to the case using the black plastic brace and the two screws.
-
Connect the speakers and switch the device on. If everything works, put everything back together.
-
Please note that your device is probably not IP66 anymore, but in my case the battery again lasts for many hours.
-


Arbeite die Schritte in umgekehrter Reihenfolge ab, um dein Gerät wieder zusammenzubauen.
1Comentário do guia
Most accurate instructions, thanks! Nailed it too... though I might have spoiled the feng shui by using white tape on the new battery :)