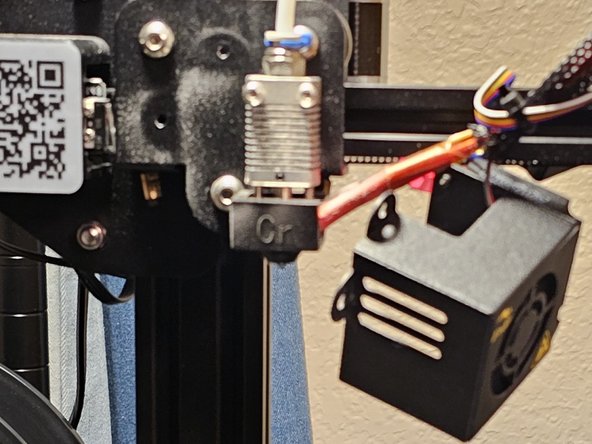
Ir para o conteúdo principal

Creality Ender 3 Pro Hotend Nozzle Replacement

O que você precisa

  1. Creality Ender 3 Pro Hotend Nozzle Replacement, Hotend Nozzle: passo 1, imagem 1 %32 Creality Ender 3 Pro Hotend Nozzle Replacement, Hotend Nozzle: passo 1, imagem 2 %32 Creality Ender 3 Pro Hotend Nozzle Replacement, Hotend Nozzle: passo 1, imagem 3 %32
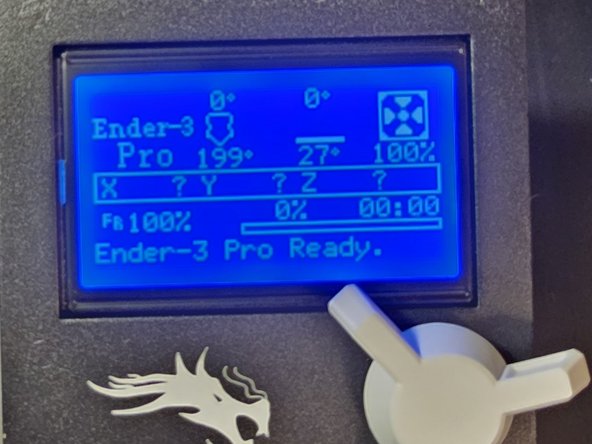
    • Press the knob to enter the Ender 3 Pro menu.

    • Turn the knob to navigate to the temperature menu.

    • Click on the nozzle setting found in the temperature menu.

    • Turn the knob to set the nozzle to 200 C.

  2. Creality Ender 3 Pro Hotend Nozzle Replacement: passo 2, imagem 1 %32
    • Wait for the nozzle to heat up.

    • The nozzle will be at 200 C and should be handled with care to avoid burning yourself.

  3. Creality Ender 3 Pro Hotend Nozzle Replacement: passo 3, imagem 1 %32 Creality Ender 3 Pro Hotend Nozzle Replacement: passo 3, imagem 2 %32 Creality Ender 3 Pro Hotend Nozzle Replacement: passo 3, imagem 3 %32
    • Depress the extruder spring using the handle.

    • Pull the filament from the extruder, while keeping constant pressure on the extruder spring.

  4. Creality Ender 3 Pro Hotend Nozzle Replacement: passo 4, imagem 1 %32 Creality Ender 3 Pro Hotend Nozzle Replacement: passo 4, imagem 2 %32 Creality Ender 3 Pro Hotend Nozzle Replacement: passo 4, imagem 3 %32
    • Unscrew the two screws holding the fan shroud in place using the proper Allen key.

  5. Creality Ender 3 Pro Hotend Nozzle Replacement: passo 5, imagem 1 %32 Creality Ender 3 Pro Hotend Nozzle Replacement: passo 5, imagem 2 %32
    • The hot end is still at 200 C, so be careful not to burn yourself!

    • Remove the silicon sock covering the hot end and nozzle.

  6. Creality Ender 3 Pro Hotend Nozzle Replacement: passo 6, imagem 1 %32 Creality Ender 3 Pro Hotend Nozzle Replacement: passo 6, imagem 2 %32
    • Grab the hotend at the specified points using an adjustable wrench.

    • Be careful to avoid clamping the wires, ensuring the adjustable wrench only grabs the metal.

  7. Creality Ender 3 Pro Hotend Nozzle Replacement: passo 7, imagem 1 %32 Creality Ender 3 Pro Hotend Nozzle Replacement: passo 7, imagem 2 %32
    • Remove the nozzle with a 7mm socket wrench.

  8. Creality Ender 3 Pro Hotend Nozzle Replacement: passo 8, imagem 1 %32 Creality Ender 3 Pro Hotend Nozzle Replacement: passo 8, imagem 2 %32 Creality Ender 3 Pro Hotend Nozzle Replacement: passo 8, imagem 3 %32
    • Place the new nozzle within the 7mm socket wrench.

    • Grab the hotend using the adjustable wrench as seen in step 7.

    • Screw in the new nozzle again using the 7mm socket wrench.

    • Ensure the nozzle is hand tight as to not damage the hotend.

  9. Creality Ender 3 Pro Hotend Nozzle Replacement: passo 9, imagem 1 %32 Creality Ender 3 Pro Hotend Nozzle Replacement: passo 9, imagem 2 %32
    • Reattach the fan shroud by screwing in the two screws.

    • Place the silicon sock back on the hot end, avoiding contact with the metal.

  10. Creality Ender 3 Pro Hotend Nozzle Replacement: passo 10, imagem 1 %32 Creality Ender 3 Pro Hotend Nozzle Replacement: passo 10, imagem 2 %32 Creality Ender 3 Pro Hotend Nozzle Replacement: passo 10, imagem 3 %32
    • Navigate back to the temperature menu.

    • Set the nozzle temperature to 0 C, allowing it to cool down fully.

Linha de Chegada

Vincent Lowe

Membro desde: 02/21/23

181 Reputação

Autoria de 1 guia

0 comentários

Adicione um comentário

Exibir estatísticas:

Últimas 24 horas: 4

Últimos 7 dias: 8

Últimos 30 dias: 28

Duração total: 359