Ir para o conteúdo principal
Participe da comunidade de reparos - Criar conta

Conair Infiniti Pro Model 259NP Back Panel Replacement

O que você precisa

    1. Conair Infiniti Pro Model 259NP Back Panel Replacement, Back Panel: passo 1, imagem 1 %32
      • Caution: Unplug the hair dryer before attempting this guide. Leaving the device plugged in may result in electrocution and damage to the device.

      • Hold the hair dryer by the handle so that the back panel faces up.

      Pergunte ao FixBot

      Comentar

    2. Conair Infiniti Pro Model 259NP Back Panel Replacement: passo 2, imagem 1 %32 Conair Infiniti Pro Model 259NP Back Panel Replacement: passo 2, imagem 2 %32
      • Remove the two 15.875 mm Phillips #2 screws from the back panel.

      Pergunte ao FixBot

      Comentar

    3. Conair Infiniti Pro Model 259NP Back Panel Replacement: passo 3, imagem 1 %32 Conair Infiniti Pro Model 259NP Back Panel Replacement: passo 3, imagem 2 %32 Conair Infiniti Pro Model 259NP Back Panel Replacement: passo 3, imagem 3 %32
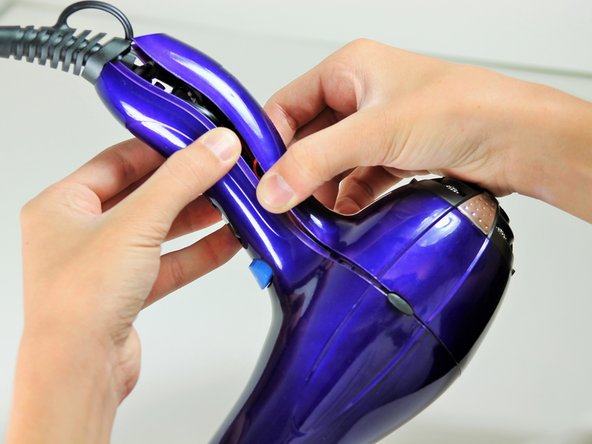
      • Starting from where the cord attaches to the handle, pull apart the two plastic panels.

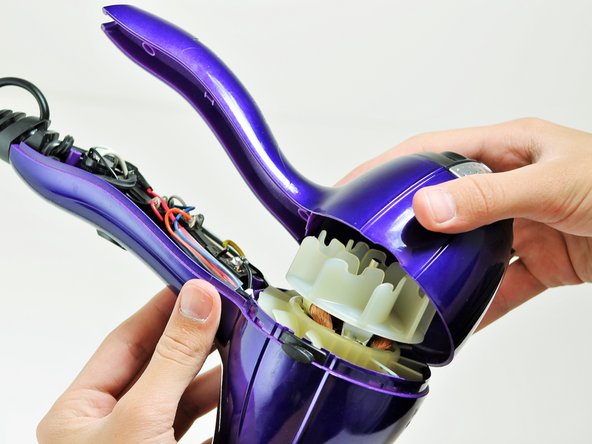
      • Continue separating the back panel, working along the seam.

      • With moderate force, completely remove the back panel from the hair dryer.

      Pergunte ao FixBot

      Comentar

Conclusão

To reassemble your device, follow these instructions in reverse order.

Cancelar: não concluí este guia.

6 outras pessoas executaram este guia.

Timothy Lo

Membro desde: 04/22/14

1.214 Reputação

Autoria de 7 guias

Equipe

Cal Poly, Team 10-58, Amido Spring 2014 Membro de Cal Poly, Team 10-58, Amido Spring 2014

CPSU-AMIDO-S14S10G58

4 Membros

Autoria de 42 guias

0Comentários do guia

Comentar

Visualizações:

Últimas 24 horas: 4

Últimos 7 dias: 10

Últimos 30 dias: 46

Ao todo: 7,123