Introdução
To complete this guide, you will need to disassemble your device in order to get to the screen to replace it.
Make sure to power off the device before you begin to take apart your device. Not doing so could potentially cause harm.
O que você precisa
-
-
Use the plastic opening tool help push out the microSD card from the microSD slot.
 Pergunte ao FixBot
-
-
-
Use the plastic opening tool to unclip the plastic front from the plastic back. Use the MicroSD slot to initially start the unclipping.
-
-
-
-
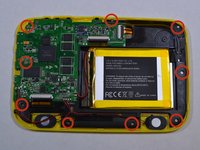
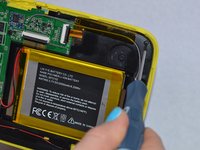
The battery is glued onto the black plastic. Use the plastic opening tool to pry the battery from the black plastic
-
-
-
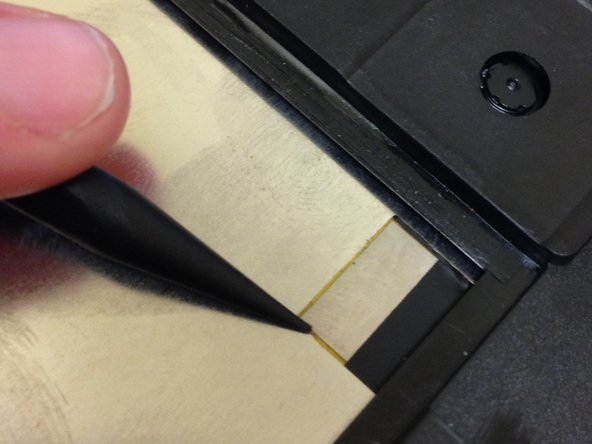
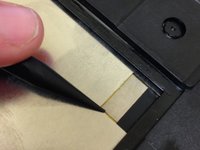
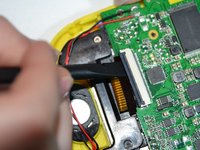
There will be a black strip connected to the screen.
-
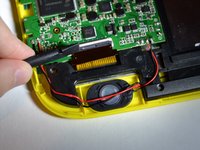
Use the pointy end of the spudger to unstick the black strip that is glued onto the screen.
-
-
-
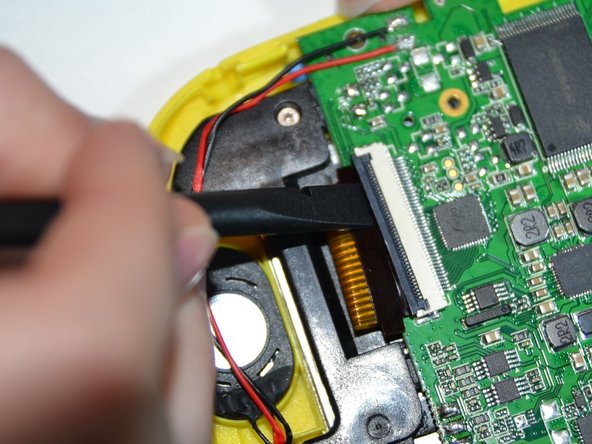
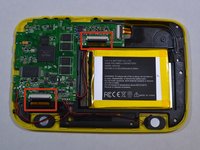
You will need to remove 2 ribbon cables, one that is connected to the touch screen (by the battery) and one that is connected to the yellow plastic (by the speaker).
-
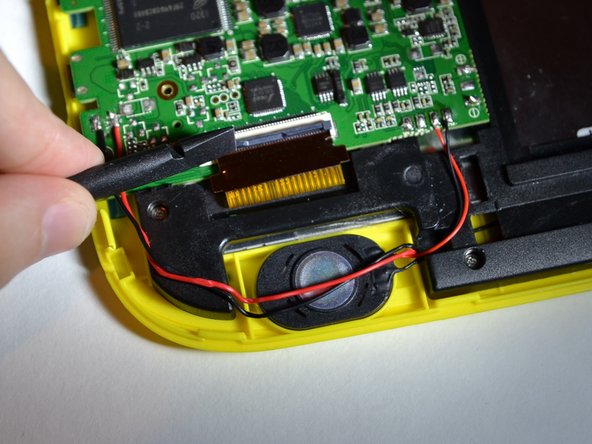
Use the flat end of the spudger to lift the black panel covering the ribbon cables.
-
-
-
Pull the two ribbon cables out so that they are no longer connected to the logic board.
-
-
-
Lift up the logic board and black plastic so that they are no longer covering the screen
-
Lift out the screen.
-


To reassemble your device, follow these instructions in reverse order.
Cancelar: não concluí este guia.
3 outras pessoas executaram este guia.
Equipe
