Ir para o conteúdo principal

Closing bObi's Cover Post-Repair

O que você precisa

  1. Closing bObi's Cover Post-Repair, Top Cover: passo 1, imagem 1 %32 Closing bObi's Cover Post-Repair, Top Cover: passo 1, imagem 2 %32
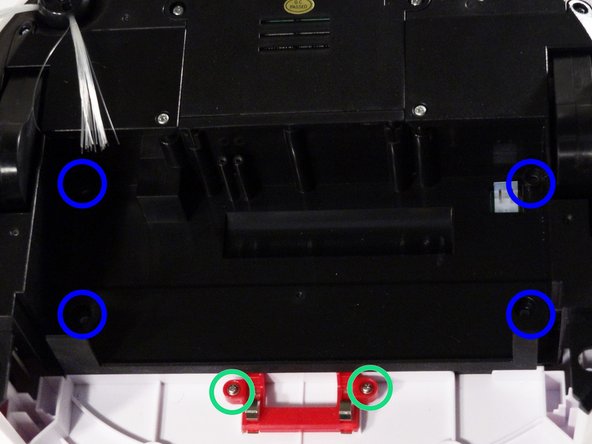
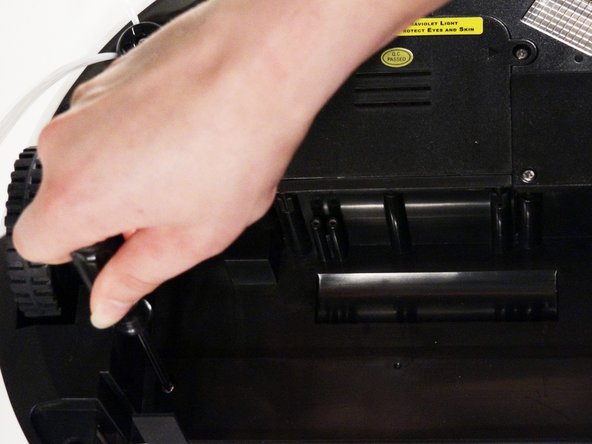
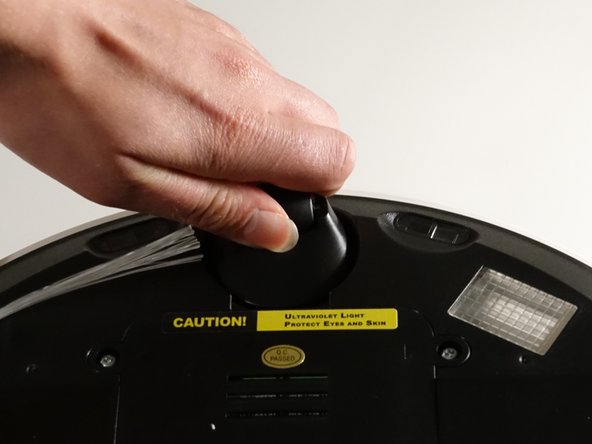
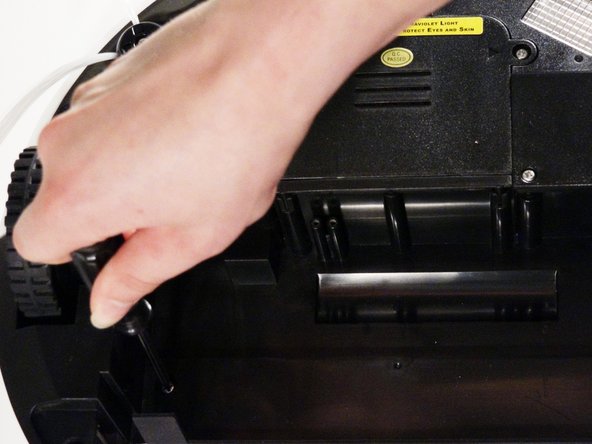
    • Remove bObi’s front wheel to access one of the screws holding bObi together.

    • Make sure the wheel is turned closer to bObi's front touch sensors. Use your screwdriver for leverage, and the wheel will pop up and out.

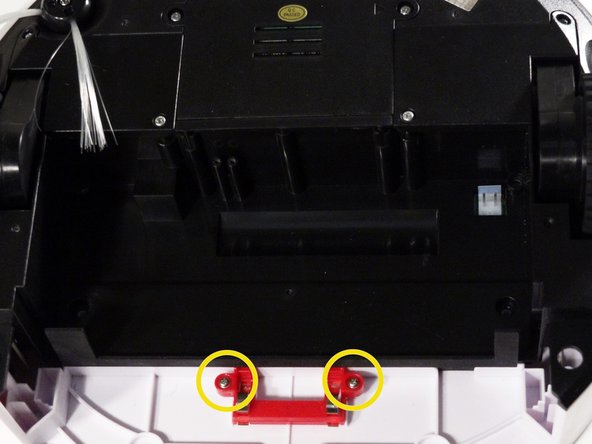
    • Uninstall the larger screw that sits deeper in the wheel compartment.

  2. Closing bObi's Cover Post-Repair: passo 2, imagem 1 %32 Closing bObi's Cover Post-Repair: passo 2, imagem 2 %32 Closing bObi's Cover Post-Repair: passo 2, imagem 3 %32
    • Remove bObi's dustbin.

    • Uninstall the 2 screws close to the bin and 2 smaller screws above her main brushes.

  3. Closing bObi's Cover Post-Repair: passo 3, imagem 1 %32 Closing bObi's Cover Post-Repair: passo 3, imagem 2 %32 Closing bObi's Cover Post-Repair: passo 3, imagem 3 %32
    • Lift the brush holder. To detach completely, unplug it from bObi.

    • Remove the two screws on the dustbin contact point holder inside bObi.

    • There are 4 screws beneath the main brushes. Uninstall these, and open bObi up to expose her main circuit board.

  4. Closing bObi's Cover Post-Repair: passo 4, imagem 1 %32 Closing bObi's Cover Post-Repair: passo 4, imagem 2 %32 Closing bObi's Cover Post-Repair: passo 4, imagem 3 %32
    • Detach the two circuit plugs connecting bObi's cover to the main board and the cover will be completely removed.

  5. Closing bObi's Cover Post-Repair, Closing bObi's Cover Post-Repair: passo 5, imagem 1 %32
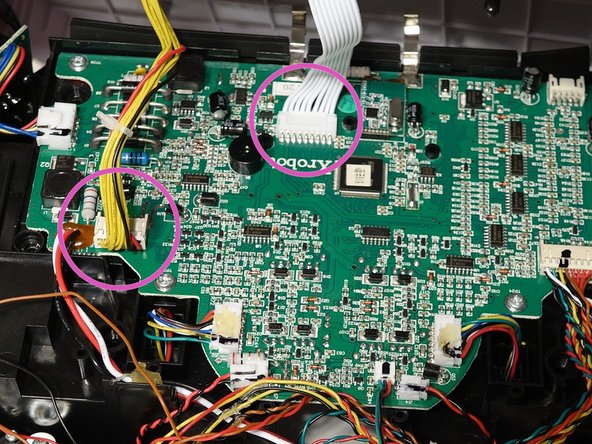
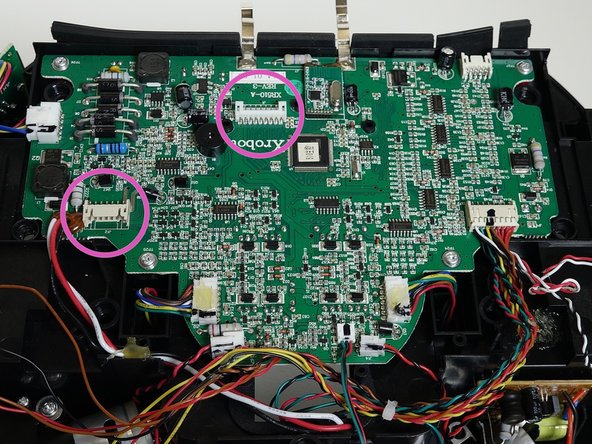
    • Attach the circuit plugs from bObi's cover back on her main board.

    • The all white plug goes to the centre of the circuit board.

    • The smaller plug connects at the side, closer to bObi's left wheel.

  6. Closing bObi's Cover Post-Repair: passo 6, imagem 1 %32 Closing bObi's Cover Post-Repair: passo 6, imagem 2 %32 Closing bObi's Cover Post-Repair: passo 6, imagem 3 %32
    • Lay down bObi's cover and line up the sides carefully.

    • Re-install the front wheel's screw.

    • Place the wheel back in its compartment so it points towards bObi's touch sensors. Push down to secure it on bObi.

    • Replace the dustbin contact point fastener on bObi and install its two screws.

  7. Closing bObi's Cover Post-Repair: passo 7, imagem 1 %32 Closing bObi's Cover Post-Repair: passo 7, imagem 2 %32
    • Install the four screws that were previously found under the main brushes.

    • Place the small main brush fastener overtop the screw posts on bObi and reinstall the two thin screws which hold it in place.

    • Lay the main brush attachment in the open space.

  8. Closing bObi's Cover Post-Repair: passo 8, imagem 1 %32 Closing bObi's Cover Post-Repair: passo 8, imagem 2 %32
    • Replace the corner pieces close to the dustbin and install the 2 screws securing them on bObi.

    • These corner pieces must line up correctly with the brush attachment and hold it in place.

    • Insert the dustbin before using bObi again.

Conclusão

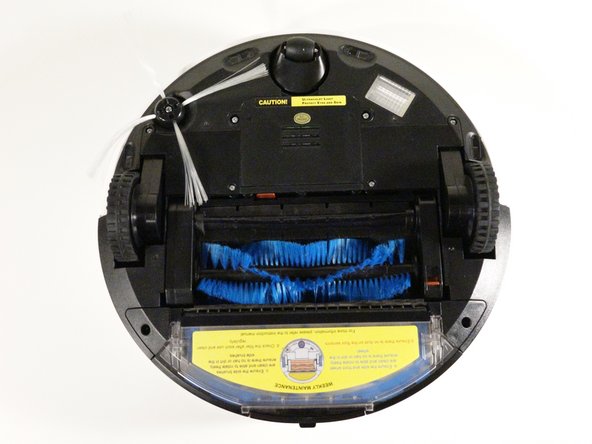
Follow this guide or reverse the directions of the Opening bObi guide to reassemble your device.

2 outras pessoas executaram este guia.

Chelsea

Membro desde: 09/24/14

2.278 Reputação

Autoria de 31 guias

0 comentários

Adicione um comentário

Exibir estatísticas:

Últimas 24 horas: 0

Últimos 7 dias: 0

Últimos 30 dias: 0

Duração total: 211