Ir para o conteúdo principal

Clarke Floor Sander 07012A 2012 Handle Removal

Pré-requisito somente
Este guia destina-se apenas a ser usado como pré-requisito para outros guias. É incompleto por si só.
  1. Cuidado: a etapa 1 é proveniente de um guia marcado como em andamento.

    Clarke Floor Sander 07012A 2012 Handle Removal, Disconnect all power cables: passo 1, imagem 1 %32
    • Before you begin your repair, disconnect all power cables to reduce the risk of short circuits and electric shock.

  2. Clarke Floor Sander 07012A 2012 Handle Removal, Remove the dust bag: passo 2, imagem 1 %32 Clarke Floor Sander 07012A 2012 Handle Removal, Remove the dust bag: passo 2, imagem 2 %32
    • Pull on the dust bag to remove it from the dust tube.

    • If the dust bag doesn't slide off easily, gently twist it back and forth while pulling to free it from the tube.

  3. Clarke Floor Sander 07012A 2012 Handle Removal, Remove the dust tube: passo 3, imagem 1 %32
    • Pull up on the dust tube to remove it from the sander.

  4. Clarke Floor Sander 07012A 2012 Handle Removal, Disconnect the control link arm: passo 4, imagem 1 %32 Clarke Floor Sander 07012A 2012 Handle Removal, Disconnect the control link arm: passo 4, imagem 2 %32 Clarke Floor Sander 07012A 2012 Handle Removal, Disconnect the control link arm: passo 4, imagem 3 %32
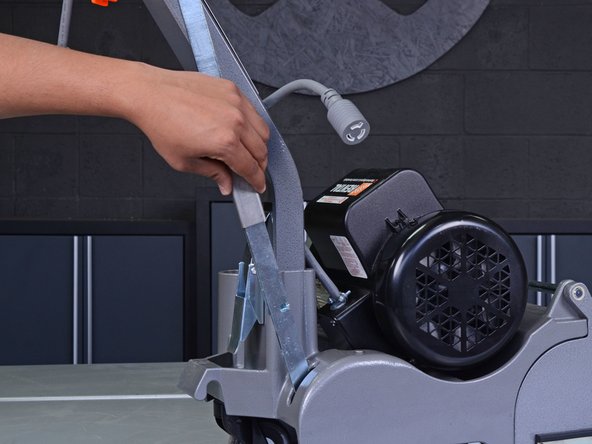
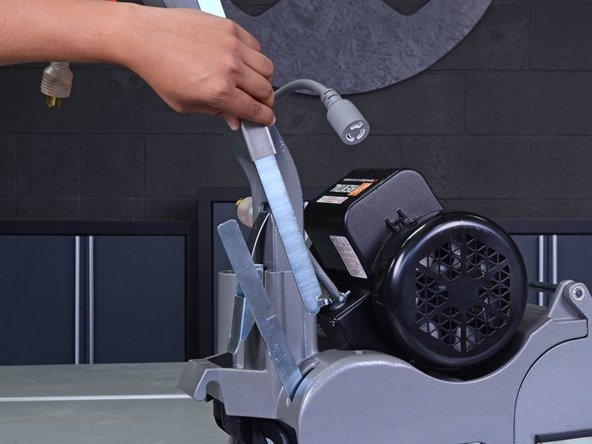
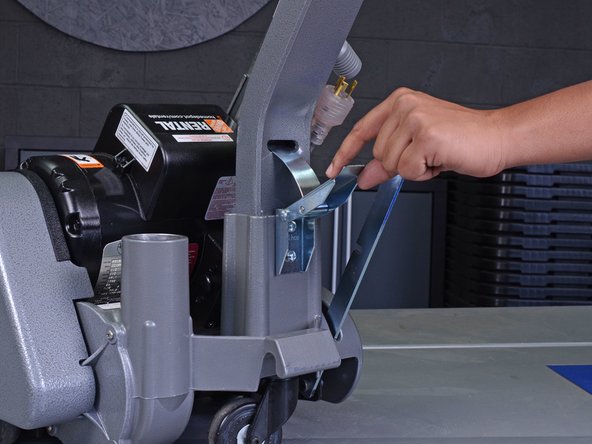
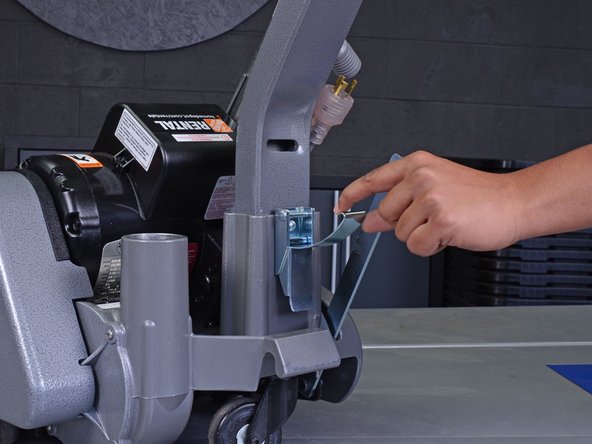
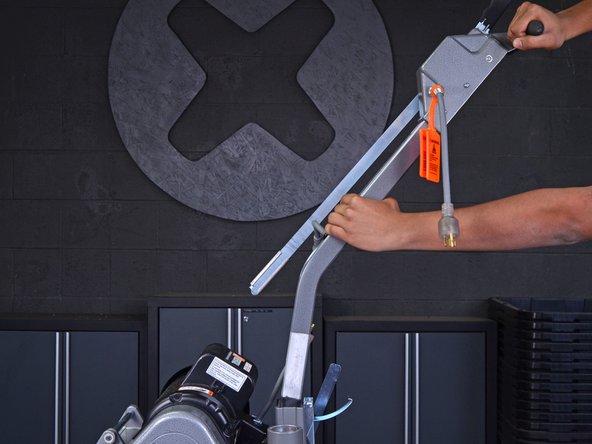
    • Slide the collar on the control link arm up until the two halves of the arm detach from one another.

  5. Clarke Floor Sander 07012A 2012 Handle Removal: passo 5, imagem 1 %32 Clarke Floor Sander 07012A 2012 Handle Removal: passo 5, imagem 2 %32 Clarke Floor Sander 07012A 2012 Handle Removal: passo 5, imagem 3 %32
    • Pull up on the latch at the bottom of the handle assembly, then remove the retaining plate from its slot in the handle.

  6. Clarke Floor Sander 07012A 2012 Handle Removal, Remove the handle: passo 6, imagem 1 %32 Clarke Floor Sander 07012A 2012 Handle Removal, Remove the handle: passo 6, imagem 2 %32
    • Pull up on the handle assembly and remove it from the sander.

Conclusão

To reassemble your device, follow these instructions in reverse order.

Taylor Dixon

Membro desde: 06/26/18

67.086 Reputação

Autoria de 94 guias

0 comentários

Adicione um comentário

Exibir estatísticas:

Últimas 24 horas: 0

Últimos 7 dias: 0

Últimos 30 dias: 0

Duração total: 32