Ir para o conteúdo principal

Caribou Coffee CC-EKV8SS7 Safety Shutoff Mechanism Replacement

O que você precisa

  1. Caribou Coffee CC-EKV8SS7 Safety Shutoff Mechanism Replacement, Caribou Coffee CC-EKV8SS7  Base Disassembly: passo 1, imagem 1 %32 Caribou Coffee CC-EKV8SS7 Safety Shutoff Mechanism Replacement, Caribou Coffee CC-EKV8SS7  Base Disassembly: passo 1, imagem 2 %32
    • Unplug the unit before disassembling to avoid electrocution.

    • Remove the five (10mm) Y screws from the bottom of the base. Three are in a triangle around the center and two are on the corners of the flat edge.

  2. Caribou Coffee CC-EKV8SS7 Safety Shutoff Mechanism Replacement: passo 2, imagem 1 %32 Caribou Coffee CC-EKV8SS7 Safety Shutoff Mechanism Replacement: passo 2, imagem 2 %32 Caribou Coffee CC-EKV8SS7 Safety Shutoff Mechanism Replacement: passo 2, imagem 3 %32
    • Now you will need to 'unlock' the top and bottom of the base from each other. On the flat edge, there is a rectangle inset with one side cut out. Insert a metal spudger about 1/2'' in to the opening to toggle open an interior tab.

    • With the metal tool still inserted, use an opening tool between the black and silver sides to pry the base open.

  3. Caribou Coffee CC-EKV8SS7 Safety Shutoff Mechanism Replacement: passo 3, imagem 1 %32 Caribou Coffee CC-EKV8SS7 Safety Shutoff Mechanism Replacement: passo 3, imagem 2 %32
    • Once you have the halves opened at least 1/4'', remove the metal key and rotate the base a quarter turn in any direction.

    • Continue using the spudger to pry open the base at each quarter turn until the sides separate easily.

    • The black bottom will catch on the power cord plug, to prevent total dismantlement.

  4. Caribou Coffee CC-EKV8SS7 Safety Shutoff Mechanism Replacement, Safety Shutoff Mechanism: passo 4, imagem 1 %32 Caribou Coffee CC-EKV8SS7 Safety Shutoff Mechanism Replacement, Safety Shutoff Mechanism: passo 4, imagem 2 %32 Caribou Coffee CC-EKV8SS7 Safety Shutoff Mechanism Replacement, Safety Shutoff Mechanism: passo 4, imagem 3 %32
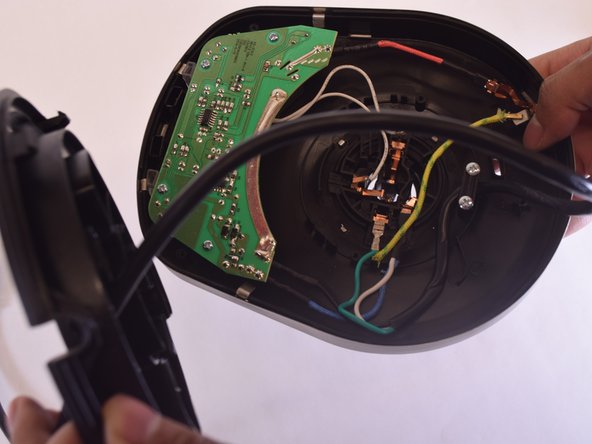
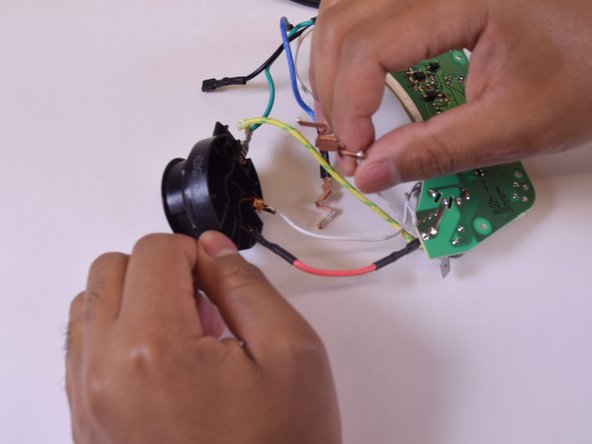
    • To uninstall the element, start by removing the 4 copper connectors and 1 metal tab from the power cord. This will require you to wiggle and pull the connectors out.

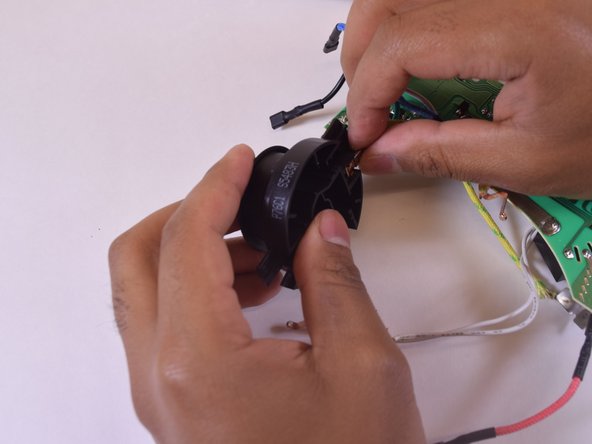
    • Once those pieces are detached, you can insert them into the replacement part, as they were.

Conclusão

To reassemble your device, follow these instructions in reverse order.

2 outras pessoas executaram este guia.

Melanie Preston

Membro desde: 07/01/17

113 Reputação

Autoria de 1 guia

Equipe

UW Tacoma, Team S1-G3, Liner Summer 2017 Membro de UW Tacoma, Team S1-G3, Liner Summer 2017

UWT-LINER-SU17S1G3

Membros da 4

Autoria de 4 guias

0 comentários

Adicione um comentário

Exibir estatísticas:

Últimas 24 horas: 0

Últimos 7 dias: 2

Últimos 30 dias: 5

Duração total: 428