Introdução
A failure on the "Delivered Volume Test" can signify dirty filters needing replacement. Knowing how to replace these is vital to the Ventilator's function. This guide will run through all the necessary steps including the removal of the:
-Power cable
-Top Panel
-Battery Tray
-Left Panel
-Blender Assembly
And finally the Turbine/Muffler Assembly itself
O que você precisa
-
Passo 1 Cardinal Health Vela Ventilator Power Cable Removal
Cuidado: as etapas de 1 a 2 são provenientes de um guia marcado como em andamento.
-
Use a screwdriver to remove the two Phillips pan-head screws at the top of the plug guard.
-
-
-
Remove the four Phillips #0 screws on the back side of the ventilator.
-
-
Passo 6 Cardinal Health Vela Ventilator Battery Tray Removal
Cuidado: as etapas de 6 a 8 são provenientes de um guia marcado como em andamento.
-
Use your Phillips screwdriver to unscrew the 4 Phillips pan head screws positioned on each side of the battery tray.
-
-
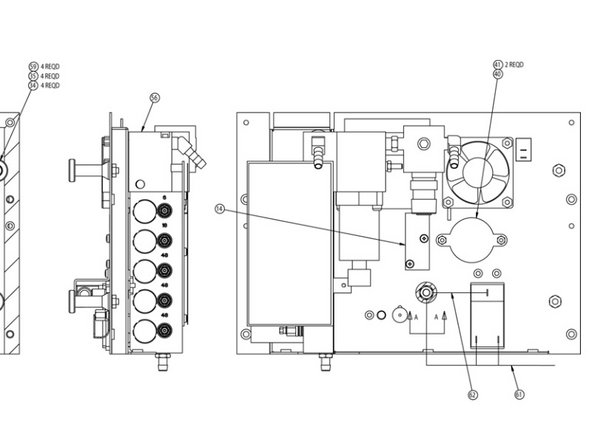
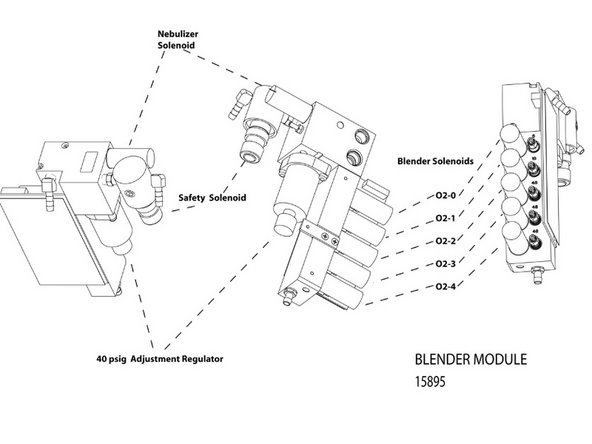
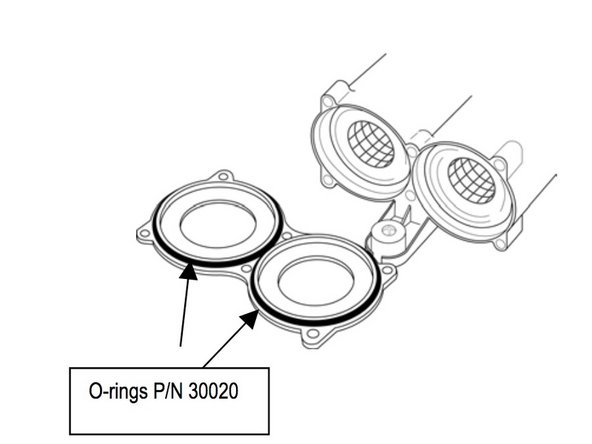
Passo 13 Blender Assembly P/N 16358A
Cuidado: as etapas de 13 a 21 são provenientes de um guia marcado como em andamento.
-
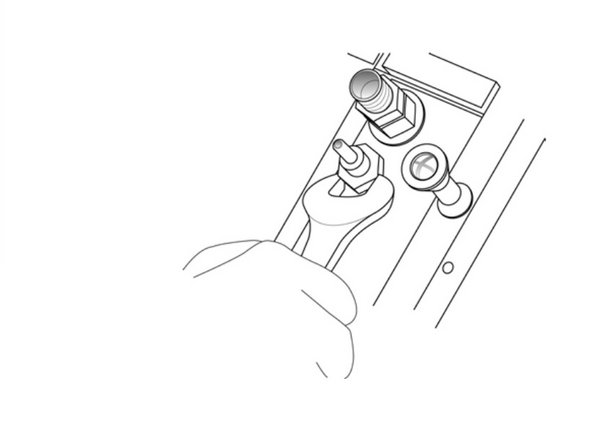
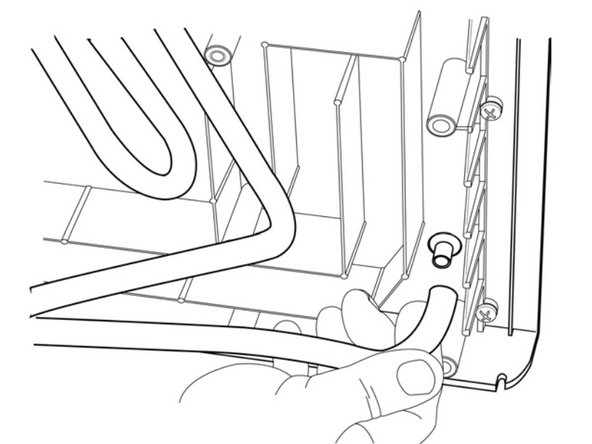
If the rear panel is installed, remove the high and low pressure oxygen fittings from the rear panel using your 3/4" wrench. NOTE: the high pressure fitting is located above the low pressure fitting
-
-
-
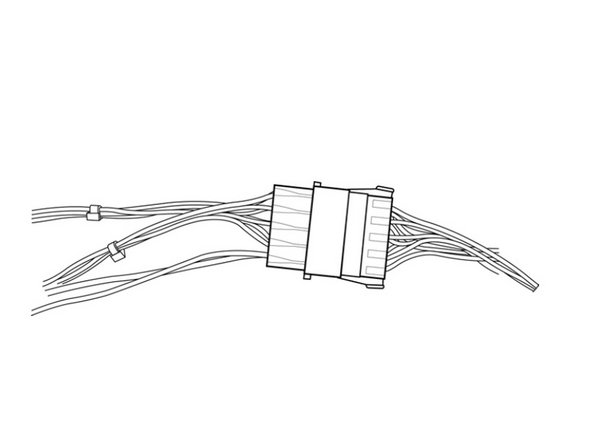
Disconnect the main wire harness connector at P2 on the Turbine Driver PCBA
-
-
-
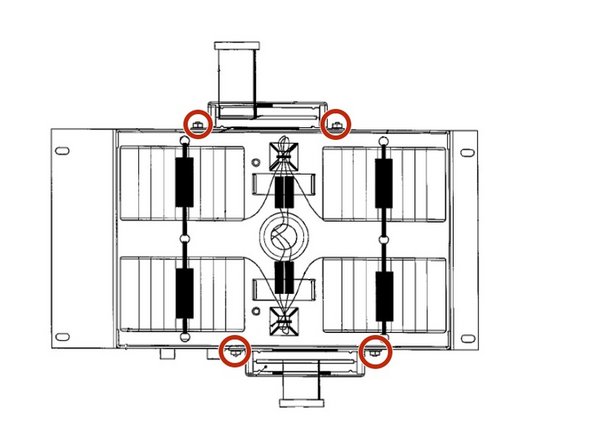
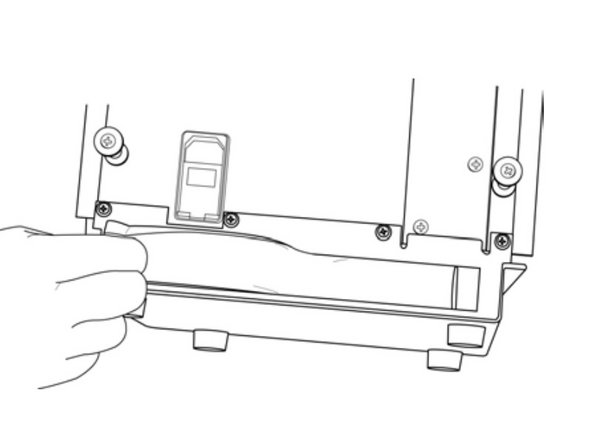
Remove the six Phillips pan-head screws on the cover of the filter
-


To reassemble your device, follow these instructions in reverse order.
To reassemble your device, follow these instructions in reverse order.
Equipe

Cal Poly, Team S7-G22, Paton Spring 2020 Membro de Cal Poly, Team S7-G22, Paton Spring 2020
CPSU-PATON-S20S7G22
1 Membro
Autoria de 3 guias