Ir para o conteúdo principal

Canon ZR70MC Front Panel Replacement

O que você precisa

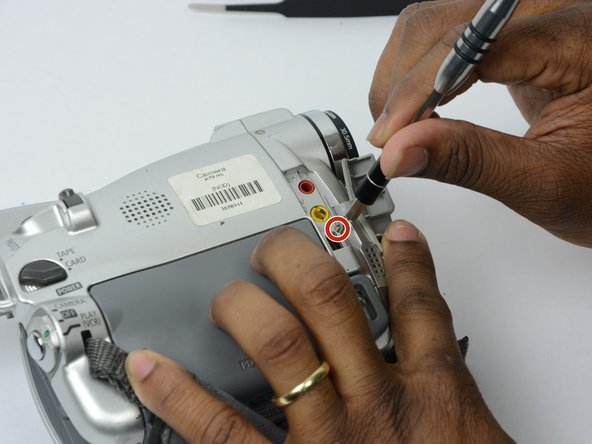
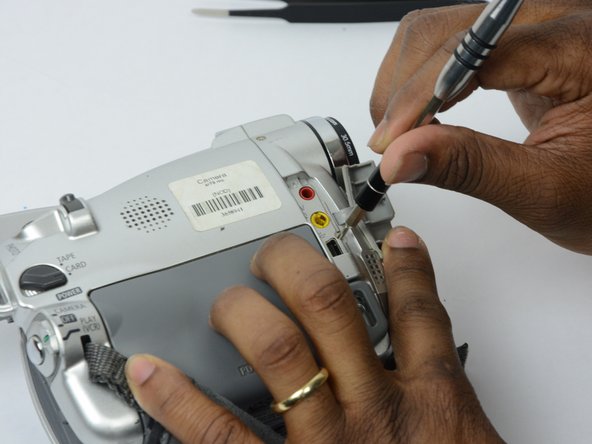
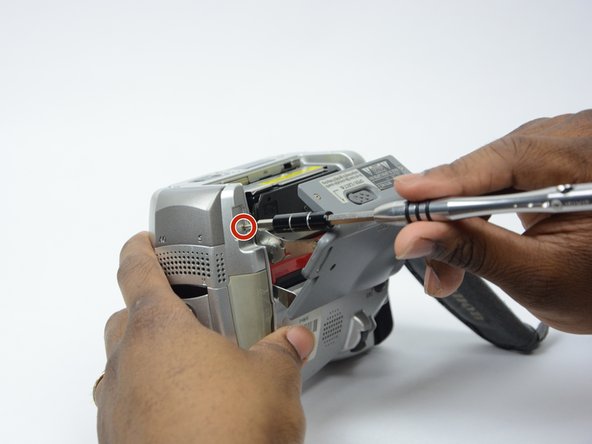
  1. Canon ZR70MC Front Panel Replacement, Front Panel: passo 1, imagem 1 %32 Canon ZR70MC Front Panel Replacement, Front Panel: passo 1, imagem 2 %32
    • Unscrew the 3.35mm screw.

  2. Canon ZR70MC Front Panel Replacement: passo 2, imagem 1 %32
    • Turn the ZR70MC so that you can see the bottom of the camcorder.

    • Unscrew the 3.35 mm located in the top left portion of the camera.

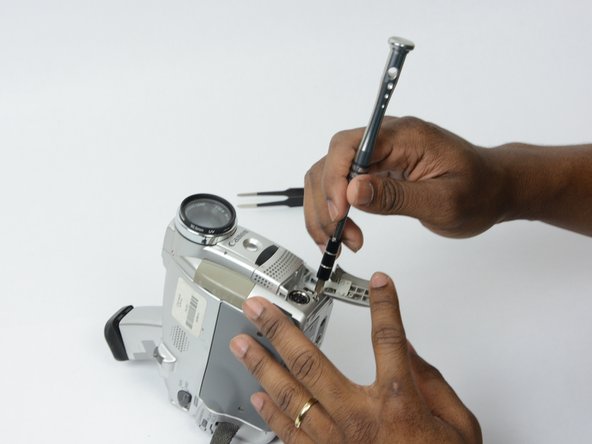
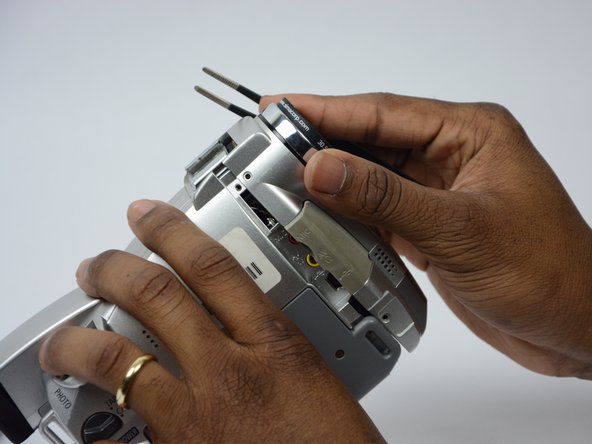
  3. Canon ZR70MC Front Panel Replacement: passo 3, imagem 1 %32 Canon ZR70MC Front Panel Replacement: passo 3, imagem 2 %32 Canon ZR70MC Front Panel Replacement: passo 3, imagem 3 %32
    • Turn the camera on the side and remove the cover for the audio inputs. There is a 2.65 mm screw located behind the cover.

    • Remove the 2.65 mm screw.

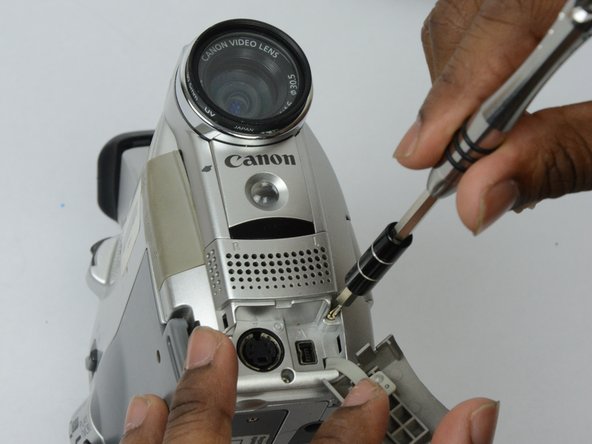
  4. Canon ZR70MC Front Panel Replacement: passo 4, imagem 1 %32 Canon ZR70MC Front Panel Replacement: passo 4, imagem 2 %32 Canon ZR70MC Front Panel Replacement: passo 4, imagem 3 %32
    • Remove the cover located on the front of the camcorder and remove the cover by pulling on the bottom groove.

    • Locate and remove the two 3.35 mm screws.

  5. Canon ZR70MC Front Panel Replacement: passo 5, imagem 1 %32 Canon ZR70MC Front Panel Replacement: passo 5, imagem 2 %32
    • Turn the camcorder so that the bottom is facing up and open the tape cassette compartment.

    • There is one 3.35 mm screw located under the tape cassette panel on the front left side of the camcorder. Remove the screw.

  6. Canon ZR70MC Front Panel Replacement: passo 6, imagem 1 %32 Canon ZR70MC Front Panel Replacement: passo 6, imagem 2 %32 Canon ZR70MC Front Panel Replacement: passo 6, imagem 3 %32
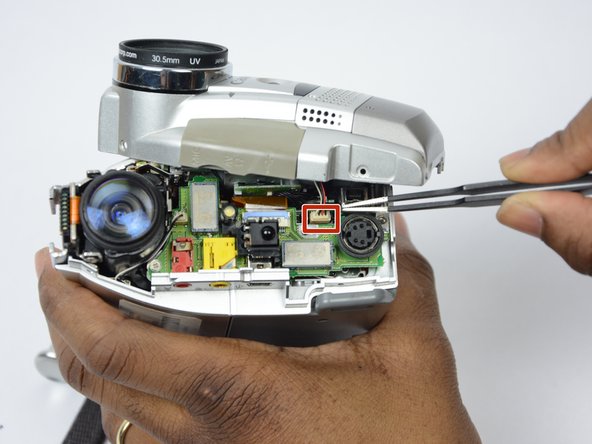
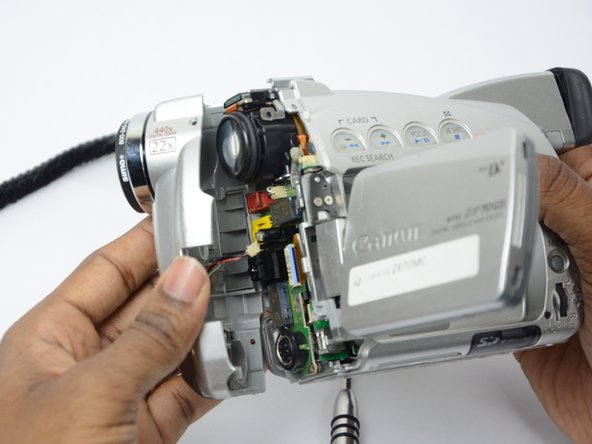
    • Now that all of the screws are removed, remove the front panel by gently pulling on the front panel.

    • The speaker will be connected to the main body by a wire. Be careful not to damage this wire.

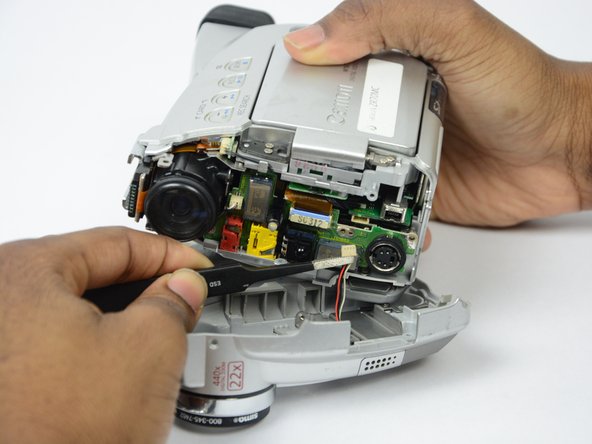
  7. Canon ZR70MC Front Panel Replacement: passo 7, imagem 1 %32 Canon ZR70MC Front Panel Replacement: passo 7, imagem 2 %32 Canon ZR70MC Front Panel Replacement: passo 7, imagem 3 %32
    • Use tweezers to gently pull the speaker wire from the main body of the camcorder.

    • Pull the front panel completely away from the main body of the camcorder.

Conclusão

To reassemble your device, follow these instructions in reverse order.

Uma outra pessoa concluiu este guia.

khalid clarke

Membro desde: 09/26/17

824 Reputação

Autoria de 7 guias

Equipe

USF Tampa, Team S13-G2, Boczar Fall 2017 Membro de USF Tampa, Team S13-G2, Boczar Fall 2017

USFT-BOCZAR-F17S13G2

Membros da 3

Autoria de 14 guias

0 comentários

Adicione um comentário

Exibir estatísticas:

Últimas 24 horas: 0

Últimos 7 dias: 0

Últimos 30 dias: 1

Duração total: 196