Introdução
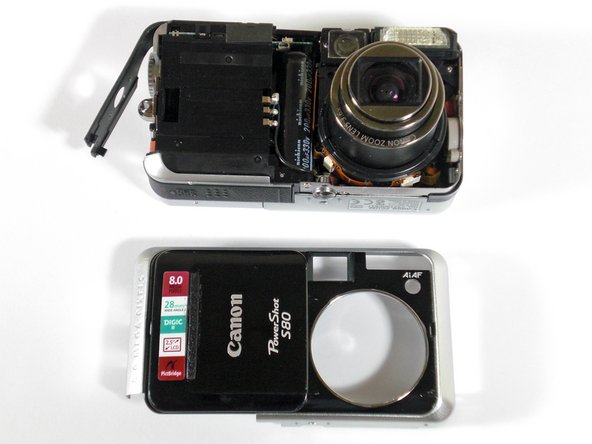
The LCD screen of the Canon PowerShot S80 is necessary for the normal operation of the camera. The screen is also vulnerable to cracks, chips and water damage. This guide will show you how to replace your LCD screen.
O que você precisa
-
-
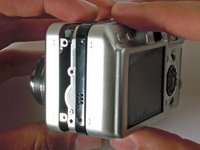
Remove the knot on the wrist lanyard.
-
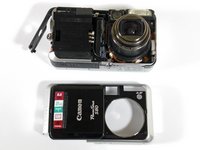
Remove the battery and the memory card.
-
-
-
-
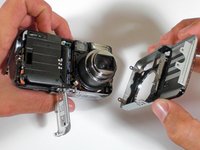
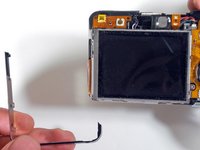
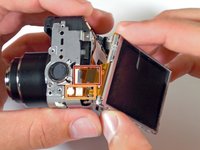
Remove the three screws that are holding the screen in place. Free the screen from the underlying components.
-


To reassemble your device, follow these instructions in reverse order.
To reassemble your device, follow these instructions in reverse order.
Cancelar: não concluí este guia.
3 outras pessoas executaram este guia.

Equipe

Cal Poly, Team 19-5, Maness SU 2012 Membro de Cal Poly, Team 19-5, Maness SU 2012
CPSU-MANESS-SU12S19G5
1 Membro
Autoria de 5 guias
2Comentários do guia
I presume the narrow ribbon cable supplies power to the backlight behind the screen? I replaced the combined screen and backlight assembly. I now have an image but it is extremely dark, barely visible. Perhaps the backlight didn't come on?
The contacts on both the wide ribbon and the narrow ribbon were corroded, probably the source of the problem.
Any suggestions?
I found very easy to follow the instructions provided. I just commenta that the last step should be completed by the separation between the screen and the support plate, which is not shown. However if one reaches that point (having the replacement part at hands) it has easy to find the next step of the “surgery”.
Goodinstruction. Thanks to this I brought to new life my Canon Powrr shot S80