Este guia tem alterações mais recentes. Mudar para a última versão não verificada.
Introdução
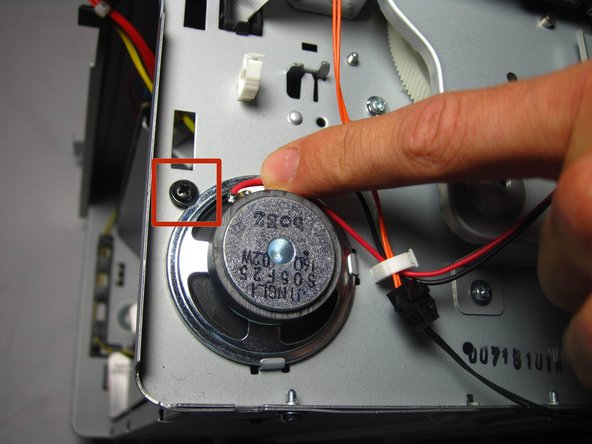
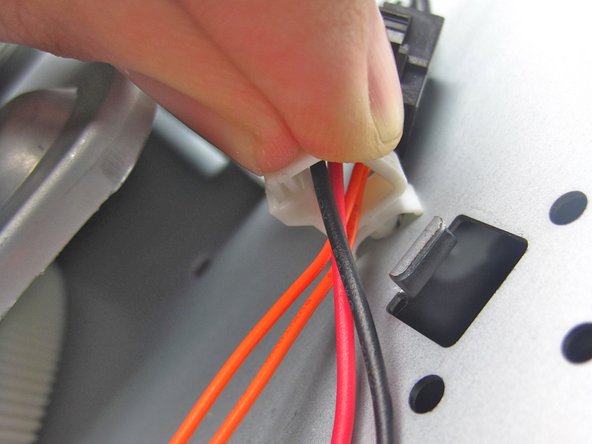
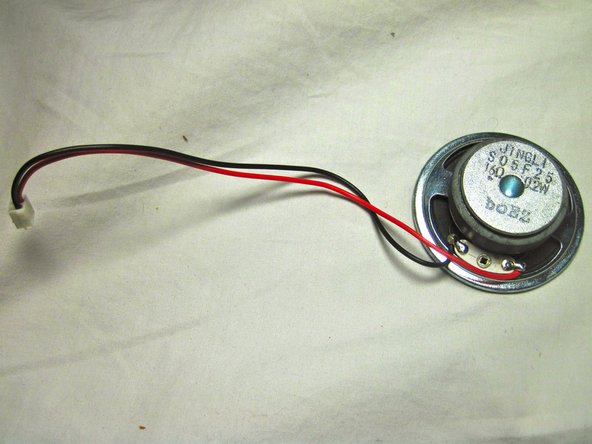
This guide will teach you how to replace a faulty speaker.
O que você precisa
-
-
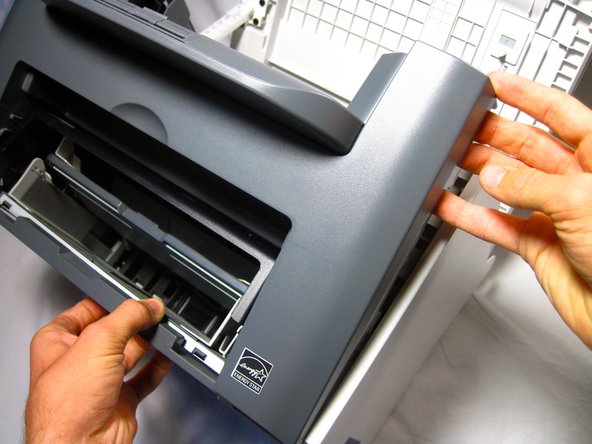
Lift the printer lid up as shown in the photo.
-
-
-
-
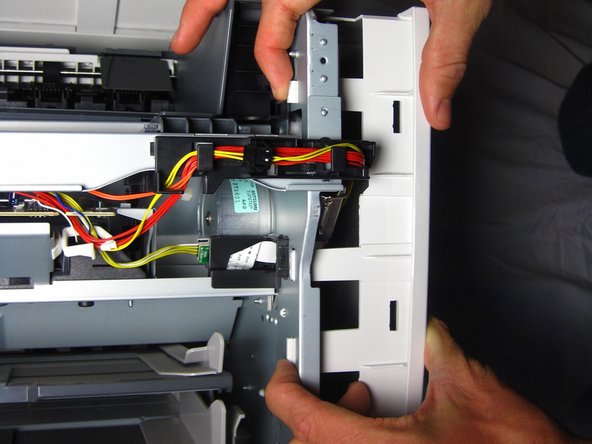
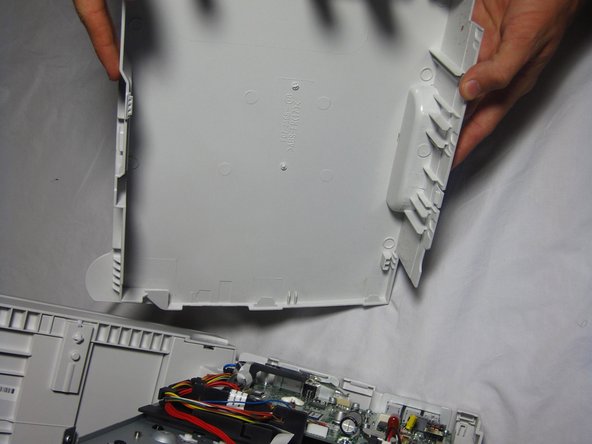
Gently unhook the right side paneling (as looking at the printer's front face) from the printer.
-


To reassemble your device, follow these instructions in reverse order.
To reassemble your device, follow these instructions in reverse order.
Cancelar: não concluí este guia.
Uma outra pessoa concluiu este guia.
Equipe

Cal Poly, Team 13-1, Forte Fall 2013 Membro de Cal Poly, Team 13-1, Forte Fall 2013
CPSU-FORTE-F13S13G1
Membros da 5
Autoria de 16 guias