Este guia tem alterações mais recentes. Mudar para a última versão não verificada.
Introdução
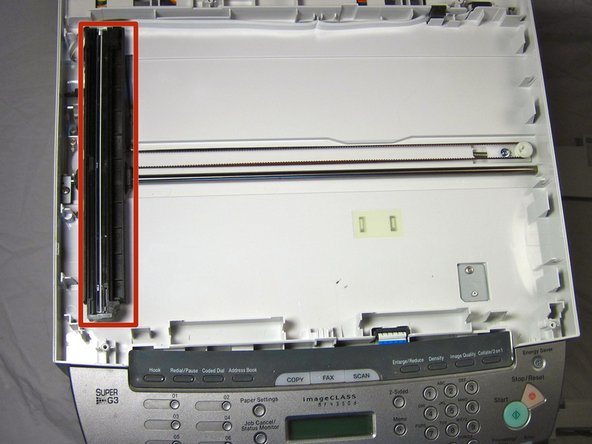
If you find that your scanner light does not seem to be moving, then your scanner belt could be the problem. Your scanner belt could be damaged or worn. This guide will help you to replace your scanner belt.
O que você precisa
-
-
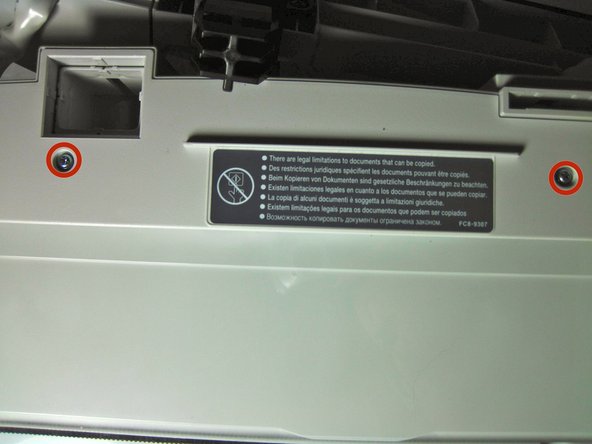
Lift up the lid. Then be sure to examine the glass. If there are any cracks or broken fragments handle with extreme care.
-
-
-
-
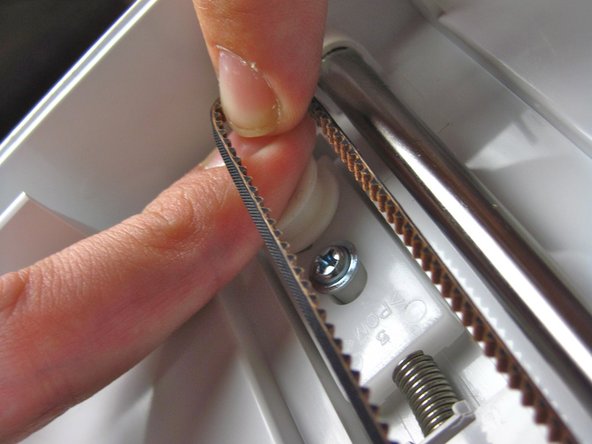
Remove the black component by gently pulling it up from the black scanner belt
-


To reassemble your device, follow these instructions in reverse order.
To reassemble your device, follow these instructions in reverse order.
Equipe

Cal Poly, Team 13-1, Forte Fall 2013 Membro de Cal Poly, Team 13-1, Forte Fall 2013
CPSU-FORTE-F13S13G1
Membros da 5
Autoria de 16 guias