Ir para o conteúdo principal

CASIO CDP-230R Speaker Replacement

O que você precisa

  1. CASIO CDP-230R Speaker Replacement, Panels: passo 1, imagem 1 %32 CASIO CDP-230R Speaker Replacement, Panels: passo 1, imagem 2 %32 CASIO CDP-230R Speaker Replacement, Panels: passo 1, imagem 3 %32
    • Flip the keyboard upside down, with the keys on a flat surface.

    • Remove the three black 14mm Japanese Industrial Standard (J) head screws using a J1 screwdriver on the top half of the outermost side panel.

  2. CASIO CDP-230R Speaker Replacement: passo 2, imagem 1 %32 CASIO CDP-230R Speaker Replacement: passo 2, imagem 2 %32 CASIO CDP-230R Speaker Replacement: passo 2, imagem 3 %32
    • Use two hands to grab the side panel from both sides.

    • Pull the panel apart from the device one side at a time.

    • There will be popping sounds when you remove this panel.

    • One side panel will not have an orange & white cable connected to it.

  3. CASIO CDP-230R Speaker Replacement: passo 3, imagem 1 %32 CASIO CDP-230R Speaker Replacement: passo 3, imagem 2 %32 CASIO CDP-230R Speaker Replacement: passo 3, imagem 3 %32
    • Remove the three silver 10mm screws with a J1 screwdriver on the bottom half of the innermost side panel of the device.

    • One side panel will not have an orange & white cable running through.

  4. CASIO CDP-230R Speaker Replacement: passo 4, imagem 1 %32 CASIO CDP-230R Speaker Replacement: passo 4, imagem 2 %32 CASIO CDP-230R Speaker Replacement: passo 4, imagem 3 %32
    • Remove the innermost side panel by pinching the top and bottom of the panel and pulling the panel off with both hands.

    • There will be popping sounds when you remove this panel.

    • Repeat steps one through four to remove the other side panel of the keyboard.

  5. CASIO CDP-230R Speaker Replacement: passo 5, imagem 1 %32 CASIO CDP-230R Speaker Replacement: passo 5, imagem 2 %32 CASIO CDP-230R Speaker Replacement: passo 5, imagem 3 %32
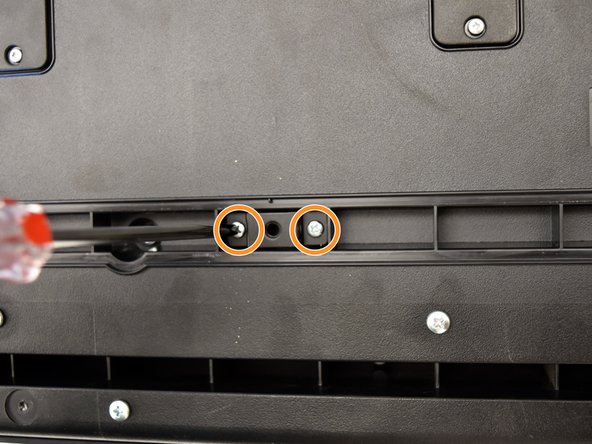
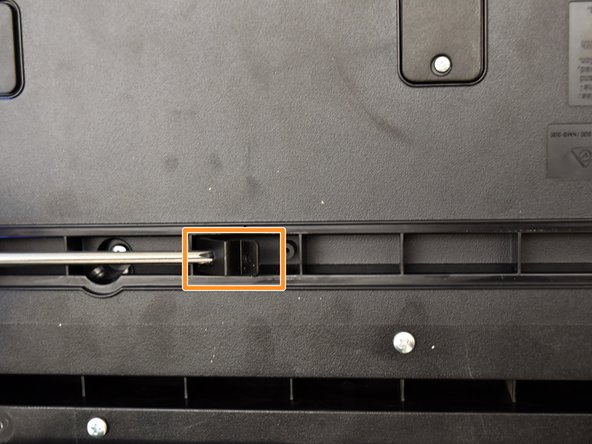
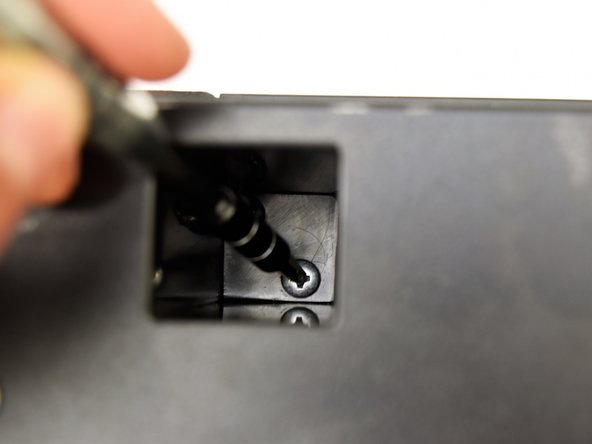
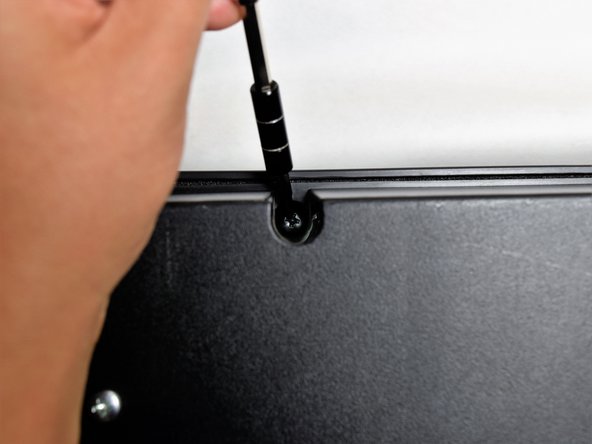
    • Remove the two black 30 mm J head screws with a J1 screwdriver to remove the long black bar.

    • Remove the four silver 8mm x 2mm J head screws with a J1 screwdriver and the two brackets from the back panel.

    • There will be two screws per bracket.

  6. CASIO CDP-230R Speaker Replacement: passo 6, imagem 1 %32 CASIO CDP-230R Speaker Replacement: passo 6, imagem 2 %32 CASIO CDP-230R Speaker Replacement: passo 6, imagem 3 %32
    • Remove the eight silver 10mm x 1.5mm J head screws with a J1 screwdriver and the square tabs from the back panel.

    • Remove the eight silver 10mm J head screws with a J1 screwdriver underneath the square tabs.

  7. CASIO CDP-230R Speaker Replacement: passo 7, imagem 1 %32 CASIO CDP-230R Speaker Replacement: passo 7, imagem 2 %32 CASIO CDP-230R Speaker Replacement: passo 7, imagem 3 %32
    • Remove the 36 silver 10mm J head screws with a J1 screwdriver from the back panel.

  8. CASIO CDP-230R Speaker Replacement: passo 8, imagem 1 %32 CASIO CDP-230R Speaker Replacement: passo 8, imagem 2 %32 CASIO CDP-230R Speaker Replacement: passo 8, imagem 3 %32
    • Place a hand on the front panel and speakers and carefully flip the keyboard over with the keys facing up.

    • Having a extra pair of hands will be useful.

    • Grab the center of the front panel with two hands and lift to remove panel.

    • Grab the speakers from the sides and lift to remove. Once you have done this for the first speaker, repeat with the second speaker.

  9. CASIO CDP-230R Speaker Replacement, Speaker: passo 9, imagem 1 %32
    • Lay the speaker flat on the table and remove the four black 10mm J head screws with a J1 screwdriver.

    • You may want to use a screwdriver with a bigger handle for a better grip to remove these screws.

  10. CASIO CDP-230R Speaker Replacement: passo 10, imagem 1 %32 CASIO CDP-230R Speaker Replacement: passo 10, imagem 2 %32
    • Grasp the speaker from the center and lift the speaker out of the panel.

  11. CASIO CDP-230R Speaker Replacement: passo 11, imagem 1 %32 CASIO CDP-230R Speaker Replacement: passo 11, imagem 2 %32
    • Follow the cable from the speaker to the button panel.

    • Pull the speaker cable out of the button panel with a slight wiggle.

    • Repeat steps nine through eleven to remove the other speaker.

Conclusão

To reassemble your device, follow these instructions in reverse order.

Irene Luong

Membro desde: 10/02/17

314 Reputação

Autoria de 1 guia

Equipe

Cal Poly, Team S4-G2, Livingston Fall 2017 Membro de Cal Poly, Team S4-G2, Livingston Fall 2017

CPSU-LIVINGSTON-F17S4G2

Membros da 4

Autoria de 6 guias

Um comentário

What is the part number for the CDP-230r speaker replacement? I cannot find them online or through Casio. Thanks.

Oli Morgan - Responder

Adicione um comentário

Exibir estatísticas:

Últimas 24 horas: 4

Últimos 7 dias: 7

Últimos 30 dias: 22

Duração total: 1,518